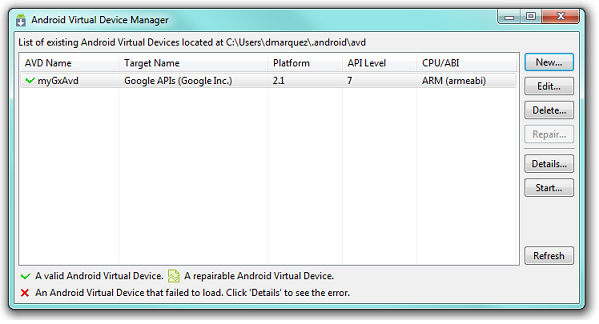
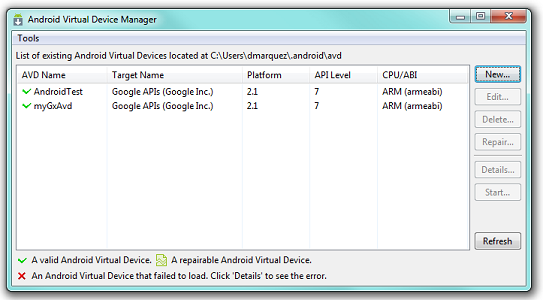
You do _not_ have to create an Android Virtual Device (AVD) as GeneXus does it for you. In GeneXus X Evolution 2 the default AVD is named "myGXAVD", whereas in GeneXus X Evolution 3 it is named "GenexusAVD-XEv3".
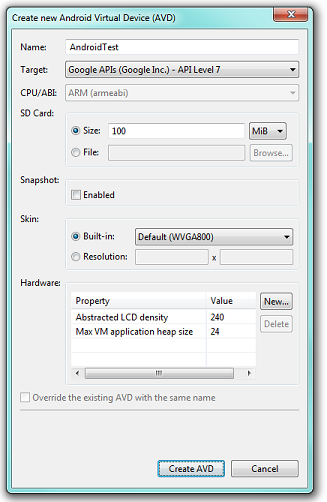
You may need change the default AVD created by GeneXus if your application requires more/less memory, the actual device has a different layout, etc.
You may also want to create and use your own AVD. The following steps explain how to create a new AVD. To use your AVD just start the emulator with your AVD _before_ running your application in GeneXus. See Prototyping device selection - Android for details.
Open the Android SDK and AVD Manager (file called SDK Manager.exe). If you haven't installed the Android SDK, please follow Android Requirements to install it.
Click in the "Create..." button.
Select the minimum supported API level as a Target. For example "Google APIs (Google Inc.) - API Level 8".
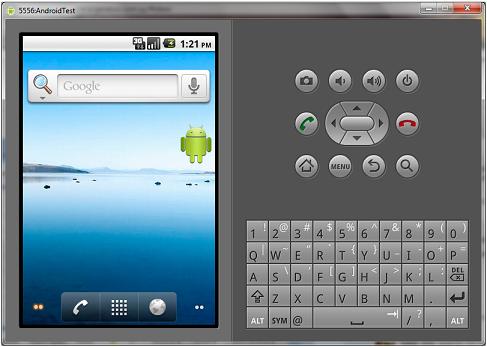
Select the new AVD and click in the "Start..." button.
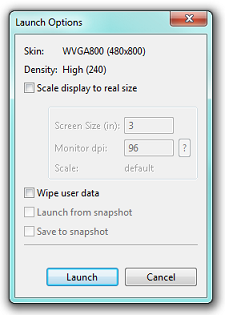
Click the "Launch" button.
Enjoy the emulator!