It is possible to set fonts and colors for data that is displayed as expected. In addition, these settings can be conditioned, which means that the indicated changes will be made as long as a condition is met.
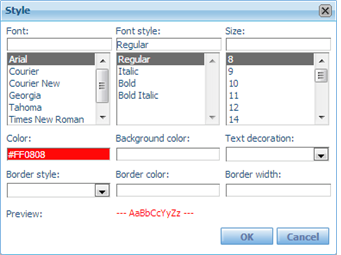
Use this property to set the fonts’ characteristics at design time. To do so, select the property cell and click on the magnifying glass icon. The Style dialog window will be opened.
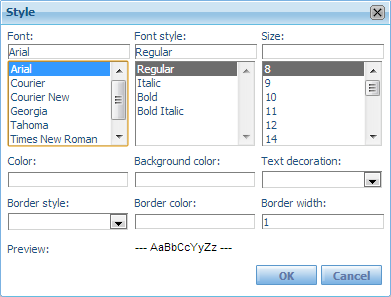
| Color |
Sets the font color. |
| Font style |
Sets the font style. |
| Size |
Sets the font size. |
| Border style |
Sets whether the cell border is solid or not. |
| Border color |
Sets the color of the cell’s border when it is solid. |
| Border width |
Sets the width of the cell’s border when it is solid. |
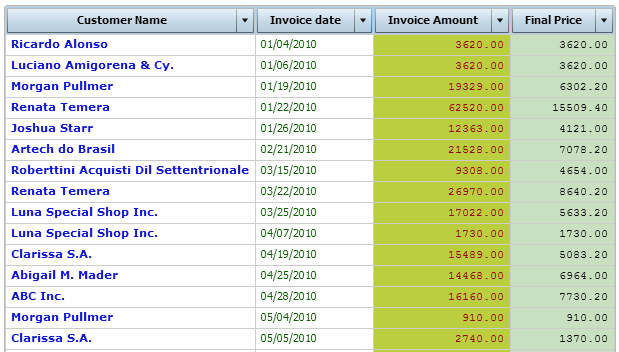
The image below shows an example of a report customization.
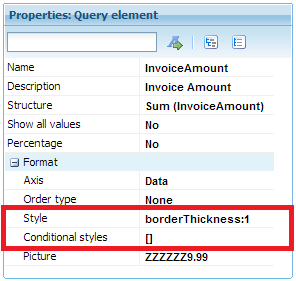
This property allows customizing the output’s appearance depending on whether a certain condition is met.
In this example we will use the Invoice query.
We will apply the following criteria:
1. Mark in red the sales lower than 1000.
2. Mark in blue those sales between 1000 and 9999.
3. Mark in green the sales greater than 9999.
Select the property cell and click on the magnifying glass icon. The Style dialog window will be opened.

We click on the Insert rule button and the following dialog box will be displayed.
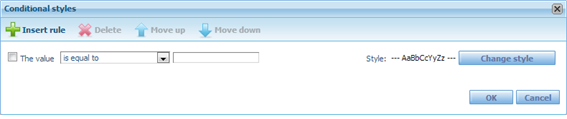
This wizard will help us build the rules. In the combo box we select the value “is less than” and in the cell to the right we type the value 1000.
We click on the Change style button to open the Style dialog window; next, we click on the Color cell and select red.
In this way we have set the first rule: “Mark in red the sales lower than 1000”.
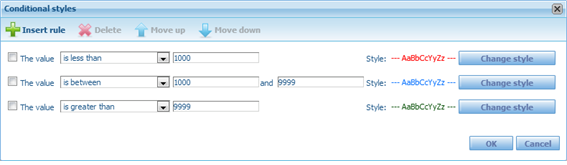
We click again on Insert rule to set the second rule, where the values between 1000 and 9999 must be highlighted in blue; to do so, we select the value “is between” in the combo box. A new cell is added to the right to narrow the range. So, in the first cell we type 1000 and in the second one we type 9999. Next, we select the color blue, as we did before.
For the third rule we select the value “is greater than” from the combo; in the cell to the right we type 9999, and assign the color green.
The dialog box must look as shown below.
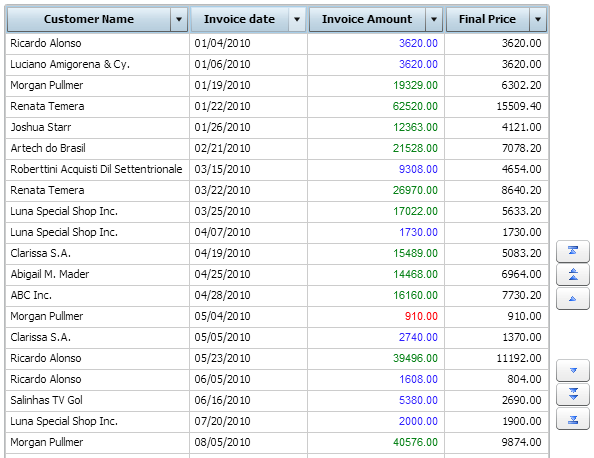
At runtime, the query will look similar to the following image.