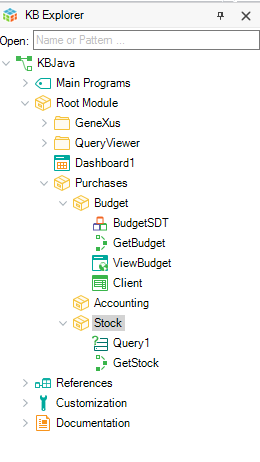
The Module Diagram Tab enables us to create a diagram showing the relations between Modules. This Diagram is meant mainly to allow analysts an easy comprehension of the Knowledge Base at a conceptual level, and the analysis of dependence between its modules.
To view this tab, open the module by selecting it from the KB Explorer and press F12 or right click on the module and select Open.
Each Module is represented by a yellow rectangle, and the SubModule and Reference relationships are represented in the diagram as follows:
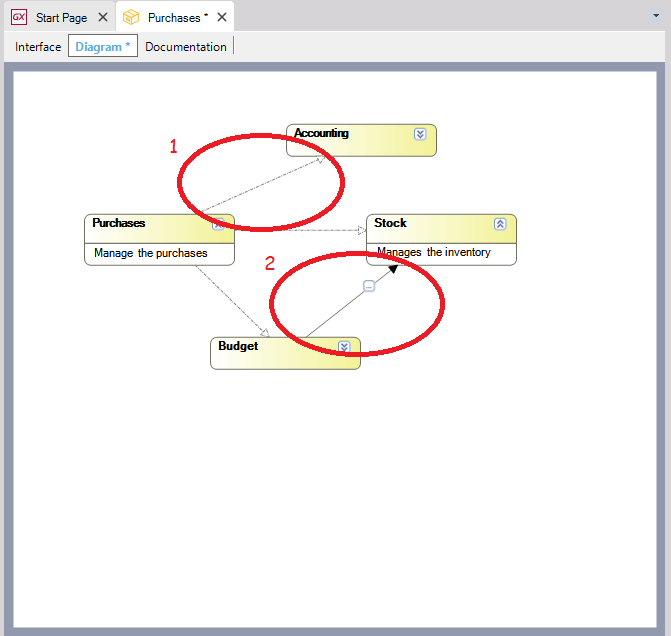
The SubModule relationship (1 in the above image) is set when a Module is part of another Module (i.e. a sub module) and the Reference relationship (2 in the above image) is determined when an object that is part of one module uses an object that belongs to a different module.
Note that the SubModule relationship arrow is drawn with a dotted line and an empty arrow head, and the Reference relationship with a solid arrow.
Every time a Module is opened the Diagram Tab shows the current relationship between the modules that belong to that diagram.
Once the diagram Tab is open, drag and drop the modules from the Folder View into the diagram, and relationships will be shown automatically.
Objects in this Diagram can be arranged manually or automatically using the Arrange Nodes option (Ctrl+G). The Arrange Nodes feature can be used repeatedly until you get a "stable" diagram.
Adding objects to a diagram can be done in any of the following ways:
| Drag and Drop from KB Explorer |
|
| Add SubModules option, in context menu1 |
Adds all direct Sub modules. |
| Add All SubModules option, in context menu1 |
Adds all direct sub modules recursively, so all modules that are sub modules to the one selected are also added to the diagram. |
| Add References option, in context menu1 |
Adds all direct Referenced Modules. |
| Add All References option, in context menu1 |
Adds all Referenced Modules and recursively the Modules referenced by them. |
1 These options will add the modules related to the one selected upon right-clicking.
Tips
- Use the Ctrl-'mouse wheel' option to zoom in or out of the diagram.
- The diagram may be exported to the clipboard or to an image file using the options "Copy bitmap to Clipboard" and "Save as Image" from the context menu.
The SubModule relationship (number 1 in the previous image) is a one way line and Reference relationship (number 2 in the previous image) is a one way line containing a  .
.
When clicking the on a Reference relationship line, the following window will open up:

It displays the objects from the source Module that reference an object of the opposite Module. Clicking on an object from the source Module will display the referenced objects grouped by Object Visibility property.
Tip: Use the "Back" option to go back to the Modules Diagram.
Modules can also be added to a Diagram Object.
As of GeneXus Tilo Beta 3.
Module object