This document is a quick overview of a very simple Windows 8 Application generated with GeneXus X Evolution 3. It’s based on My First Windows 8 Application and the design is 100% default; no design work was done to improve the application UX.
It was run using a PC with Windows 8 Enterprise installation, mouse and keyboard. So, if you’re using a “touch enabled” device (e.g. surface) “clicks” are “taps”, etc.
Note: If you prefer to watch a video instead of reading, check out this one
Splash Window
This is the default splash window while the application is loaded:
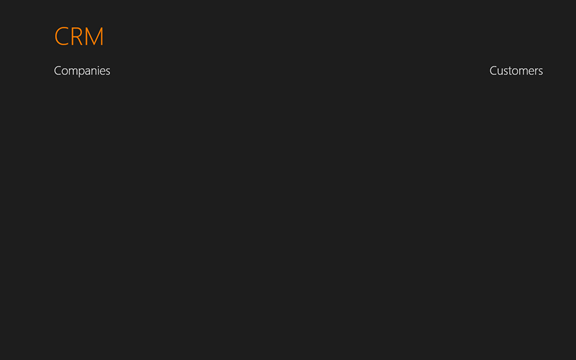
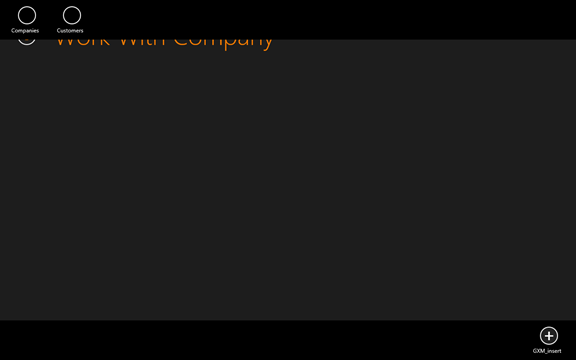
Dashboard view (Database is empty)
It includes both “work with” screens generated, i.e. Companies and Customers.
Right-clicking on it shows the Application Bar to “insert” a Company or a Customer (for now, both actions are identified with the same text: GXM_insert)
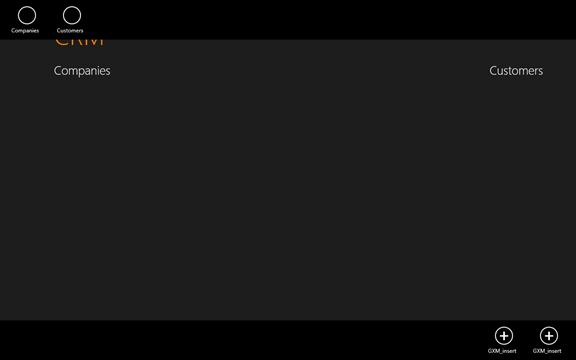
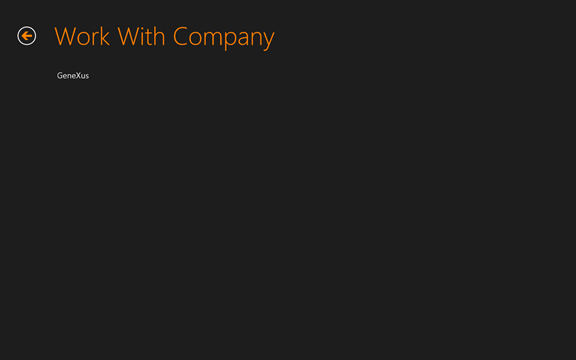
Clicking on the circles above or on the labels “Companies” or “Customer” the corresponding “List” is displayed:
Inserting an entity (e.g. company)
In this example the list is empty. To insert an item, such as a company, right-click on the list:
and use the action “+ GXM_Insert” shown below.
The form to insert is shown:
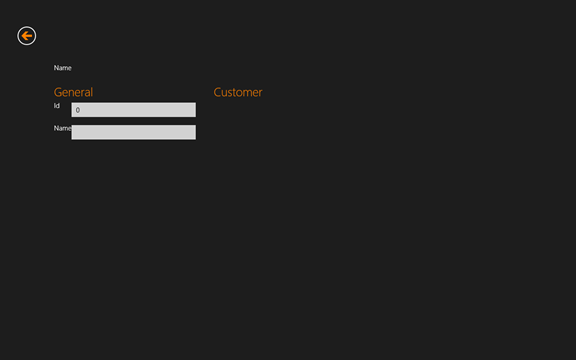
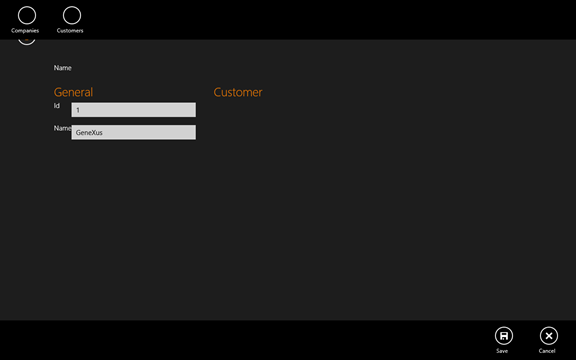
complete the data:

Right-click on it and the actions “Save” and “Cancel” will be displayed:
Save and the application returns to the list showing the company which was just added to the list:
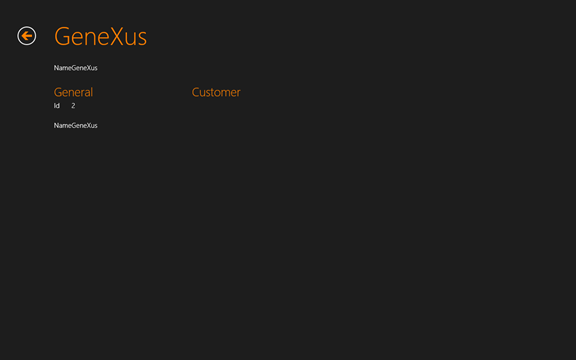
To update the company added, just click on the corresponding company name (row) and the detail is displayed:
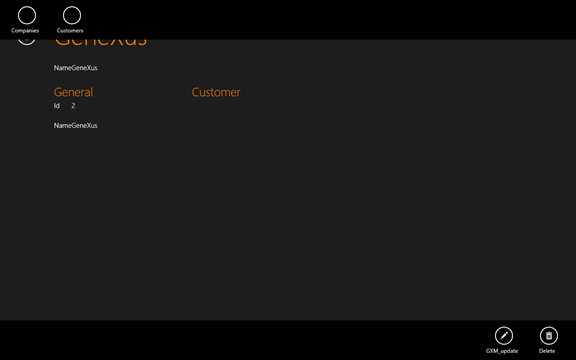
Right-clicking on it will display the actions “update” (edit) and “delete”:
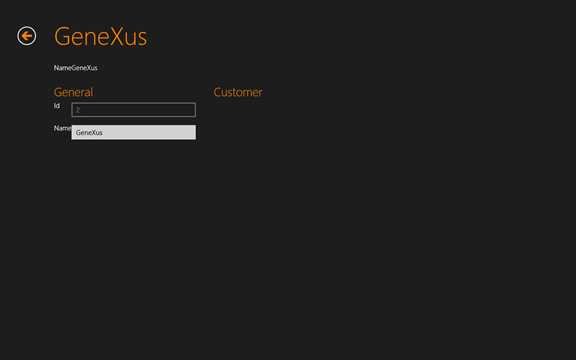
Selecting “update” displays the following form to update data.
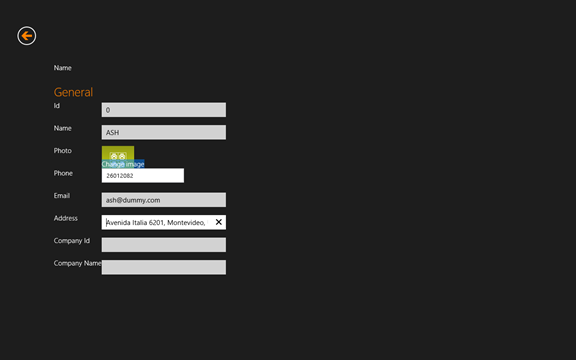
Editing more complex forms
The above form was a simple one, but you can have more complex forms. In this example, Customer detail includes phone number, image, address, etc. This is implemented by using “Semantic Domains” and pickers (for ex. to choose an image):
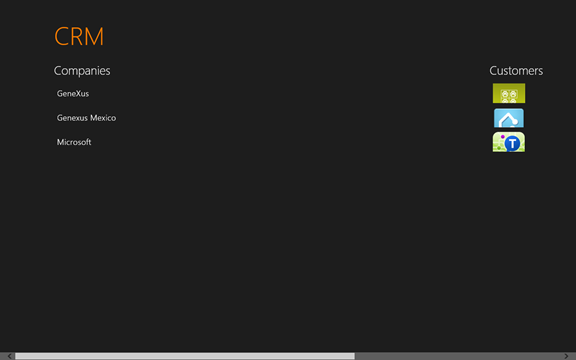
Navigating the application/data
Once data has been added, let’s go back to the dashboard. It shows the “Companies” list (left) and “Customers” list (right):
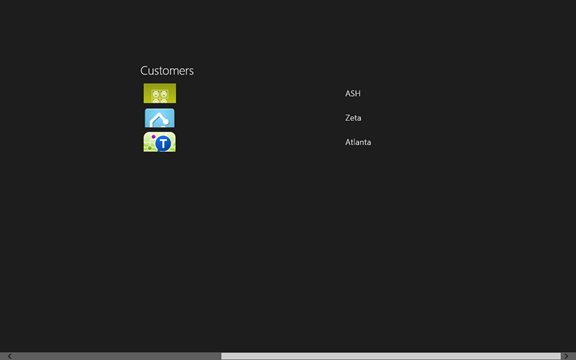
Scrolling to the right shows more info about Customers:
Clicking on a company shows its details. In this case, the information about “GeneXus” and its customer is shown:
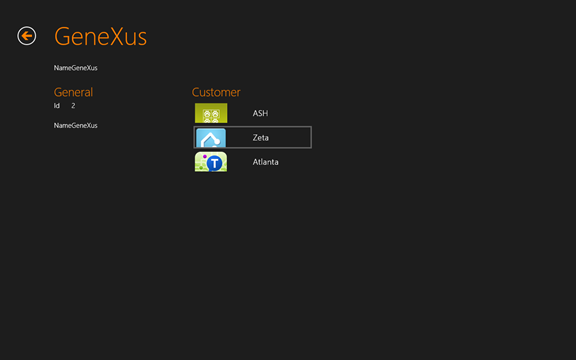
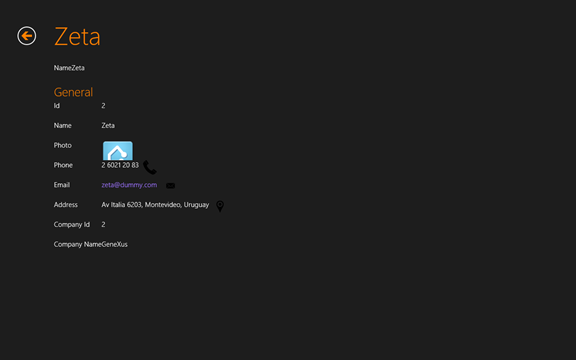
Click on a customer (for ex Zeta) to show this Customer's details:
Integrated with the environment (Windows 8 and applications installed)
This is the Zeta customer detail:

Clicking on the small icons (phone, envelope, etc) triggers an action.
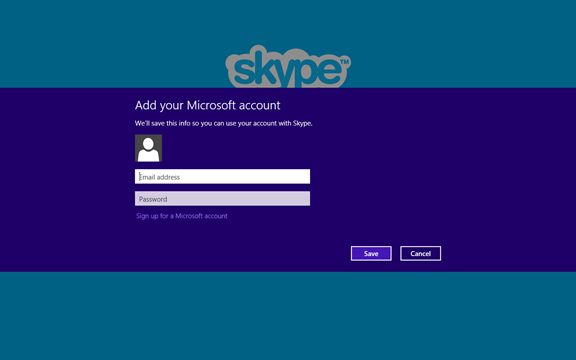
Since Skype is installed, it is started once you click on the “phone” icon:
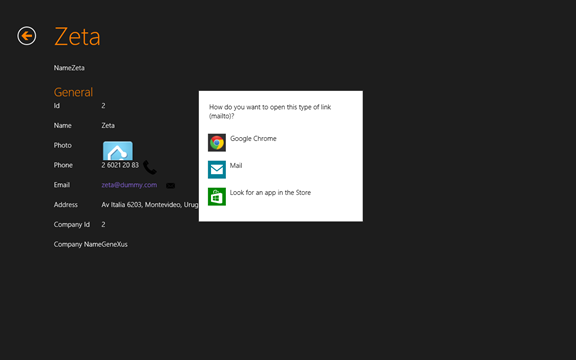
Clicking on “envelope” displays all the applications which are able to send an email:
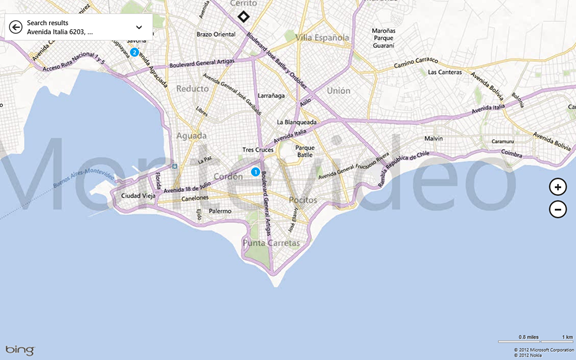
Clicking on the “map balloon” icon starts the maps application: