Open a GeneXus Java-generated web application using Eclipse, in order to debug the application.
Follow the steps below:
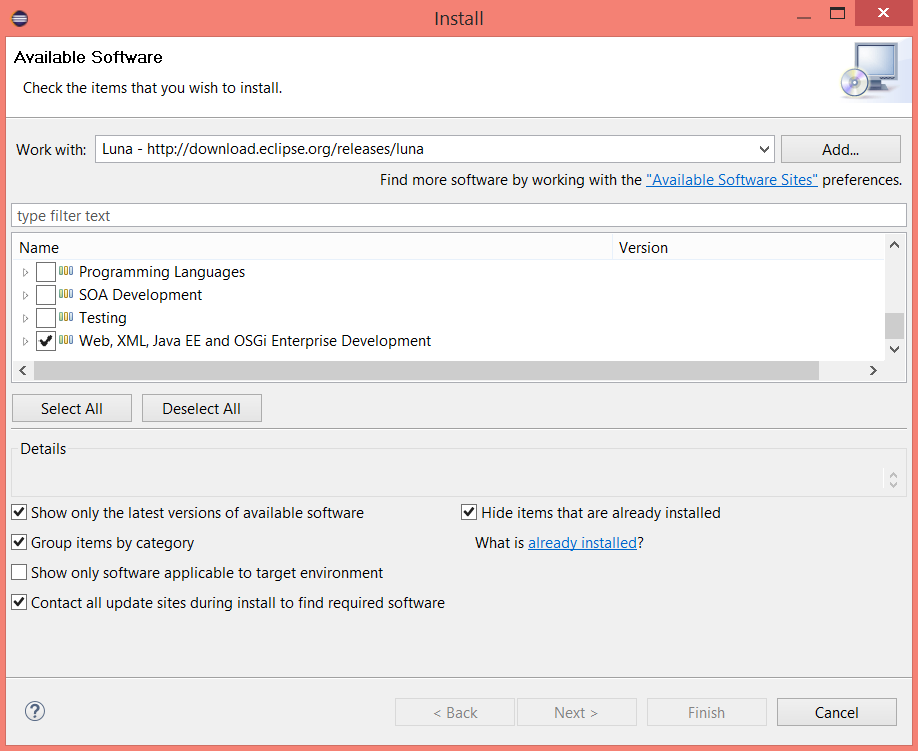
Click on Help/Install new software, and select the project.
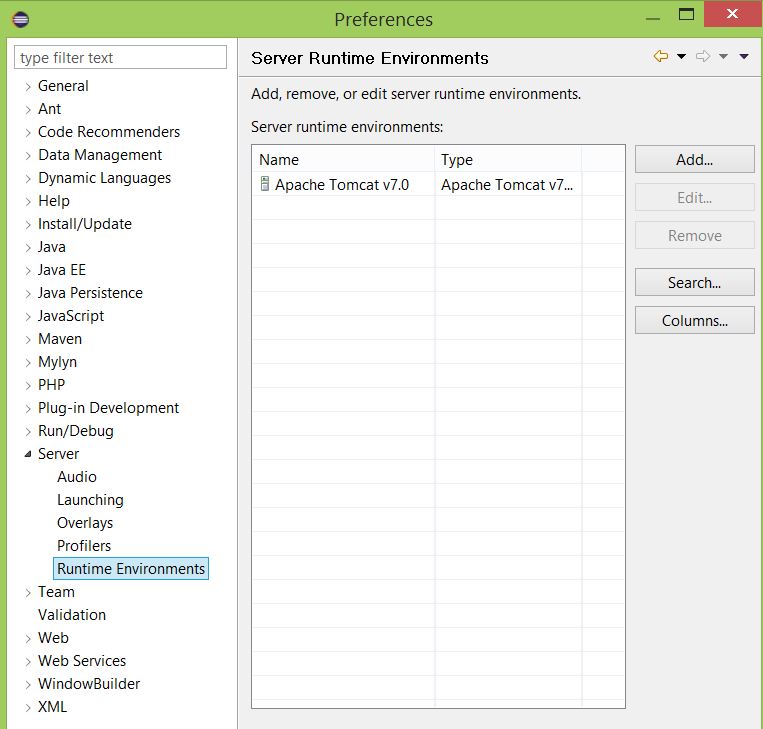
Select Window/Preferences/Server/Runtime Environments and click "add".
Click here for details.
See also this link.
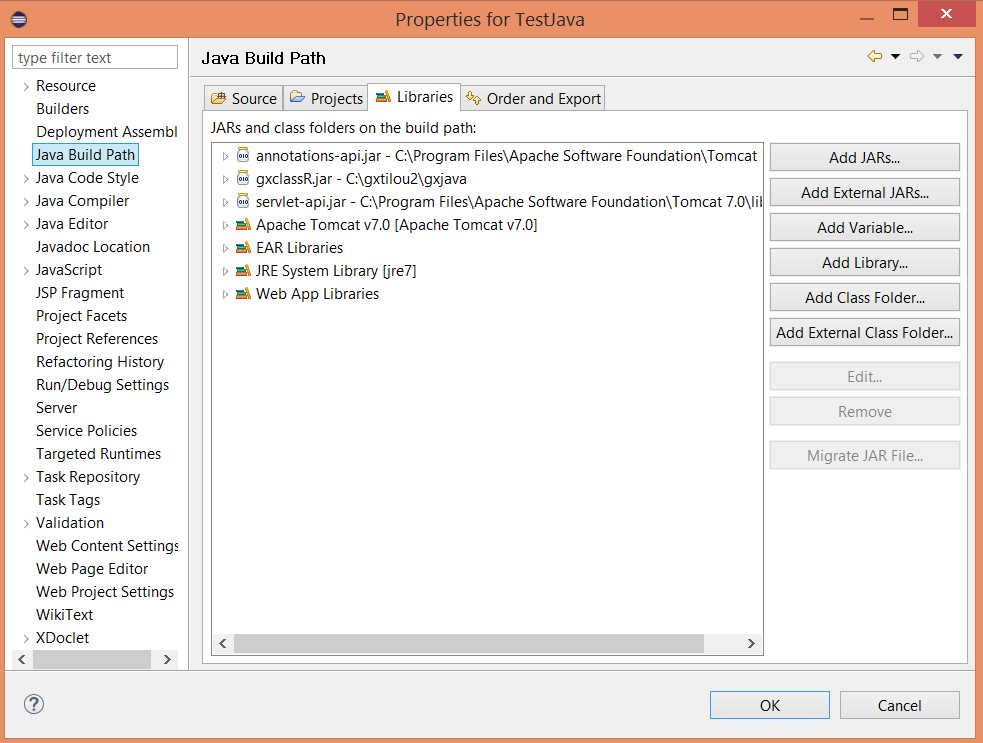
First, add the dependencies libraries (gxclassr.jar, servlet-api.jar, annotations-api.jar). Right-click on the project and go to the menu properties. In the "Java Build Path node", in the libraries tab, add the gxclassr.jar, the servlet-api.jar and the annotations-api.jar (located in the common/lib Tomcat directory).
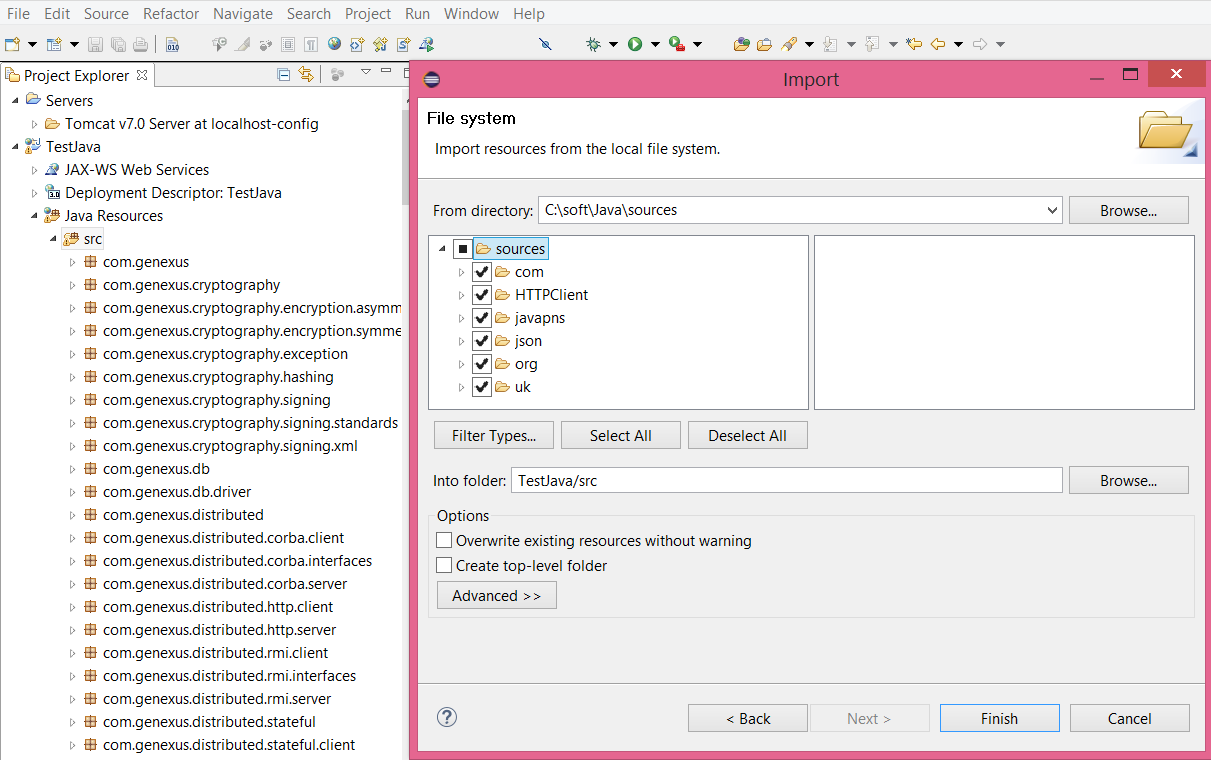
Add the source files generated by GeneXus, and the configuration files (client.cfg and messages.xx.txt) needed to build the application.
Right-click on the project and go to the menu properties. Select "import \ file system". There, browse the folder containing the .java files generated by GeneXus, and add them to the project, along with the client.cfg file and messages.xx.txt files. Remember that you need to create a package if the KB has a java package name configured.
See here for more details.
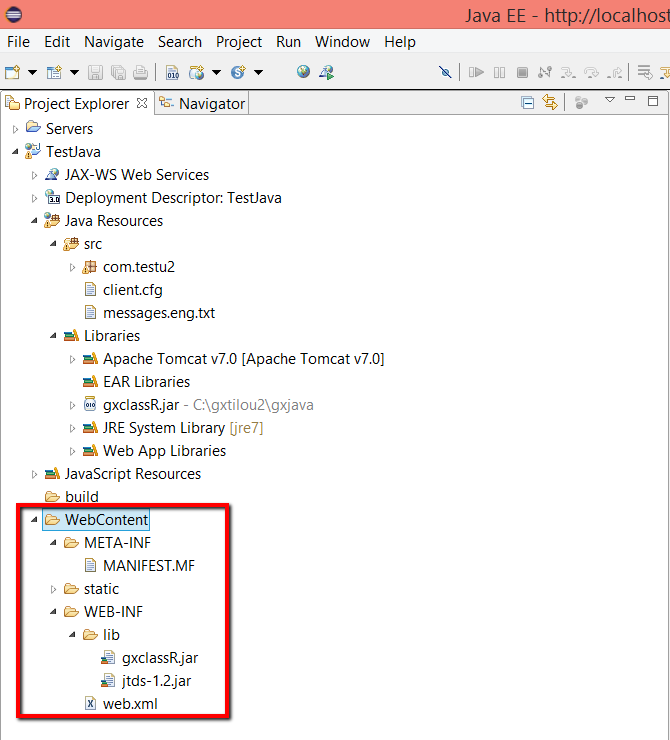
Copy all the needed JARs to project-name/WebContent/WEB-INF/lib.
Do the same with the static resources of the application, add a folder under the WebContent folder (e.g static) and add the static resources there. The name of the folder has to be the same as the value set in the Static content base URL property.
The static resources are those which have been copied to the path indicated in the Static content directory seen from client property.
See here for mode details.
Run Tomcat from Eclipse (go to servers tab, and click start). Verify the output in the console.
See this link for details.
- You can download the GeneXus Java generator standard source files from assembla, to add them to the project. The way to add the standard source files is the same as explained before. Right-click on the project and go to the menu properties. Select "import \ file system". Browse the folder containing the GeneXus Java generator standard files.
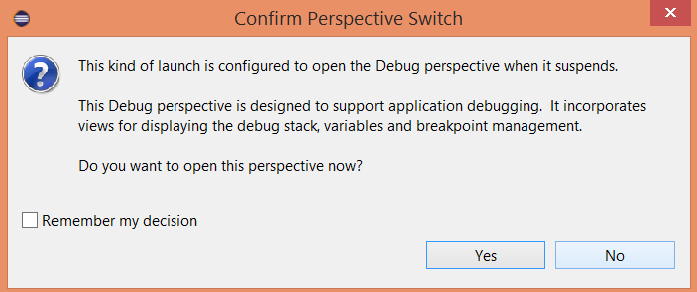
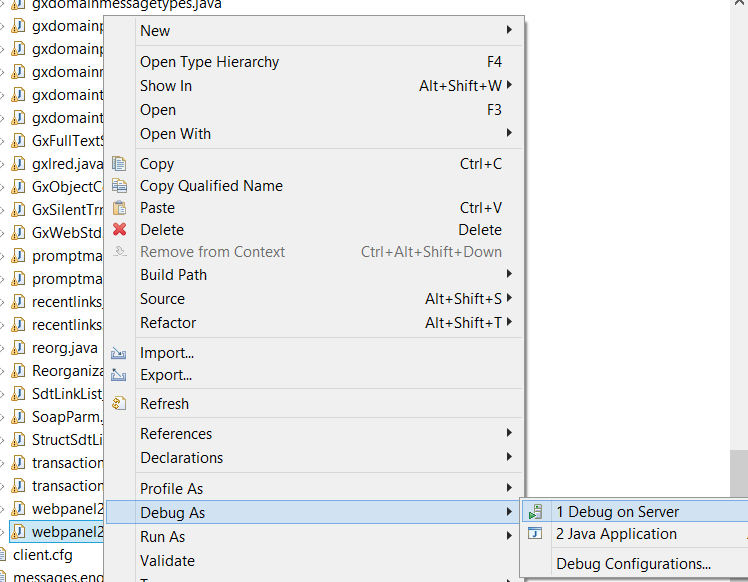
- In order to debug the application, switch to the debug perspective of Eclipse. After adding the breakpoints to the lines, execute the web panel using the Debug As/ Debug on server option.