You can incorporate behavior into your Native Mobile Applications by adding Actions that offer different ways to interact with the devices.
This document explains how to schedule a date in the Calendar from your application.
1. Consider the following Transaction objects:
Customer
{
    CustomerId*
    CustomerFirstName
    CustomerLastName
    CustomerBirthDate
    CustomerPhone
    CustomerEmail
    CustomerAddress

}

Date
{
    DateId*
    DateDescription
    DateStartDate
    DateEndDate
    DateStartTime
    DateEndTime
    DatePlace
    CustomerId
    CustomerFirstName
    CustomerLastName
}
2. Open the Calendar external object and pay attention to the Schedule method:
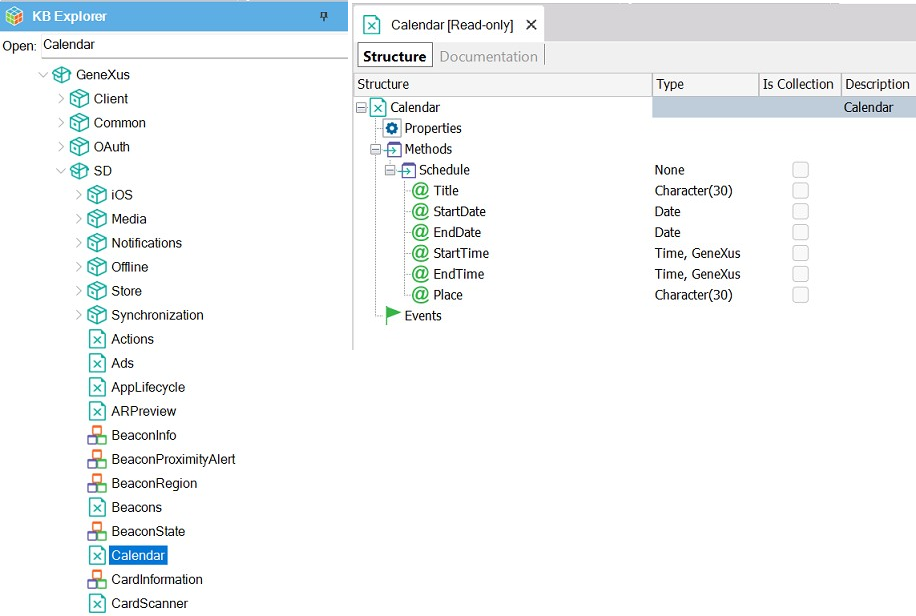
It has six configurable parameters.
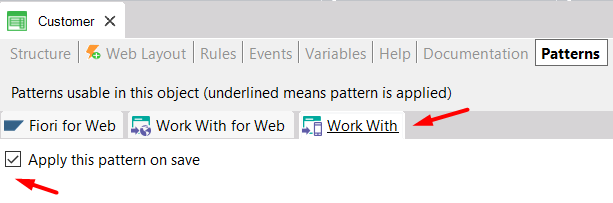
3. Apply the Work With pattern to the Customer Transaction:
4. Select the Section(General) node. The next step consists of adding, in the Edit Layout, a new button to the Application Bar (enter "Calendar" for the Event Name).
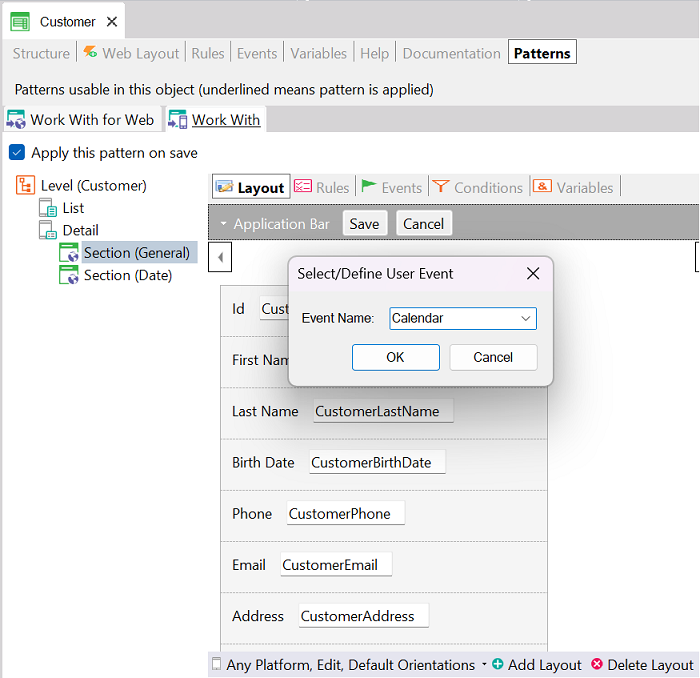
5. Double-click on the new action to go to the event that will be triggered when the action is executed. The event must contain a call to the Calendar external object and the Schedule method with the parameters needed.
Event 'Calendar'
      Calendar.Schedule(DateDescription,DateStartDate,DateEndDate,DateStartTime,DateEndTime,DatePlace)
Endevent
Note: Even though all the parameters may not be used, they must be included in the method call. If some are not used, you can include the empty string ("") instead.
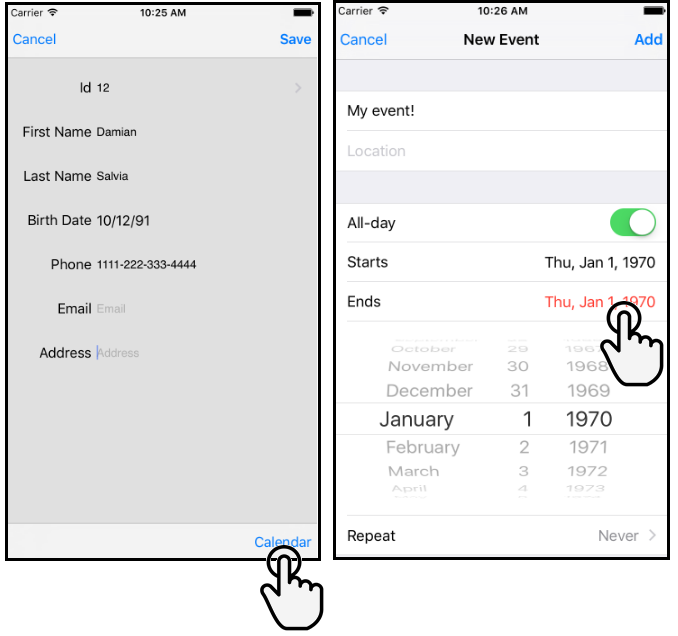
Now your action has been configured.
| Android |
iOS |
 |
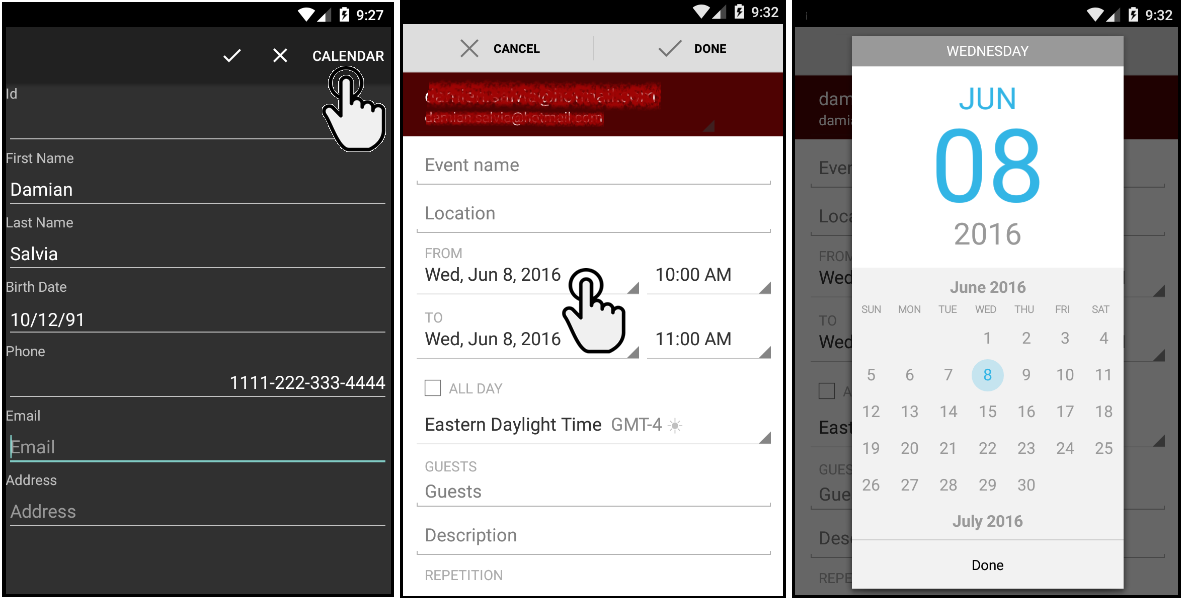 |
Note: In Android, the scheduled meeting is open and already saved. Tap on Cancel if you want to delete it. If you tap on the Back button, the event is saved anyway. That's because of the Android API design.
Calendar external object