After downloading the GeneXus Trial Version, you can easily install it by using the intuitive installation wizard and selecting 'Typical' installation type. For more details, see the detailed explanation below.
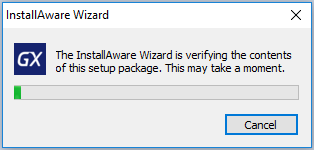
Launch the installer you downloaded and wait for the InstallAware wizard to verify the contents of the setup package.
Select 'Typical' installation type and click on install. You may change the installation path, if necessary.
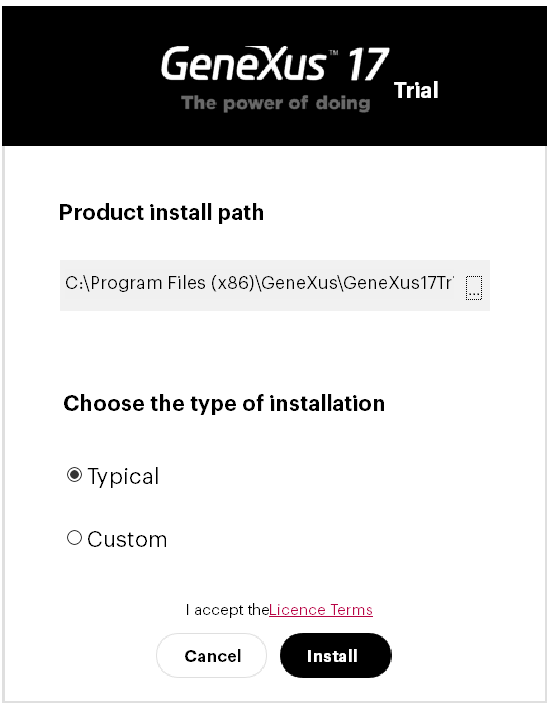
Click here to view the License Agreement for the Trial version of GeneXus.
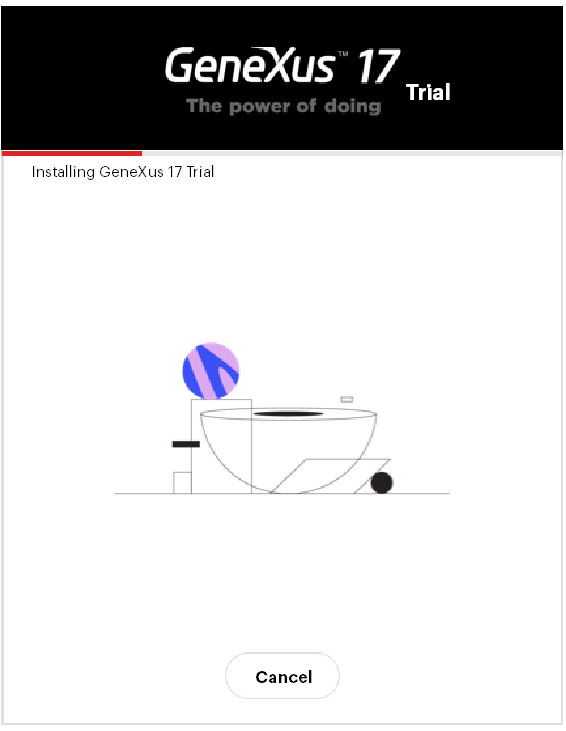
Wait for the installer to complete the installation process. If MS SQL is not detected on the system, the installer will automatically install MS SQL server along with the Trial version of GeneXus.
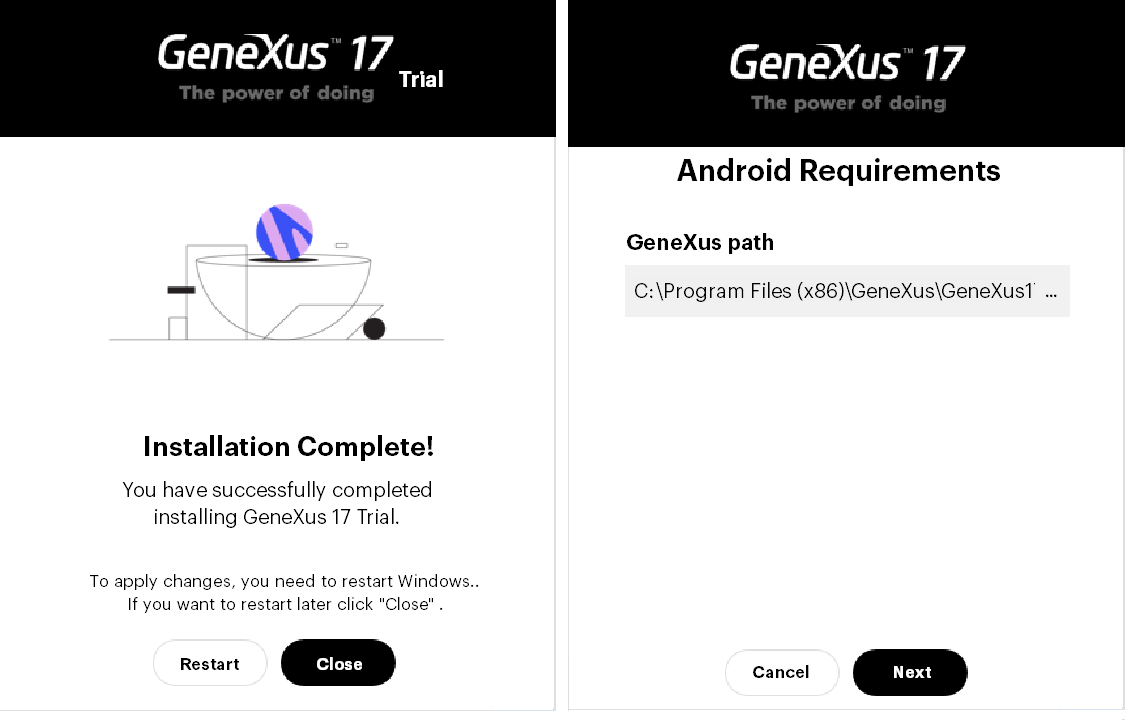
After the Trial version of GeneXus has been installed, you will see two windows simultaneously: one informing that you have successfully completed the installation and the second one providing an option to install Android SDK. If you are interested in developing
Android applications, click on install and the installer will automatically download and install all the required components (JDK and Android SDK); otherwise, click on cancel to quit Android SDK installation.
If you have installed Android SDK, the last window that will appear is the following:
You are now ready to use the Trial version of GeneXus. Run 'GeneXus 17 Trial' from your desktop to create a new Knowledge Base (project) or to create an application using the samples from GeneXus Server.
Click here to watch GeneXus training videos or proceed with First Steps with GeneXus.
Click here for contact details of the support team.