Introduction
GeneXus X includes a newly updated IDE that allows users to set which windows to display, their position, size, and so on. This is a completely new working method for users accustomed to previous GeneXus versions.
This document describes some basic instructions for customizing the IDE's windows.
It's open to improvements and comments to enhance it and achieve better results, according to the Wiki's philosophy (GeneXus Community Wiki).
Basics of Window Management in GeneXus X
General structure and use of views
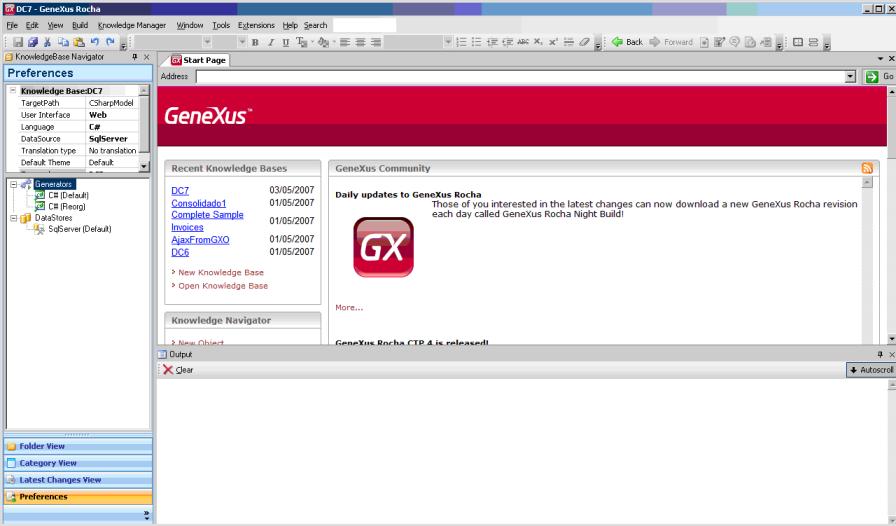
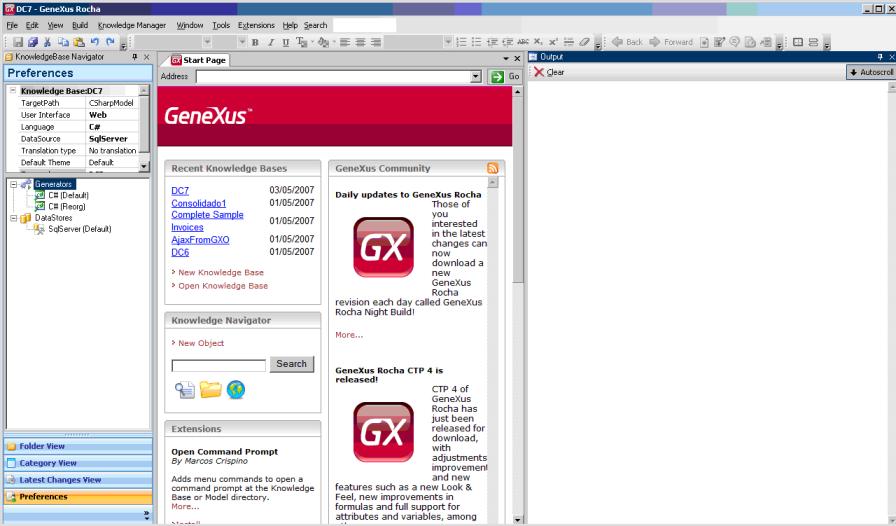
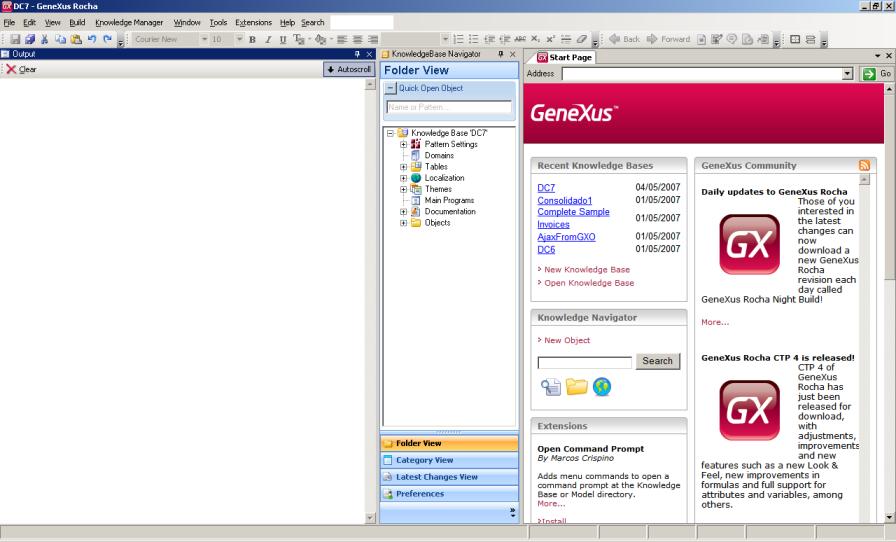
Upon opening a GeneXus session and opening a KB, depending on the displayed windows, opened KB, opened objects, and so on (the saved workspace), something similar to the following will appear:
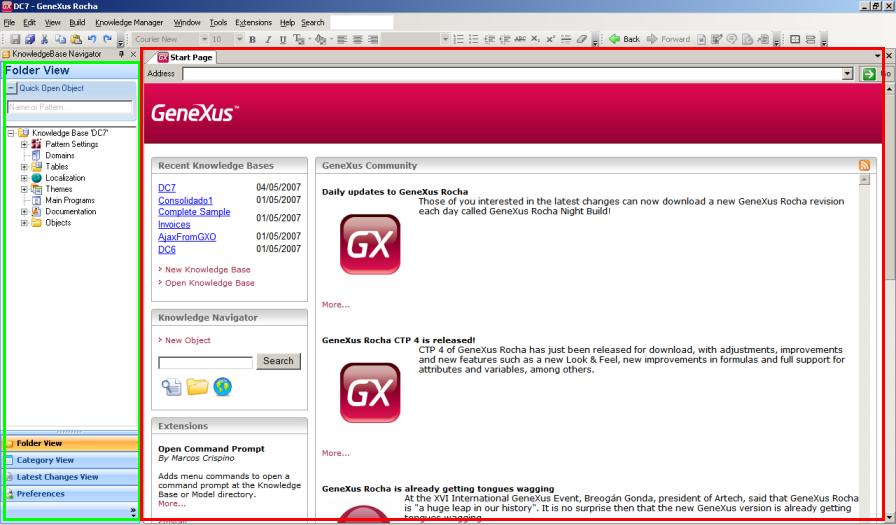
Two areas stand out: to the left (green rectangle) there is a set of views and to the right (red rectangle) there is a main window, which in this case shows the Start Page. As we will see later, the KB objects, navigation lists and so on will be displayed as tabs in this main window. In the example, the only tab displayed is the Start Page.
In turn, the area to the left of the screen can be divided by half:
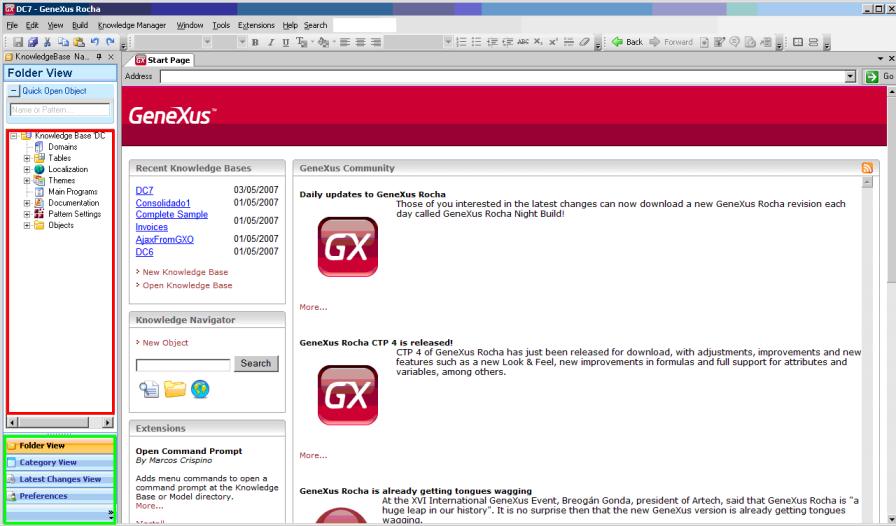
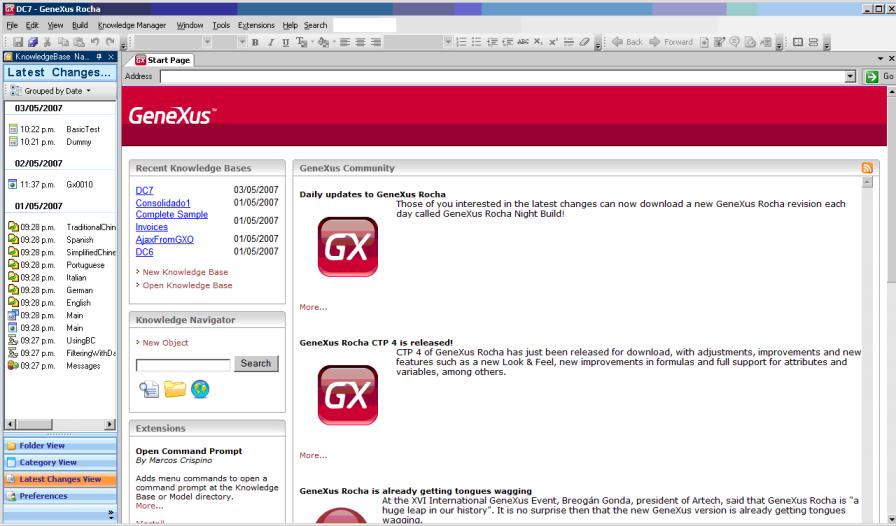
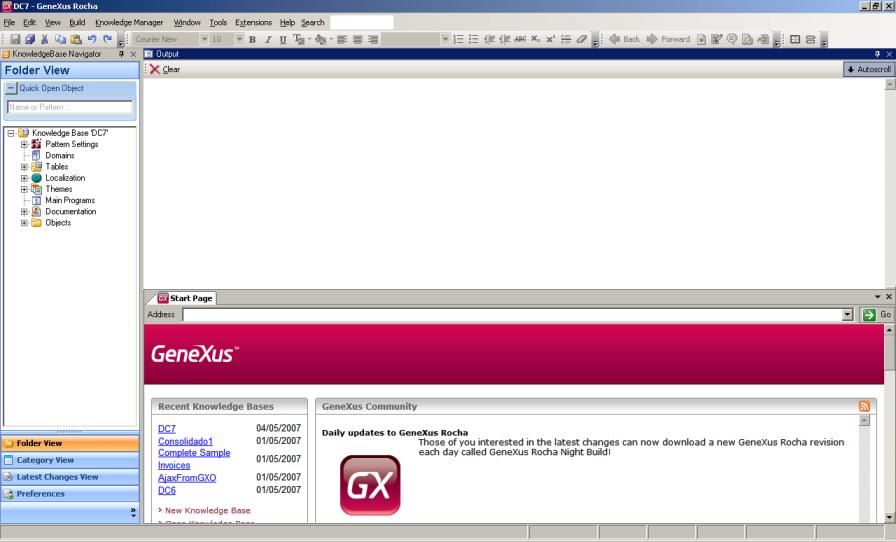
The red rectangle shows the current view selected, the Folder View, and a list of folders (the list of other possible views). Clicking one of those other views displays another type of information about the KB. For instance, clicking Latest Changes View shows the following:
The same can be done with the rest of the views.
Which windows are shown as active?
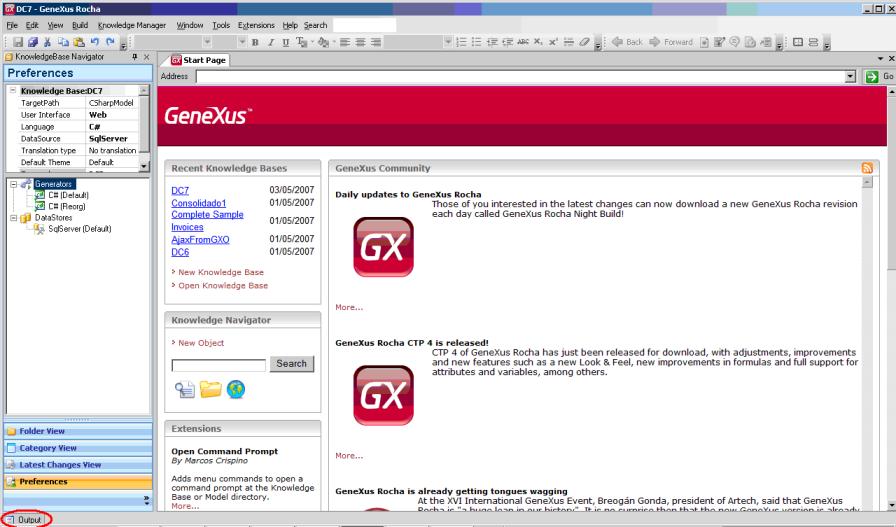
Besides these two components (views and main window), other windows can be enabled/disabled with the "view / tool Windows" option:
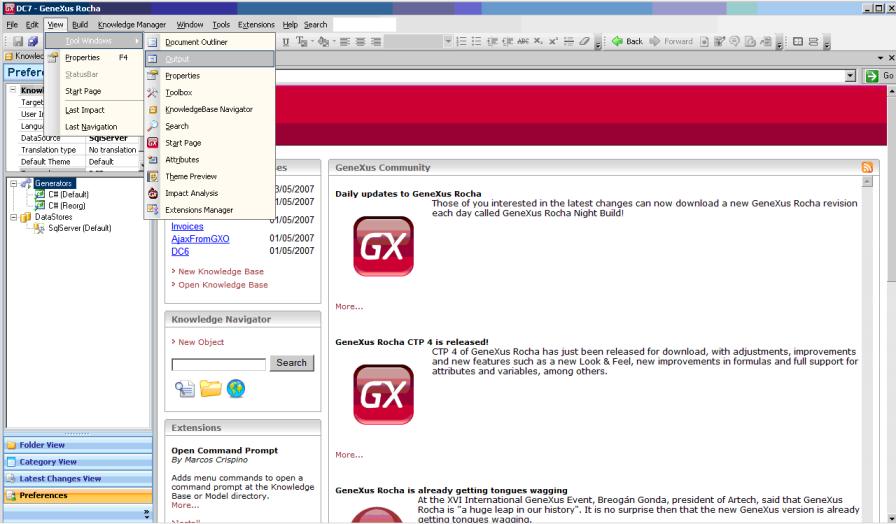
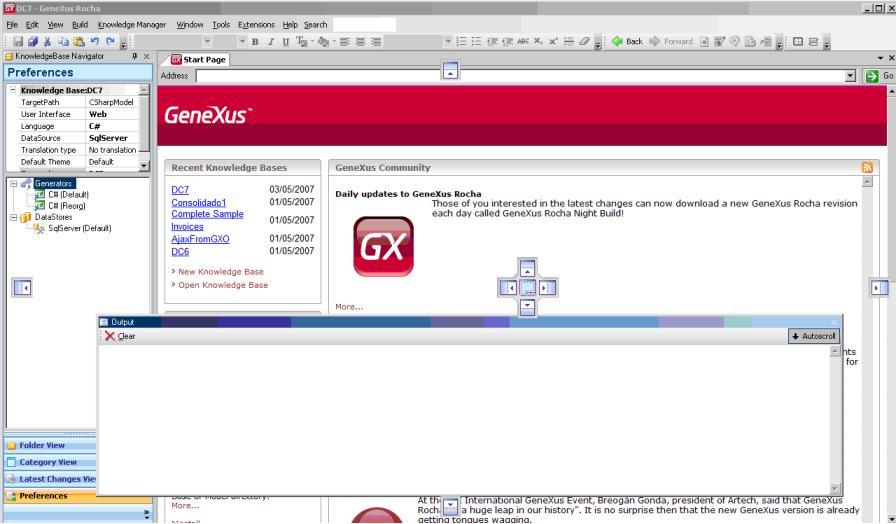
In this example, the output window is enabled (it appears at the bottom of the screen):
In addition, using the icons on the upper right corner the window can be closed (  ), auto-hidden or fixed (
  )
)
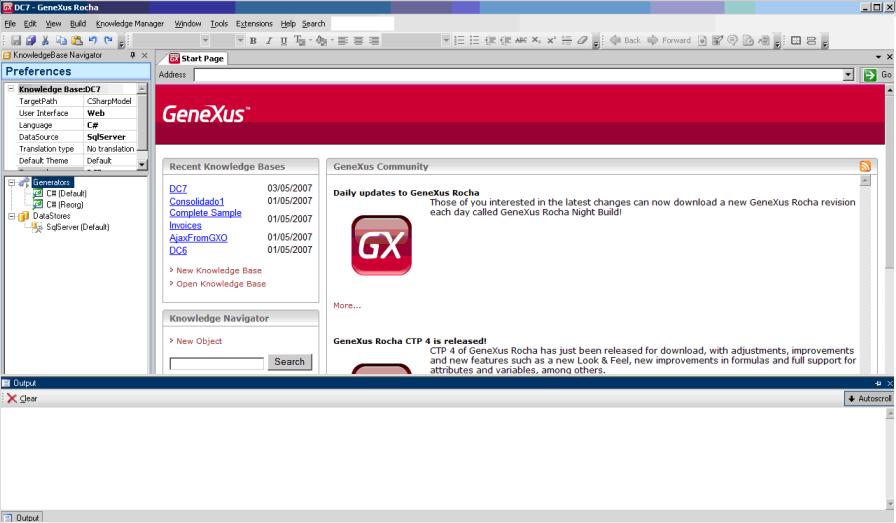
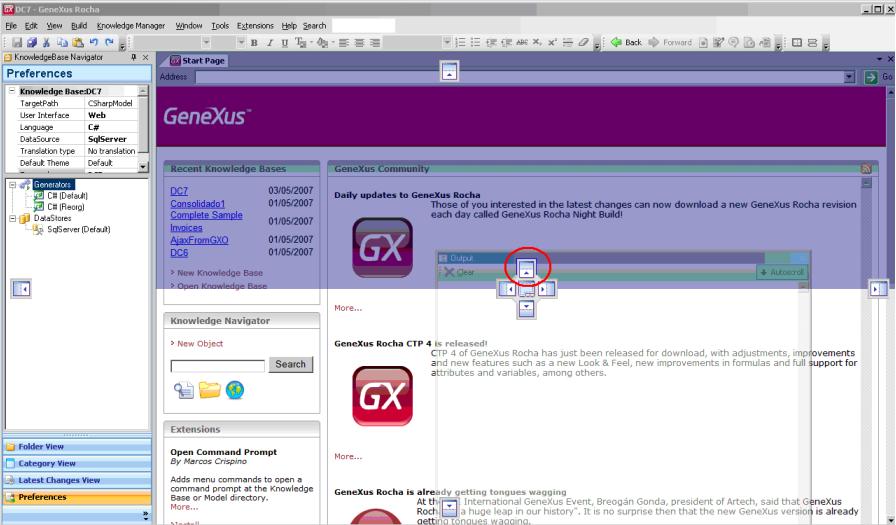
In this example it is fixed so it is always visible. It can be auto-hidden with the icon so that it is minimized at the bottom (red circle).
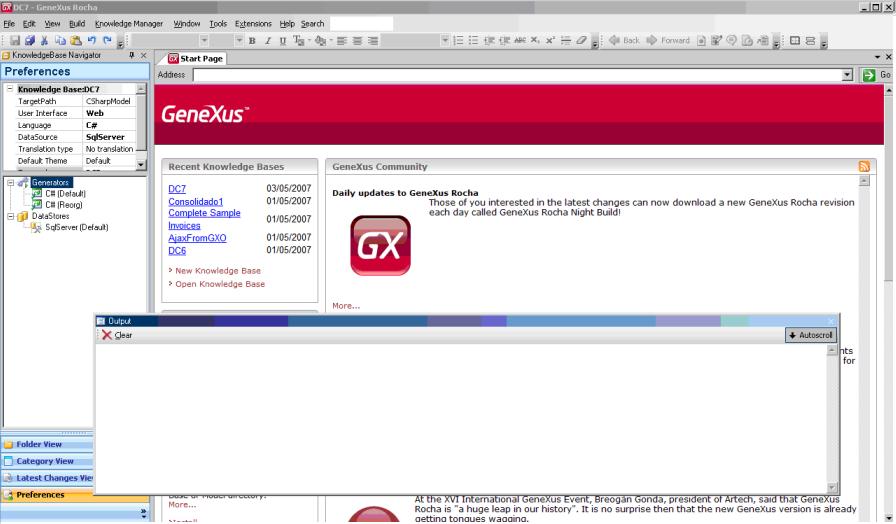
It is displayed by positioning the pointer on it::
Pointing outside the window minimizes it:
This is why it is auto-hidden  .
.
To dock it again, position the pointer on it and click the  icon when it appears. The window will go back to its original position:
How are windows repositioned?
Click on its title and then press and hold down the left button as you move the mouse. In the following example, the Output window is being dragged, as shown below:
If you release the button, this will be the new location of the window:
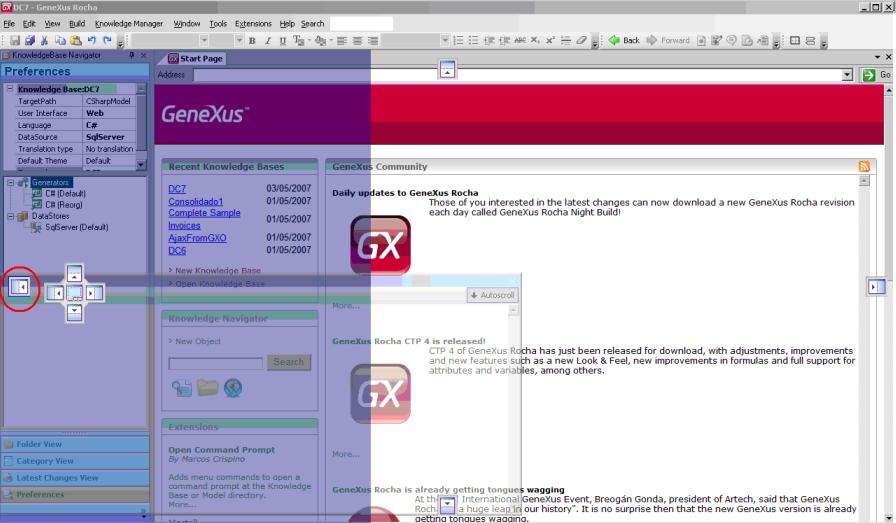
This position is fixed. To place it in a position relative to the other windows, you can use the controls that appear when the window is moved (red circles).
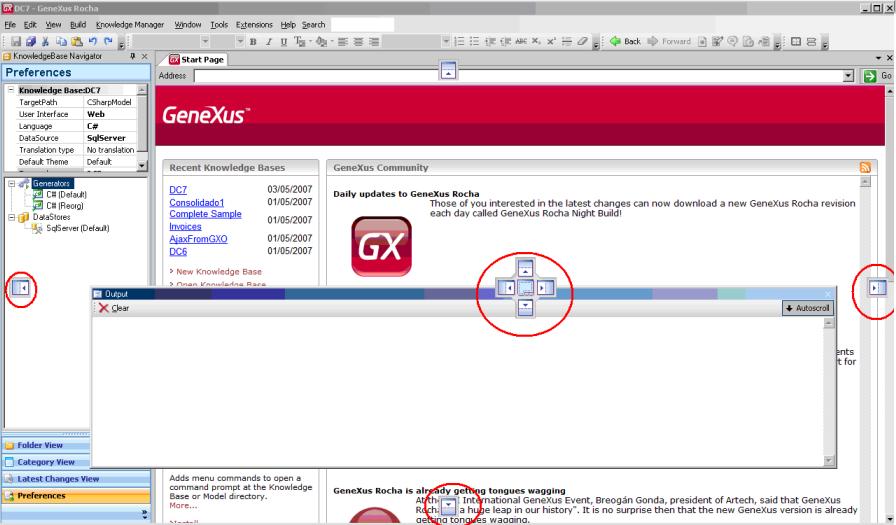
If the mouse pointer is positioned on any of these controls, the window that is being moved (output in this example) will take a position relative to the window containing the control: above, below, to the left, or to the right.
For example, to place the output window to the right of the main window, drag it until the mouse pointer is on the right control (red circle). When the output window turns blue (it indicates the position it will take), release the mouse button:
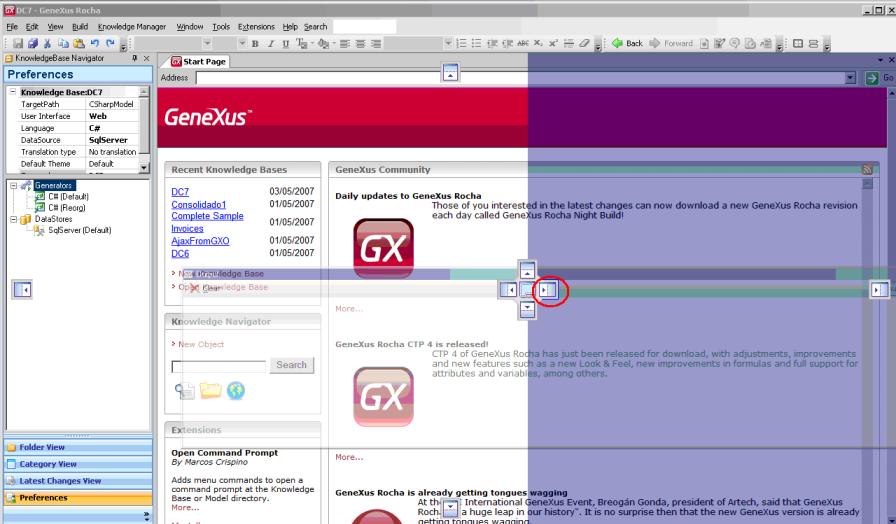
In this way, it is positioned as follows::
To place it at the top, repeat the same process as above but release the button when the mouse pointer is on the "above" control (red circle):
This is the result:
To place it to the left of the views window, the process is similar:
This is the result:
The same process applies to the rest of the enabled "tool Windows."
In this way you can control the windows you view, their size, if they are auto-hidden or not, etc., and arrange the windows so that you can work more comfortably.
For example, you could have the following setting:
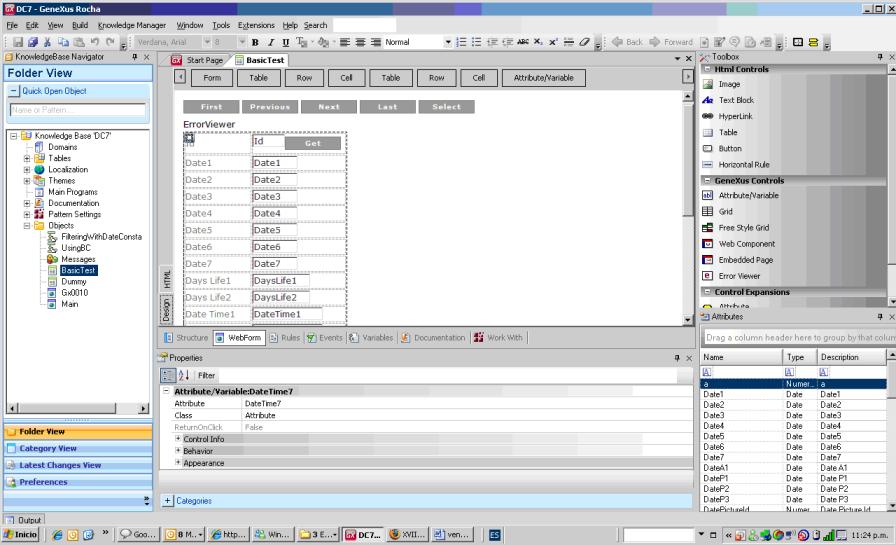
In this example, the Folder view is to the left, a transaction form is being edited (main window), below it are the properties of the control being edited, to the right is the toolbox and below it is a list of KB attributes
But that depends on each developer's preferences.
Lastly, note that the objects opened by the developer at a given time will be displayed as tabs in the main window as they are opened:
In this example, in the main window (red oval) are the Start Page, the BasicTest transaction, the UsingBC procedure, the Default theme and one navigation.
The current transaction is BasicTest (white tab).
You can switch tabs by clicking on it or using the arrow (green circle) to go straight to another one. It's useful when not all tabs can be viewed.
In addition, ( ) closes the active ("object") tab.
Where are the IDE settings stored?
This data on Tool Windows (position, size, visible or not, etc.) is stored in the "Documents and Settings\user" that is applied to all the KBs opened by this user from this PC.