Spanish Version
Web Customization
Scope
Product: GXplorer Web, GXquery Web
Introduction
As from this version, there is the possibility of customizing GXplorer Web y GXquery Web graphic interface. The capacity of integration of the products in other Web applications or corporate portals is clearly increased, following the inclusion of a more easy adaptation of GXplorer and GXquery graphic interface to other Web applications design.
Description
In Web applications, the graphic interface design and presentation plays a fundamental role at the time of making applications usable and friendly for the users. GXplorer Web and GXquery Web share this reality and therefore, a feature was added in this new version that allows customizing the graphic interface presented to the tools users.
To perform this customization you must work on two main components of the Web tools interface design: Theme and Images.
Theme
GXplorer Web installation includes a file called GXplorer.css that specifies the design of the different controls that will appear in the Web interface in a Theme called GXplorer. By editing the classes included in this Theme, you can indicate the design that you want for the tool Web interface.
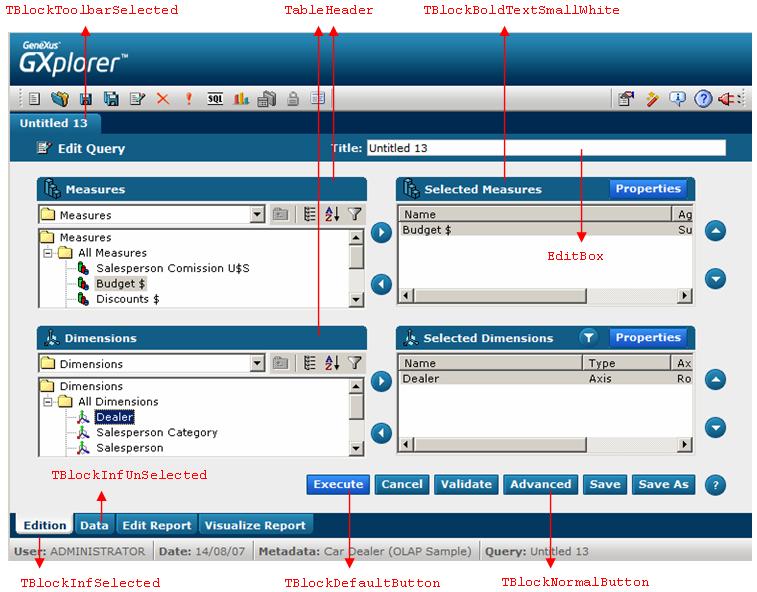
You will find below some of the classes existing in the GXplorer theme and the controls they apply to in the interface.
Editing the theme classes
There are two options:
1. Editing the GXplorer.css file directly
You just open the GXplorer.css file with the program/editor of your choice and edit the information included in it. This solution is quite complex and the user needs experience in the edition of this type of files.
2. Using GeneXus Theme Editor 2.0
This tool provides a friendly and simple interface that makes the edition of the theme associated to the Web application easier. The steps required to perform the edition with GeneXus Theme Editor are the following:
- Open the GXplorer.css.xml file located in GXplorer installation directory.
- The classes included in the theme will be displayed in tree view. There, you can edit the options of each one of the classes
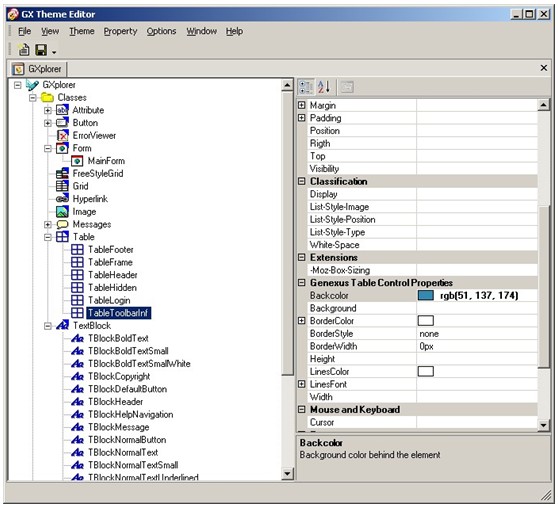
- Once you have made the desired modifications you must generate the GXplorer.css file with the following option: File -> Generate CSS
- The generated file must be located in the Web directory within GXplorer installation directory.
For further information:
GeneXus Theme Editor 2.0 Theme Editor 2.0 Manual
GeneXus Theme Editor 2.0 Setup Download
Images
To complete the controls customization performed by editing the GXplorer Theme, you will generally need to edit some images included in GXplorer Web or GXquery Web installation. These images are used, for example, to show logos, buttons, icons and Tab controls.
Under GXplorer installation, within the Web directory, there is an Images subdirectory. The required images are stored in this subdirectory, within a subdirectory called Default. To customize the images you have two options:
- Edit/replace the images located in the Default subdirectory (maintaining their names).
- Create a new subdirectory within the Images directory where you will place the images with the same names as the ones existing in the Default subdirectory. Besides, you must edit the Config.ini file to indicate the subdirectory where the images must be searched for. For this you must add the following line:
[Web]
ImageTheme = <SubFolderName>
Examples
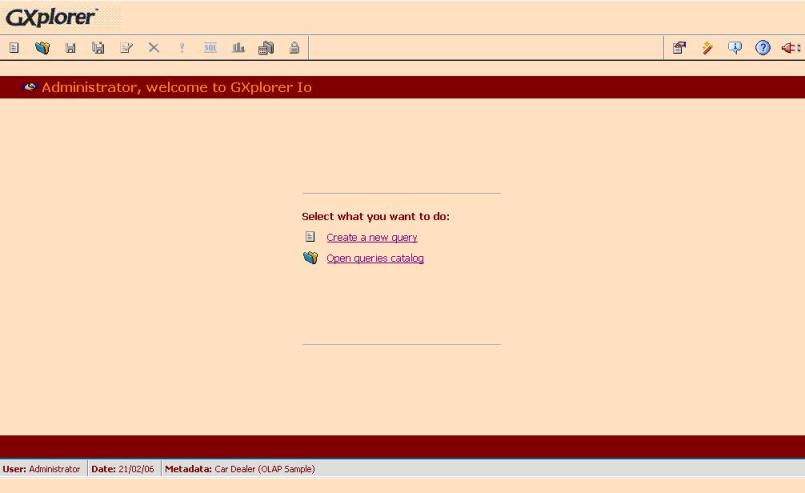
Following you will find images from an example of a Web GXplorer interface customized using the described methods:
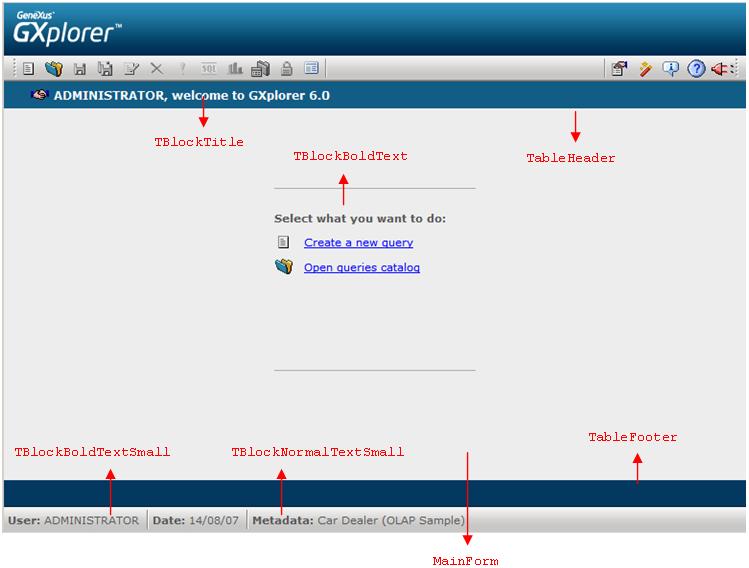
Initial screen:
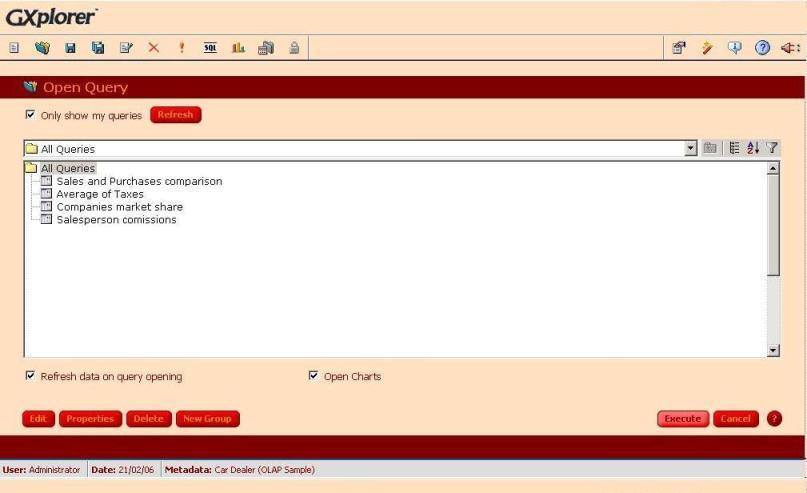
Query catalog screen: