This example combines the use of custom classes and HTML tags.
By defining a custom class, it is possible to give a hovering effect over the links (and even set up different hovering colors within the screen).
A hierarchy of Custom Classes and HTML tags may be established. Suppose you want to set the hovering color and visited color of links, and those links are textblocks in GeneXus.
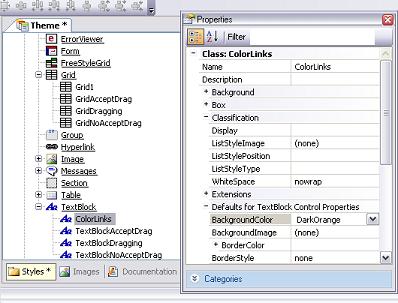
So, the textblocks are associated to the "ColorLinks" class (which you should have already defined under the Textblock class).
Now, you need to:
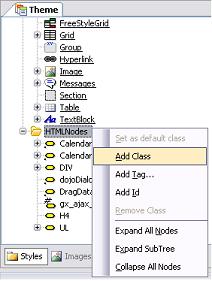
1. Define a custom class named "ColorLinks" under the Editor's HTMLNodes node. Right-click on the "HTML Nodes" and press "New Class" (in order to add a new custom class).
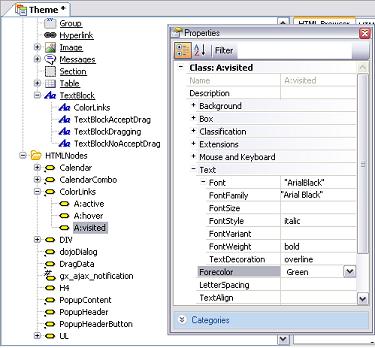
2. Change the "Name" property, with "NewClass" value (default) by "ColorLinks."
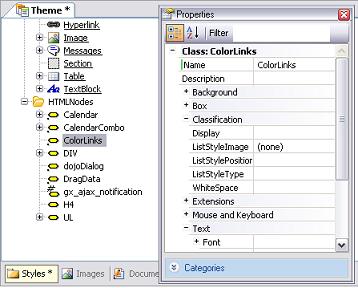
Note that we have defined a custom class with the same name as a derived GeneXus "ColorLinks" class. This is because the textblock will be associated to this class (the ColorLinks class derived from textblock). If it weren't defined under the Classes Node, it woudn't be possible to assign it to any GeneXus control.
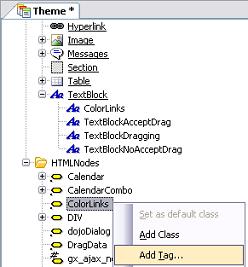
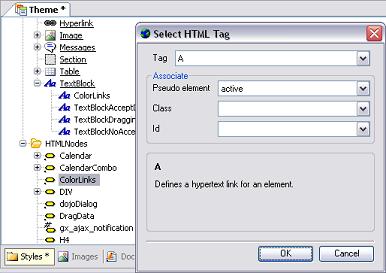
Continuing with the example, in this case, you have to specify a pseudo-element for the HTML tag defined, which is active, hover, etc.
The resulting CSS will be like the following:
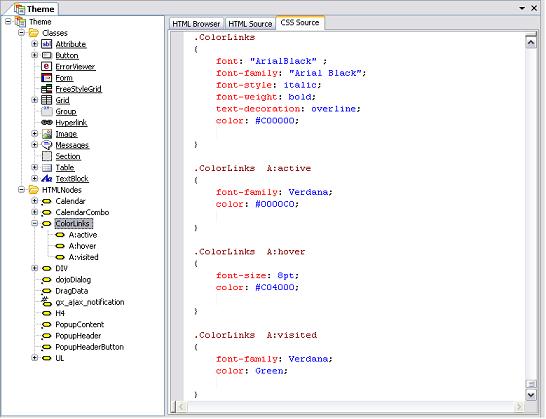
As a result, every time a textblock appears in the HTML associated to the "ColorLinks" class and it is generated as a link, it will take those settings.
How to configure link colors and hovering effects for links