First, watch this video explaining the way to work the DPI in Photoshop.
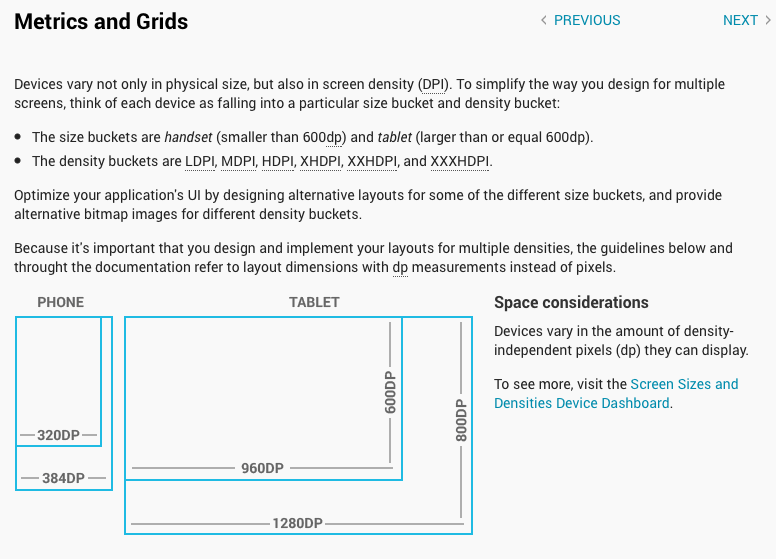
In the Android design guidelines we can find an explanation on Metrics and Grids.
After watching the video, we will apply what was explained to start working on a basic layout:
In Photoshop, generate a file of 720x1280 with 72dpi
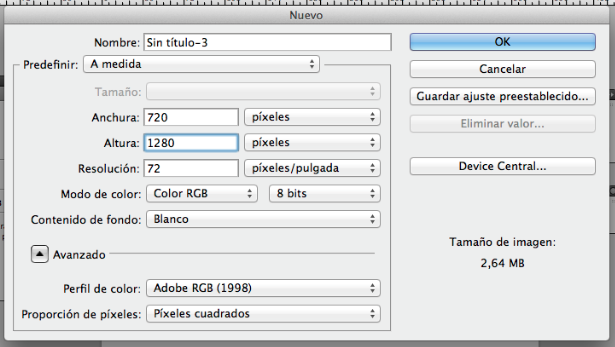
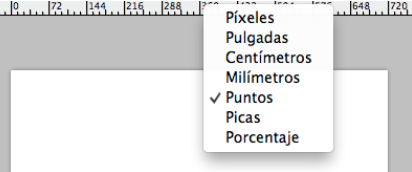
Modify the rulers to work in points (right click on the rulers).
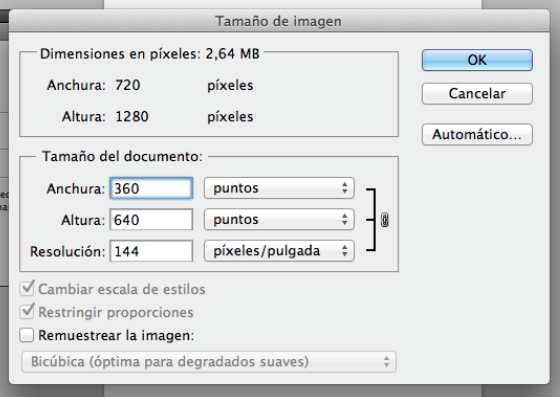
Then go to Image->Image Size and make the conversion shown in the video. Change the "Document size" width to 360 points.
To make sure that we are working with dips = points we will take as reference the images that Android shows on the site:

Download the Android pack and add to the layout the navigation bar and the line with an image, then upsize it to fill the width with the navigation bar untill it looks as follows:
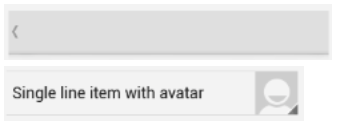
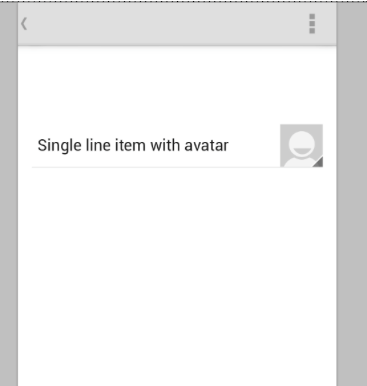
Now if we measure the height of the image it should be 48dip, as indicated on the guides:

To see the height of the image, use the ruler from the toolbar:

With the information bar opened measure the height:
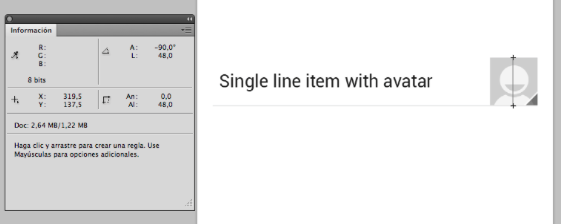
If it measures 48dip, our layout is ready to continue working and we know that all the sizes we have will be set in dips.
We are going to use these measures to generate all layouts in our application.
GeneXus allows us to place different images corresponding to different densities.
To do this we must take into account the following video that explains different resolutions:
What we must understand is that on different screen sizes, we also have different densities, but Android takes a couple of densities as common, and we will use these, which are:
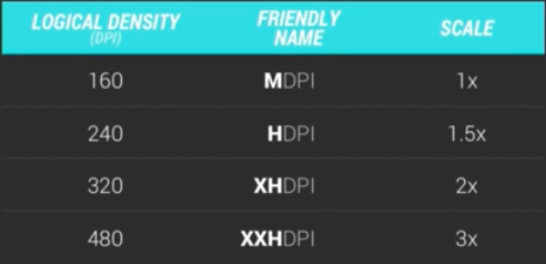
The most important thing to understand is that 160 dpi (MDPI) is taken as the base, hence we left the rest, and for us at this density 1px = 1dip.
To generate an image or background image for all launch densities we have to design it for the highest density XXHDPI and start climbing.
For this example we take the measure of a phone XXHDPI eg. Samsung Galaxy S4 which is 1080x1920 pixels.
Since we know it is XXHDPI, we calculate the dimensions for our layout dimensions in pixels, divided by the scale (in this case 3) and this will give us the dips, then it is 1080/3 = 360dips and 1920/3 = 640dip.
Our layout in photoshop, to create a background or launch image for XXHDPI, will be 360x640dip (360x640 points at 480dpi).
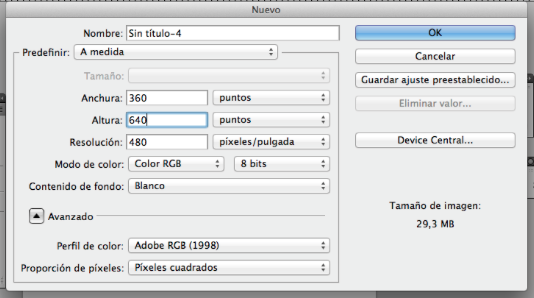
So we begin to resize them down to get the rest of the images XHDPI, HDPI, MDPI.
This technique consists of the following:
http://www.youtube.com/watch?v=z1S9UTy_NQQ
And we can use the link below to generate the nine-patch of our image:
https://developer.android.com/reference/android/graphics/NinePatch
More information.
NOTE: For buttons or images with solid colors it is always advisable to use full color instead of images.
We must always keep in mind that there is no Android pixel perfect.
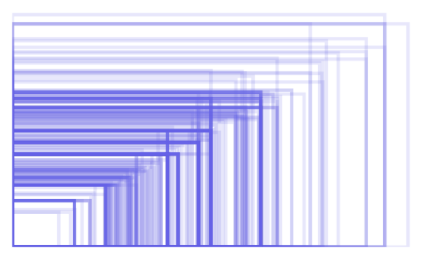
This is an example of all sizes in the Android world:
