This article will walk you through the process of creating a User Control (UC) for Windows Phone. The creation of a UC for Windows Phone shares the same concepts with other platforms so, if you are not familiar with it, please take a look at the following document first: User Controls for Native Mobile applications
Once you’re familiar with UC creation, there are only a few things you need to keep in mind when creating a UC for Windows Phone.
First of all, you need to “tell” the definition the name of the control that will implement the UC and then, of course, create its implementation.
To help you understand the required steps, we will create a User Control to use as an example. This User Control will be called “SD Stringifier” and what it does is show the text string of a number. So, if you have a numeric variable with a value of 5, it will display the string “five” instead of the number “5”.
First of all, we need to create the PropertiesDefinition.xml and the Stringifier.control files. In the latter, there’s a new tag (element) called WinPhoneControl. In this tag we need to add the name of the control that will implement this UC. In this case, the tag will look like this:
<WinPhoneControl>Genexus.UI.TestControls.Stringifier</WinPhoneControl>
Now we need to create the actual control in Javascript that will implement this UC. To do that, we need to create a folder called WinPhone under the UC’s main folder so in this case it looks like the above picture.
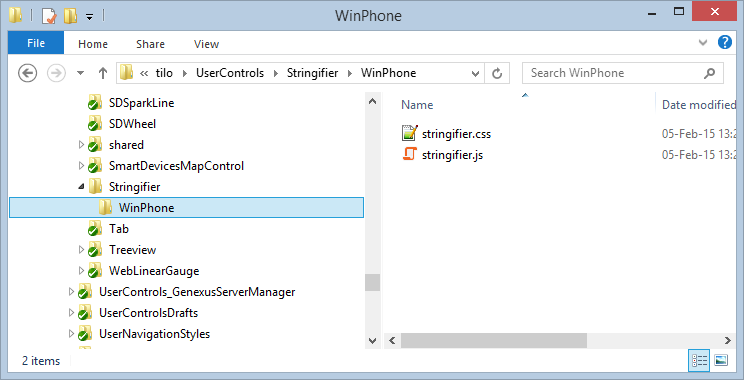
Whatever you have in that folder will be copied by GeneXus to the generated target project. That folder is where your Javascript, CSS and images files go. In our sample there are two files, one Javascript file with the implementation, and one CSS with the “look”.
In order to create the implementation, we recommend doing a couple of things for our control to work correctly and play nice with the rest of the app.
(function () {
 "use strict"
 var _stringifier = WinJS.Class.define(
  function (element, options) { // Constructor function
  },
  { //Instance methods
   value: {
    get: function () {
     return this._internalValue;
    },
    set: function (value) {
     this._internalValue = value;
    }
   }
  },
  { //Static methods
  }
  );
 WinJS.Namespace.define("Genexus.UI.TestControls", {
  Stringifier: _stringifier
 });
})();
First of all, we recommend you implement the Javascript Module Pattern. If you’re not familiar with it, you can take a look at it here: JavaScript Module Pattern: In-Depth
You also need to define the namespace for your control as declared in its name. In the example, this is the namespace definition:
 WinJS.Namespace.define("Genexus.UI.TestControls", {
  Stringifier: _stringifier
 });
For more info about WinJS namespace definitions, read here: WinJS.Namespace.define function
Then you need to declare the class that will implement your control; in our case it will look like this:
var _stringifier = WinJS.Class.define(
  function (element, options) { // Constructor function
  },
  { //Instance methods
   value: {
    get: function () {
     return this._internalValue;
    },
    set: function (value) {
     this._internalValue = value;
    }
   }
  },
  { //Static methods
  }
  );
For more information about WinJS class definitions, take a look here: WinJS.Class.define function
The class definition has three important parts that we must pay attention to:
- Constructor function. This constructor will be called with two parameters: the element where the control will be rendered, and the options set by the user, which is where the properties you defined for the control will be.
- Instance methods. This is where you will add the methods needed for your control. You MUST have a method called value with a getter and a setter. That’s how the model will try to get the value of your control and set it when it comes from the server or user event.
- Static methods. If you need static methods, this is the place to write them.
Download the sample UC here and unzip it to the UserControls folder of your GeneXus installation.
UserControls for Windows Phone are available as from GeneXus X Evolution 3 Upgrade 3.