This document provides a detailed description of the steps necessary to publish Windows Phone apps in Microsoft’s application store.
Once your application is functionally complete, add the URL to the privacy statement because Windows Phone applications require a privacy statement on a public website. The GeneXus Labs policy is available at http://www.genexus.com/privacy/windows-store. This URL must be added to the Privacy Policy property in the generator.
Next, check that it has been correctly generated by going to the settings charm. Clicking on the Privacy Policy item should take you to the referred URL.
When your application uses Bing maps you need to set a valid Bing Maps Key in the Bing Maps Key property below the generator’s properties.
The application packaging is done from Visual Studio 2013.
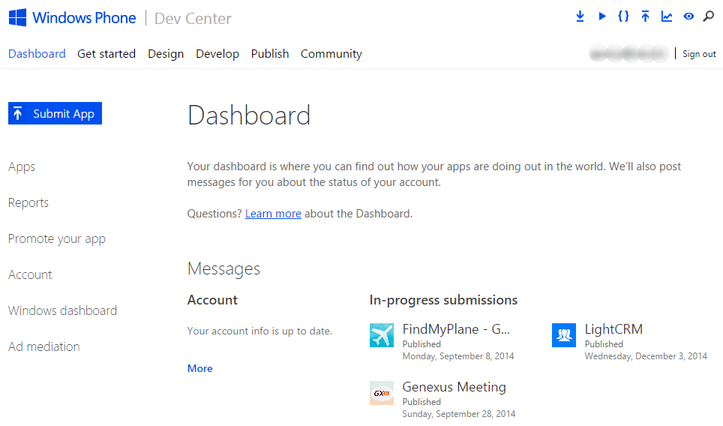
Prior to packaging the app you need to reserve the name in the Store. To do that, go to the Dev Center of the Windows Store at http://msdn.microsoft.com/en-us/windows/apps/ and click on Dashboard.

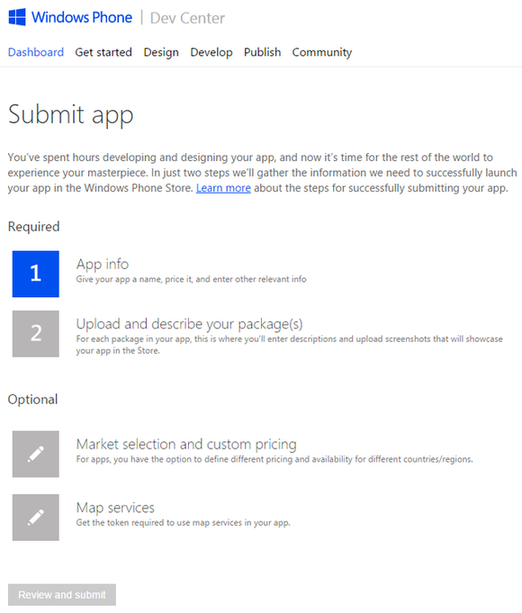
Once in the dashboard, click on 'Submit an app'. There you will see a series of items to be completed in order to publish the app. We will be going over each one of them later, but now we will focus on the first one, 'App Info'. At this point, you need to select your app name in the store as well as app category, pricing, etc. Reserve the name by clicking on the 'Reserve app name' button.
To open the sources in your app with Visual Studio, open the file called <Environment Folder>\mobile\WinPhone\<Main>\<Main>.jsproj. To compile the app from VS, change the solution’s setting to 'Release' and then go to the menu BUILD -> Build solution.
To create the app package, go to PROJECT -> Store -> Create App Packages. In the wizard, select 'Yes' for the question asking if the app is to be uploaded to the store and then click on the 'Sign in' button. Log in with the developer account you used to reserve the app’s name. You will get a list of the names you have reserved, where you can select the name previously reserved and click on 'Next'. In the following dialogue, leave all settings in the app as they are and click on 'Create'.
After you complete the creation of the package, a dialogue will ask you if you want to execute 'Windows App Certification Kit', a utility that will test your app to confirm whether it complies with Microsoft’s requirements. Click on Launch... and wait until the tests are done (do not interact with the app while it’s being executed).
After the testing is complete, upload the package and go on with the steps of the dashboard at http://dev.windows.com.
