First, follow the steps provided on GAM Facebook Authentication Type.
After completing the steps provided in the above document, we need to configure the specific settings for Windows Phone.
Go to https://dev.windowsphone.com and reserve the application name you are going to use to test or deploy the application.
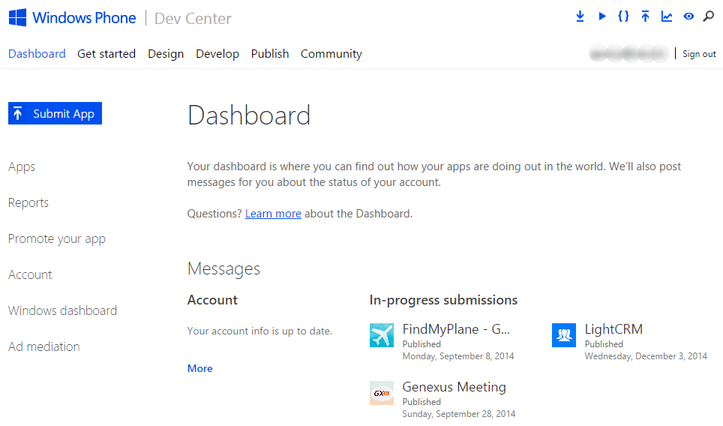
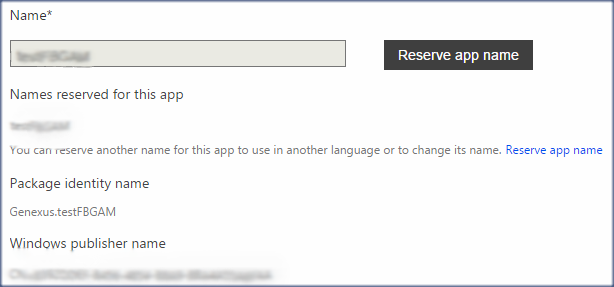
Once in the dashboard, click on 'Submit an app'. There you will see a series of items to complete in order to publish the app. We will focus on the first one, 'App Info'. At this point, you need to select your app name in the store as well as the app category, pricing, etc. Reserve the name by clicking on the 'Reserve app name' button.
After reserving the app name, go to “More options”, "Windows Push Notifications" section.
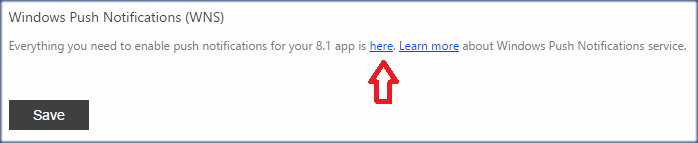
Click where it says “Everything you need to enable push notifications for your 8.1 app is here”. A new tab will be opened with the app settings.
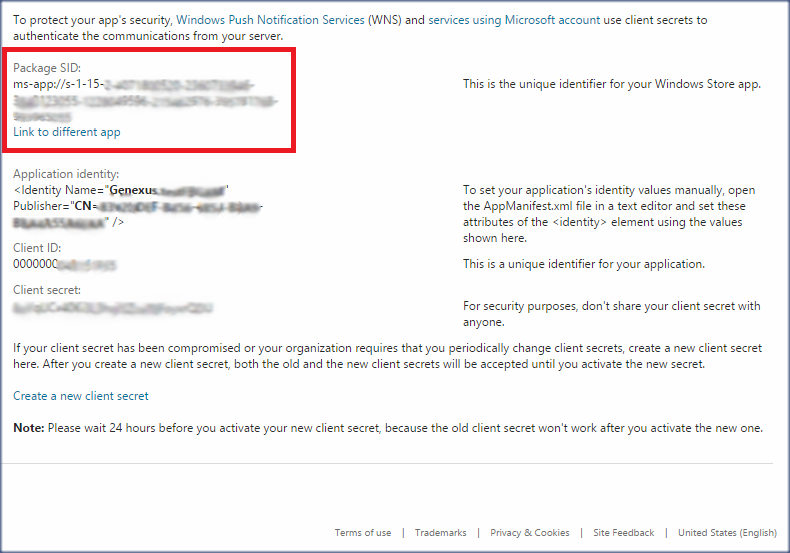
Save the Package SID (just copy the text after ms-app:// on a .txt file, it is needed on the Facebook developers console). For instance, if we are using the above app settings we need to save “s-1-15-2-4071800520-2360733946-3840123055-...”
After completing step 2, go to the Facebook Developers Console https://developers.facebook.com, Settings and add a new Platform (Windows App).

On the Windows Store ID, paste the Package SID you saved in the previous step. To get the Windows Phone Store ID BETA, you need to open the generated mobile project with Visual Studio.
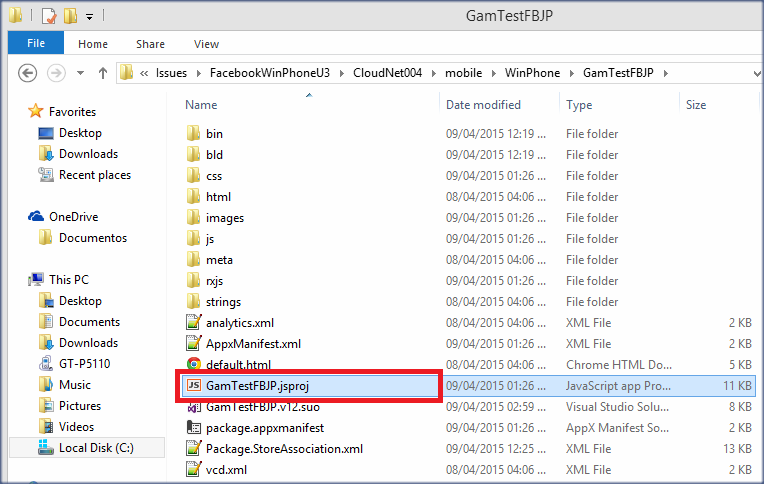
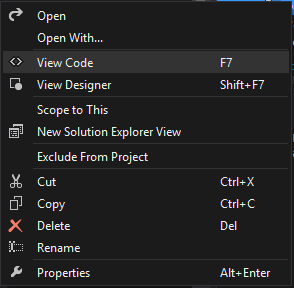
Then, right-click on “package.appxmanifest”, “View Code”
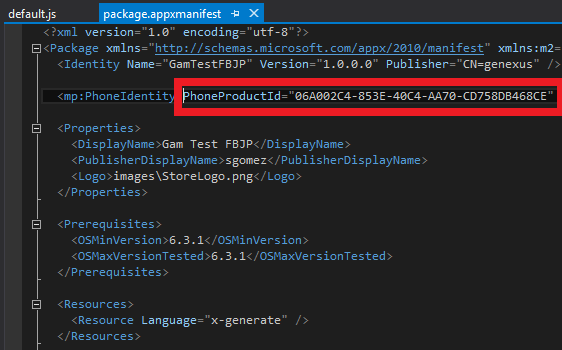
and copy the GUID of PhoneProductId to the Facebook developers console.
Open the generated mobile project with Visual Studio and right-click on the project.
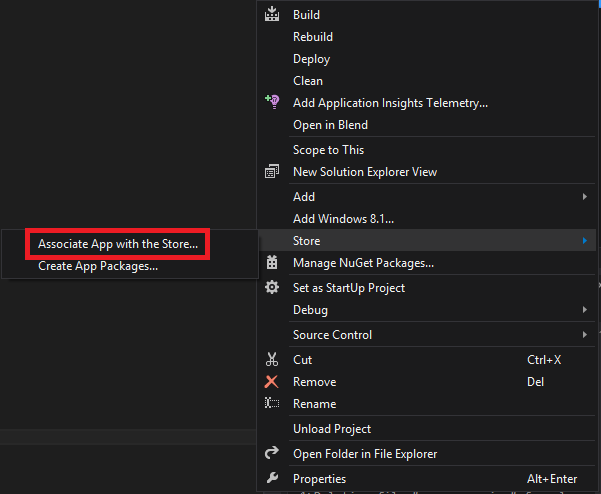
Go to "Store", "Associate App with the Store", and follow the instructions on the wizard.
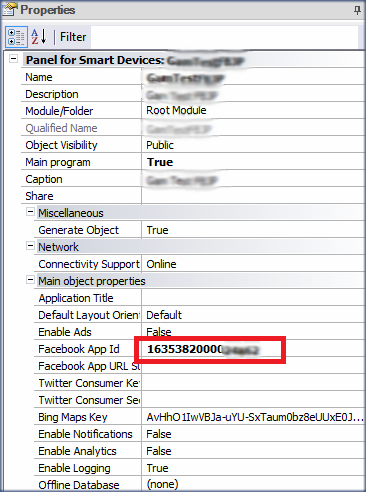
Copy the App Id from the Facebook Developers Console to the Facebook App Id property of the main object on your Knowledge Base.
This feature is available from GeneXus X Evolution 3 Upgrade 3.