The Free Style grid, which can be used in Web interface objects (Transaction objects and Web Panel objects), allows you to design one line with a free design (not containing structured columns) and that line will be repeated showing that design for every record browsed.
It can contain attributes, variables, text blocks, images, buttons, web components, embedded pages, other Free Style grids and/or Grid controls for Web objects to be displayed.
This type of grid does not have column titles and provides design freedom.
To add a Free Style grid control to the desired location, drag the corresponding icon from the GeneXus IDE Toolbox to the Web Layout.
At runtime, the grid is an HTML table.
Consider the following Transaction objects:
Country
{
   CountryId*
   CountryName
   City
   {
      CityId*
      CityName
   }
}

Attraction
{
   AttractionId*
   AttractionName
   CountryId
   CityId
   AttractionPhoto
   AttractionDescription
}
Suppose you need to define a Web Panel object that displays all the attractions showing their data in a specific way (not in structured columns).
To solve it, you can add a Free Style grid control in the Web Panel Web Layout and distribute the attributes as you wish. For example:
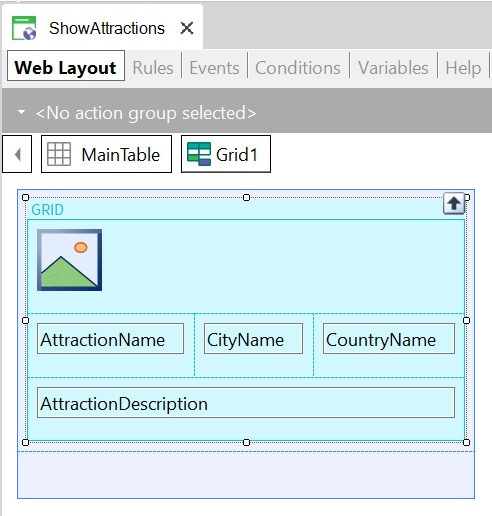
At runtime, the Web Panel is displayed as follows:
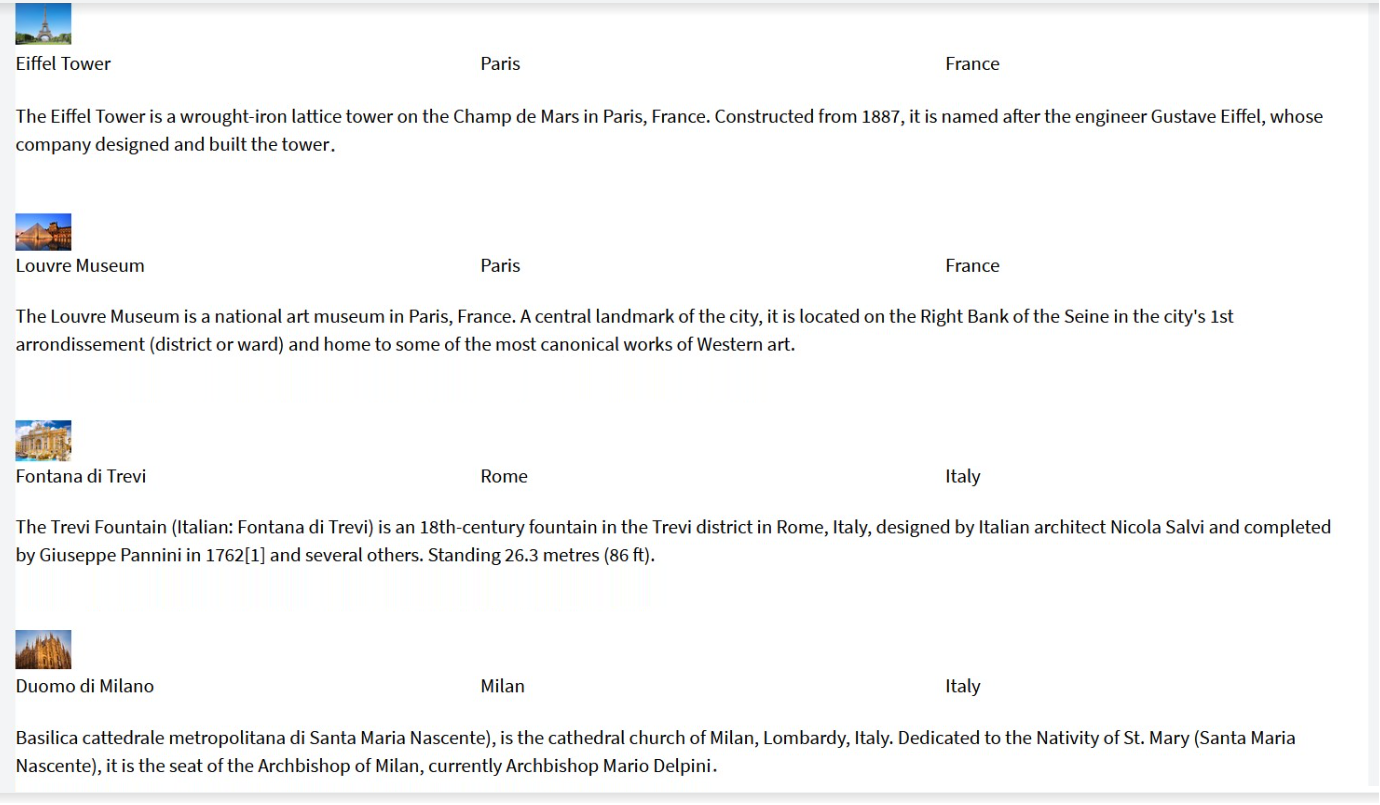
Of course, you can set several properties for the Free Style Grid, such as:
- Conditions (Filters)
- Order
- Base Trn
- etc.
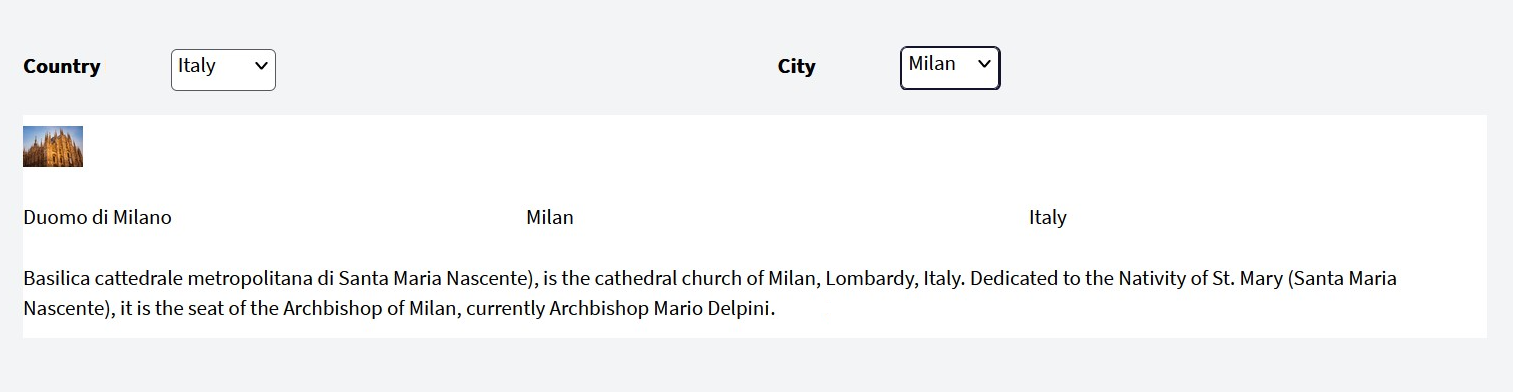
The following image shows the same Web Panel displayed above with two more variables added. Also, the corresponding Conditions have been defined for the Free Style grid:
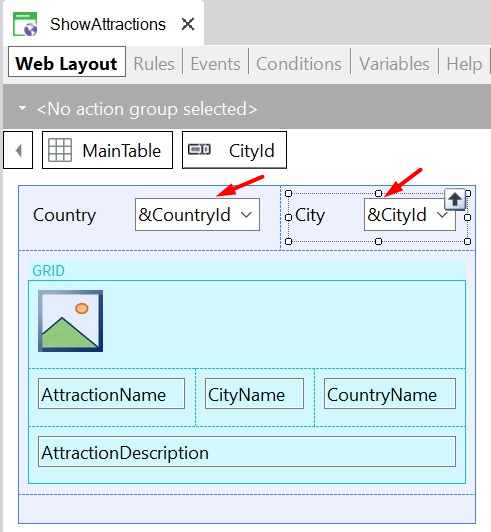
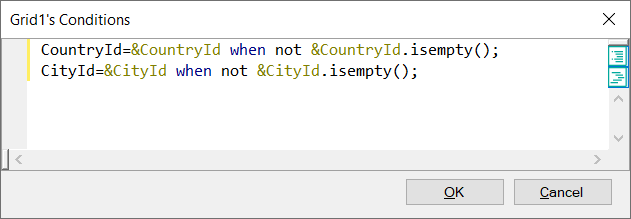
At runtime, the Web Panel is displayed as follows:
Inside the Free Style grid, you can include another Free Style grid or Grid (to show several records for each attraction record).
For example, if the Attraction Transaction is defined as follows:
Attraction
{
   AttractionId*
   AttractionName
   CountryId
   CityId
   AttractionPhoto
   AttractionDescription
   Schedule
   {
      ScheduleDayOfWeek*
      ScheduleOpeningTime
      ScheduleClosingTime
   }
}
You may include a Grid inside the Free Style Grid to show, for each attraction, the days of the week and their opening and closing times. Read more in Nested Grids in Web Panels.