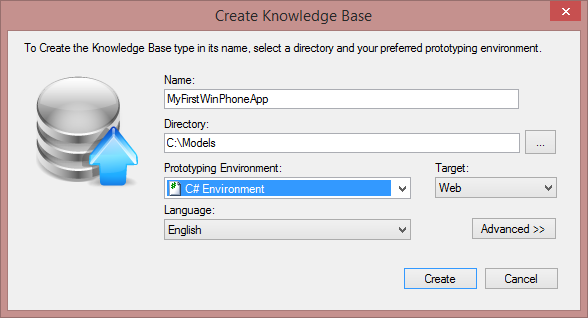
This document is a step-by-step explanation of how to create a simple Windows Phone application using GeneXus. For demonstration purposes, the CSharp Generator and Cloud prototyping is used. Check Online Native Mobile applications architecture for more information about SD application architecture.
Before starting with the following steps, please check that the Windows Phone Requirements are correctly installed.
In the following example, you will write a simple application that lets you register companies and their customers. By the end of the sample, you will have an application that allows you to navigate, list, insert, update, or delete companies and customers.
Note: It is not necessary to use CSharp as a Web generator, Java and Ruby are also available.
Create a Customer and Company Transactions with the following structure:
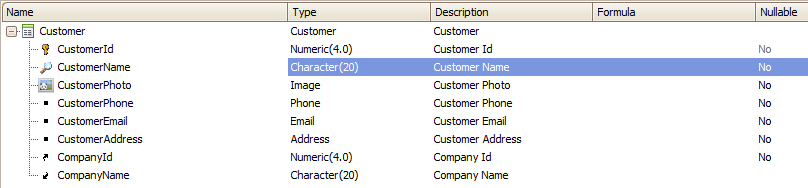

Please note that predefined domains were used for certain attributes and, in both cases, be sure to set the Autonumber property to True of each identifier attribute (i.e.: positioned on the CustomerId field, press F4 to see its properties, and change the Autonumber property. Do the same for the CountryId attribute).
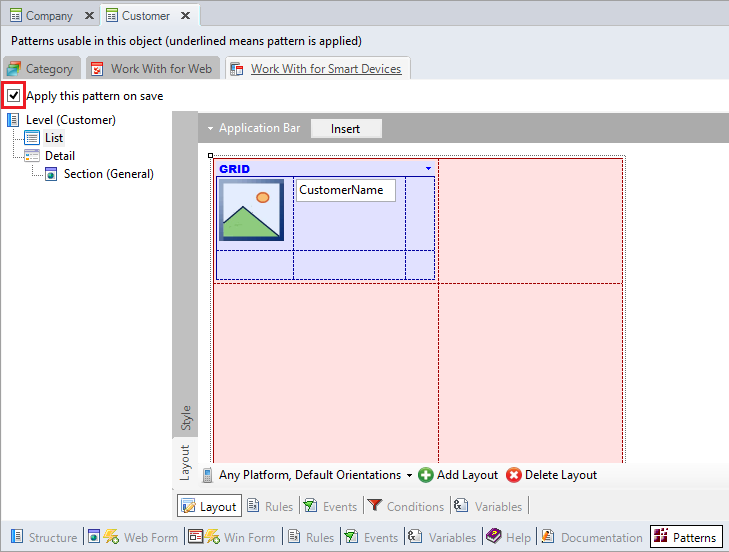
Apply the Work With pattern and Work With object pattern on both Transactions.
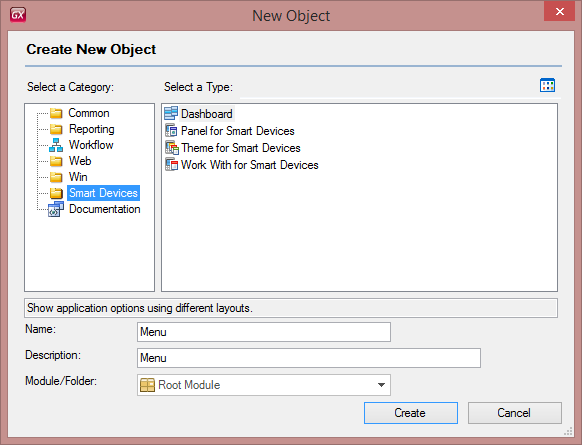
Create a Menu object called Menu.
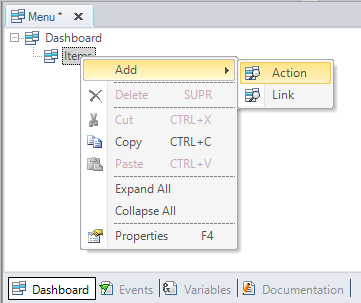
This object is like a menu. You can use it to call the Work With objects created in the previous Steps. To do it: right-click on the Items option to add actions to the Dashboard. You must select the WorkWithDevices<TransactionName> objects in the Select Objects dialog:

When you select a WorkWithDevices<TransactionName> object, the Event associated with this action will be generated automatically:
Event 'WorkWithDevicesCustomer'
     WorkWithDevicesCustomer.Customer.List()
EndEvent

Event 'WorkWithDevicesCompany'
     WorkWithDevicesCompany.Company.List()
EndEvent
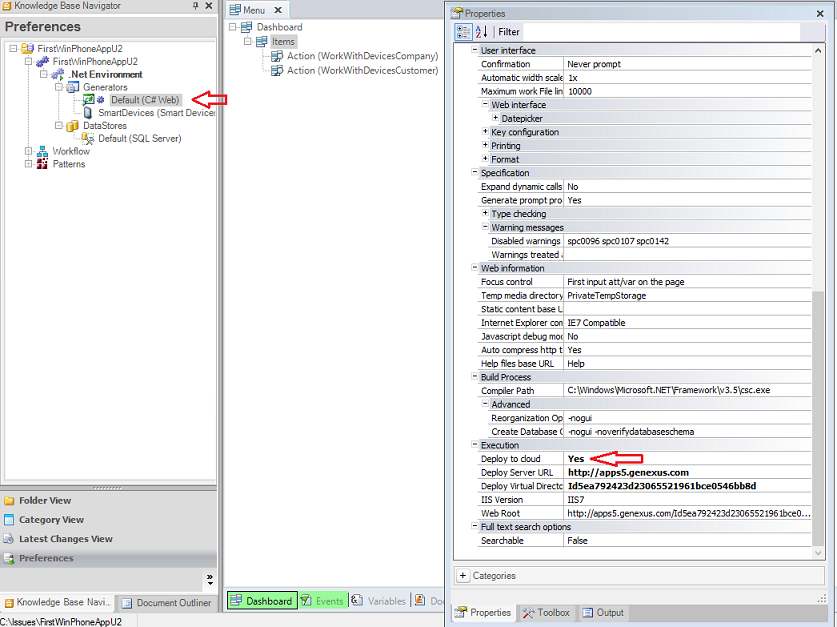
For this example, you will use Cloud prototyping. By just setting the Deploy to cloud property to Yes, all the necessary preferences are set:
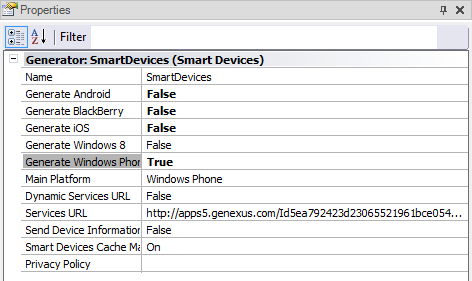
By default, Android and iOS are generated, so to generate Windows Phone you must select Smart Devices node, set Generate Android and Generate iOS to False and Generate Windows Phone to True.
After that, set the startup object:
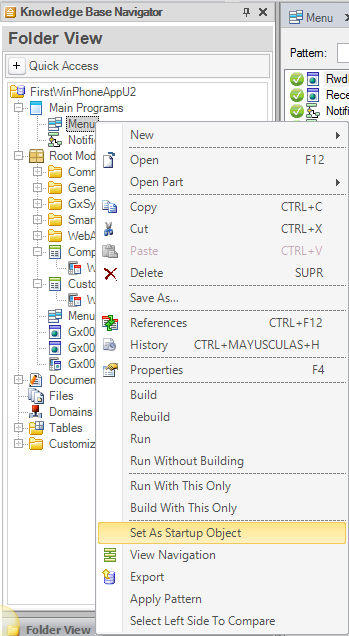
After configuring the environment, press F5 to create the DB and generate the application.
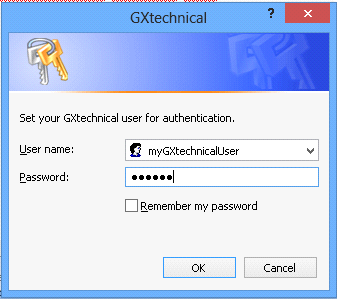
Since the cloud is being used, a Gxtechnical user is needed.
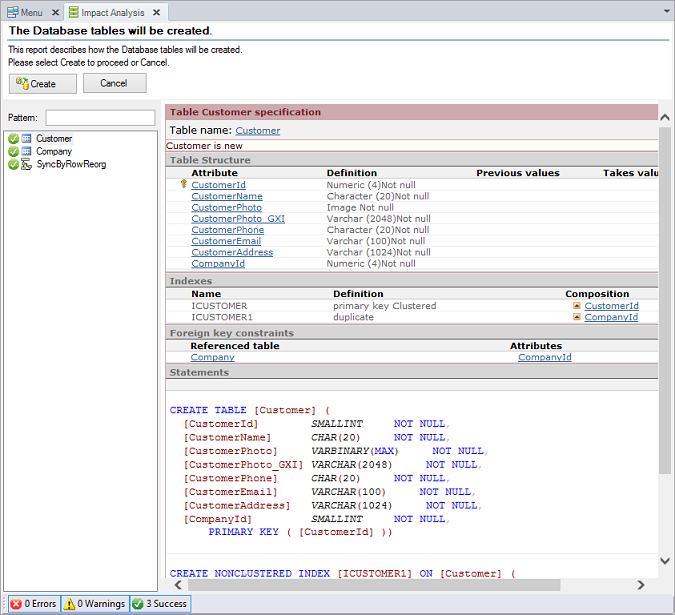
By pressing Create, the tables are created:
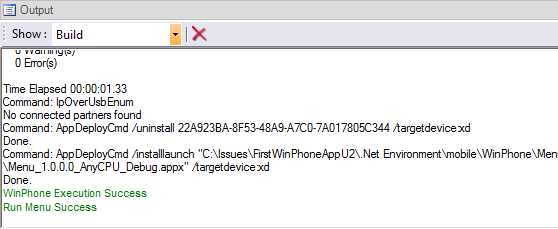
and the application is generated.