GeneXus Next No-Code Start allows you to create an application in a few minutes by using AI assistants.
The typical work cycle with GeneXus Next No-Code Start includes the following:
Go to next.genexus.ai and log in (with your GeneXus Account or Google Account) or sign up (it's free). Using a computer or laptop is recommended.
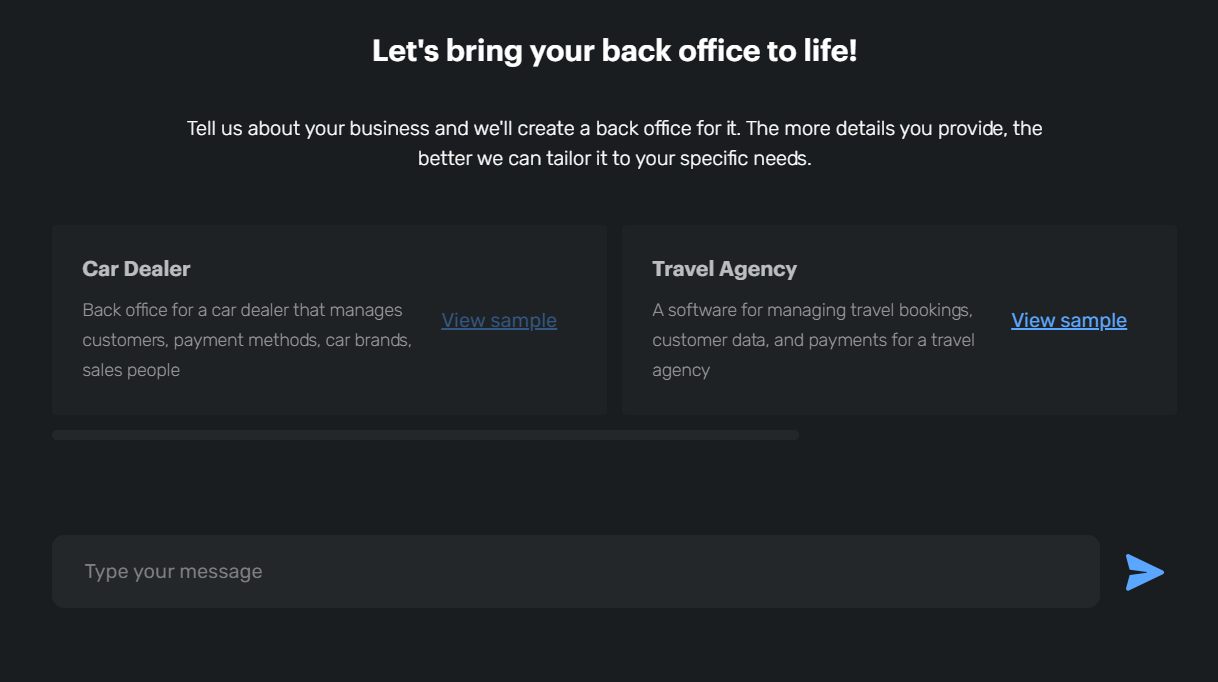
In the message box, write the description of the application you want to create.
The description may be as simple as "pharmacy application" or as detailed as "I want to register events and their participants. For the event, I am interested in registering the name, date, and time. For the participants, I want to register their name, email, phone, and birthdate".
Multiple languages, like Spanish, Portuguese, and English may be used.
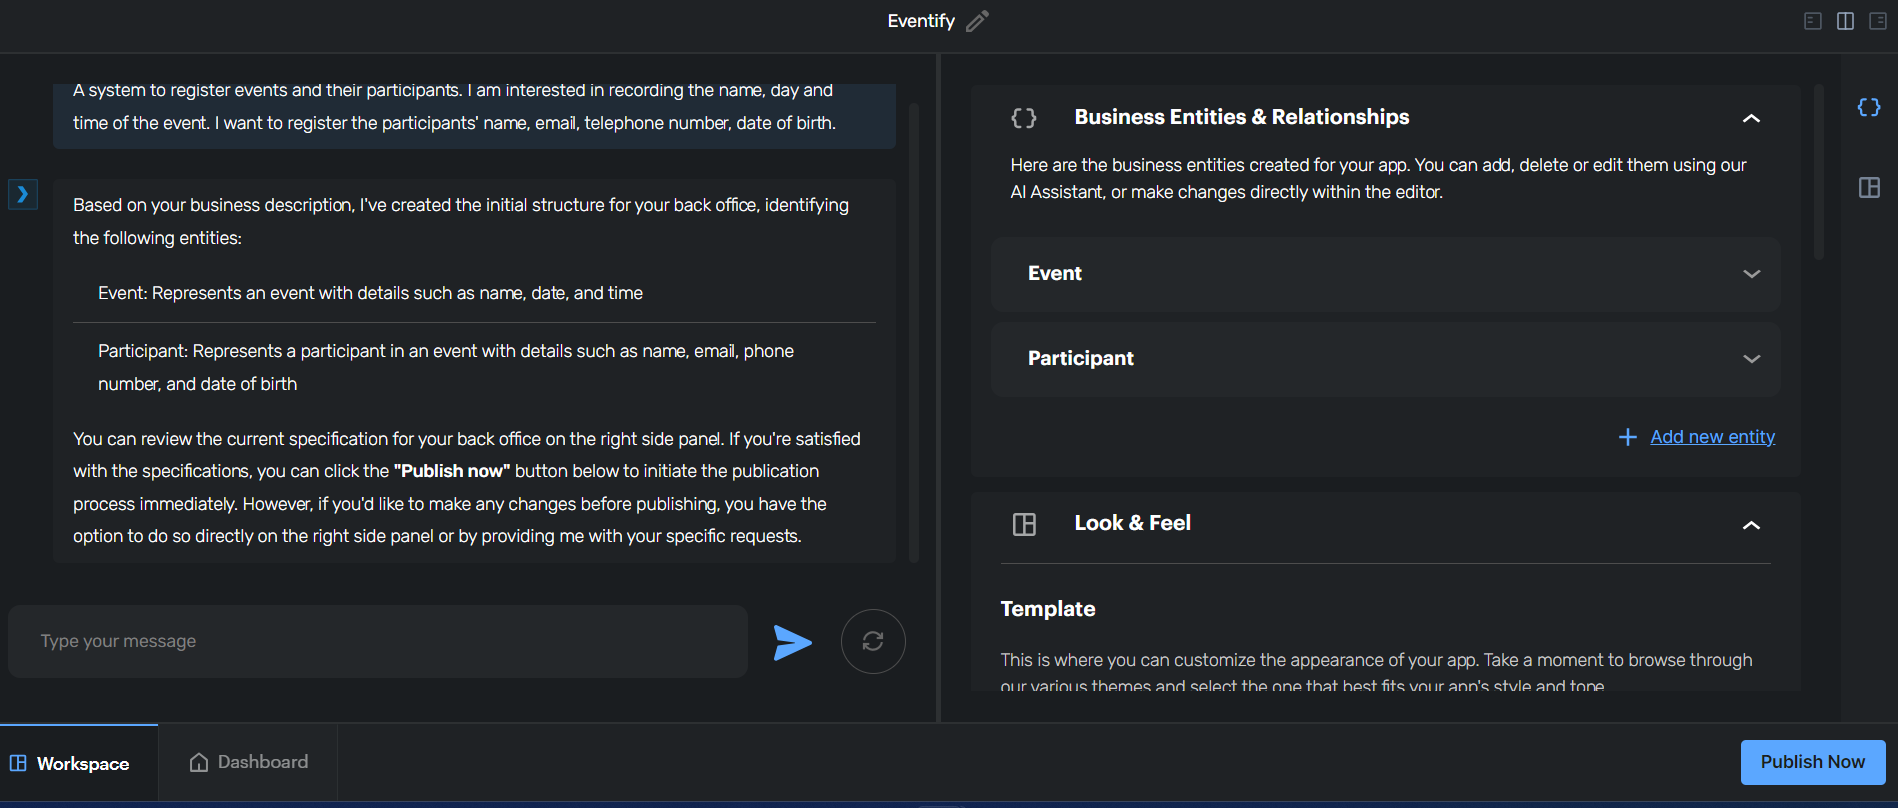
Once the description is confirmed, a modeled Entities and Relationships version of what the AI assistant suggests will be displayed on the right.
It is also possible to experiment with the Samples available.
From the modeling suggested in step 2, you may:
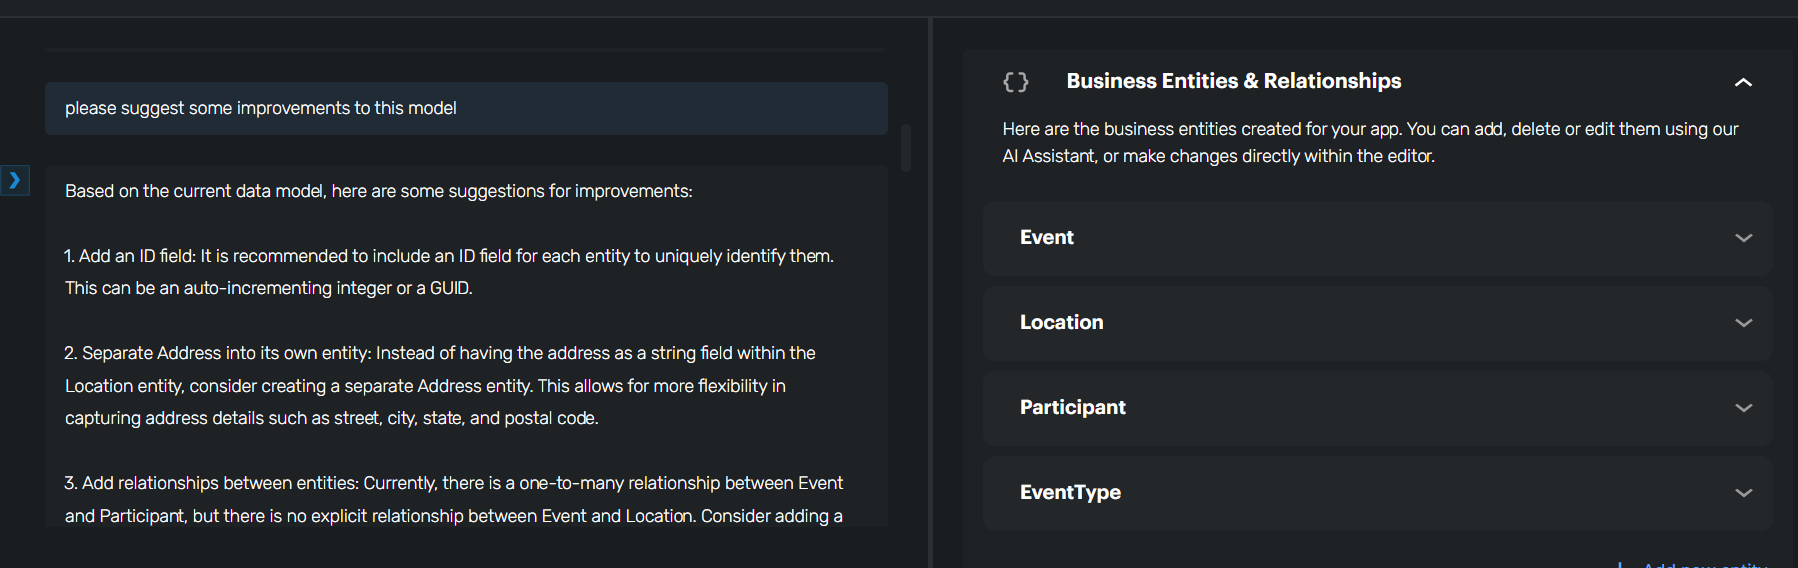
- Ask the assistant to improve the model ("please suggest some improvements to this model"); if the improvements are confirmed, the changes will be shown again on the right.
- Ask the assistant to add more entities, or to modify some of the ones created ("add a Location entity to register the event locations").
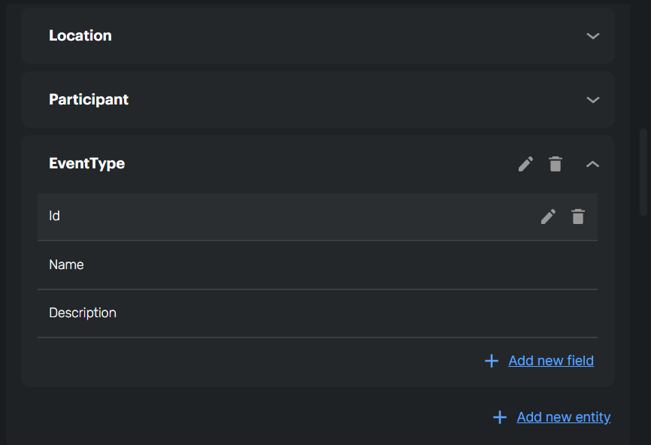
- Add new entities or new attributes manually on the right, where the data model is displayed.
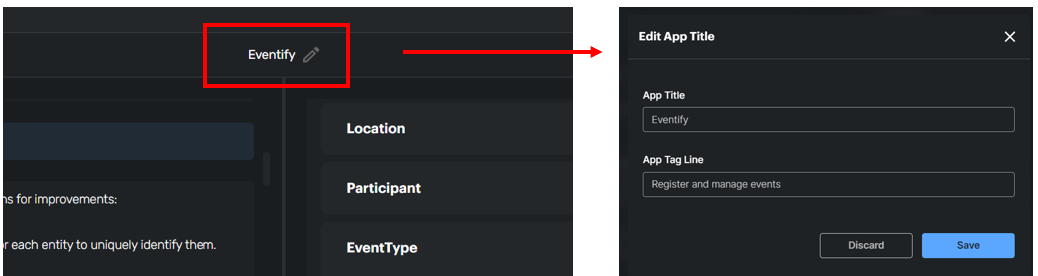
It is also possible to modify the application's title or slogan.
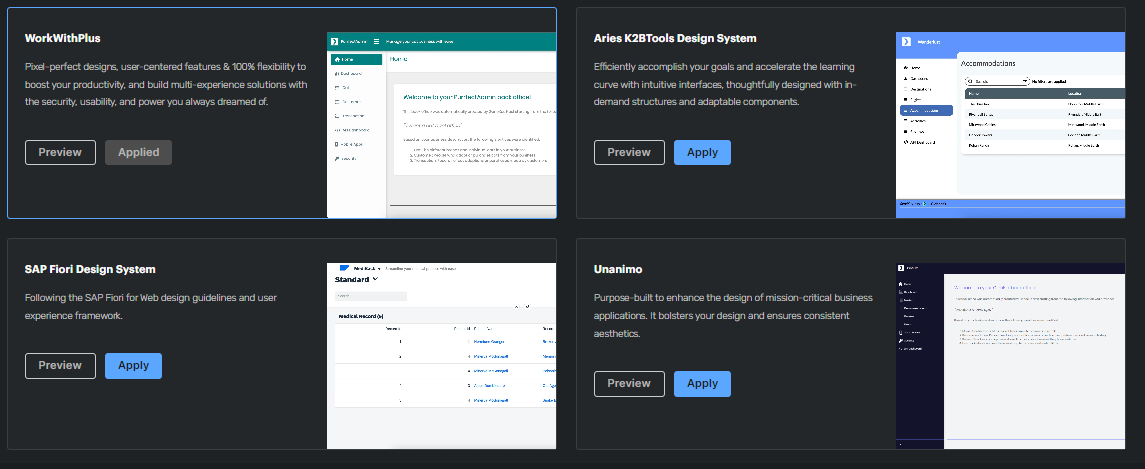
Once you are satisfied with the entities defined, select the look & feel of the application.
You may choose between Work With Plus, K2B Tools, Fiori, and Unanimo.
Lastly, select the Publish Now option to perform all the necessary steps for generating the application and making it available for execution.
An application will be generated according to the selected data model and design. Next, the application will be available in a URL that will allow it to be run and will contain the following:
- Web objects for performing CRUD operations on the data associated with the application with preloaded data.
- Security added to the application (GAM).
- A dashboard with queries to measure the business.
- Backoffice access APIs published.
- A native app available to be used on Android and iOS.
- Access to a security backoffice where users and their roles can be defined.
If Unanimo look & feel is selected, a System Chat is also created (you can perform CRUD operations of the entities using text).
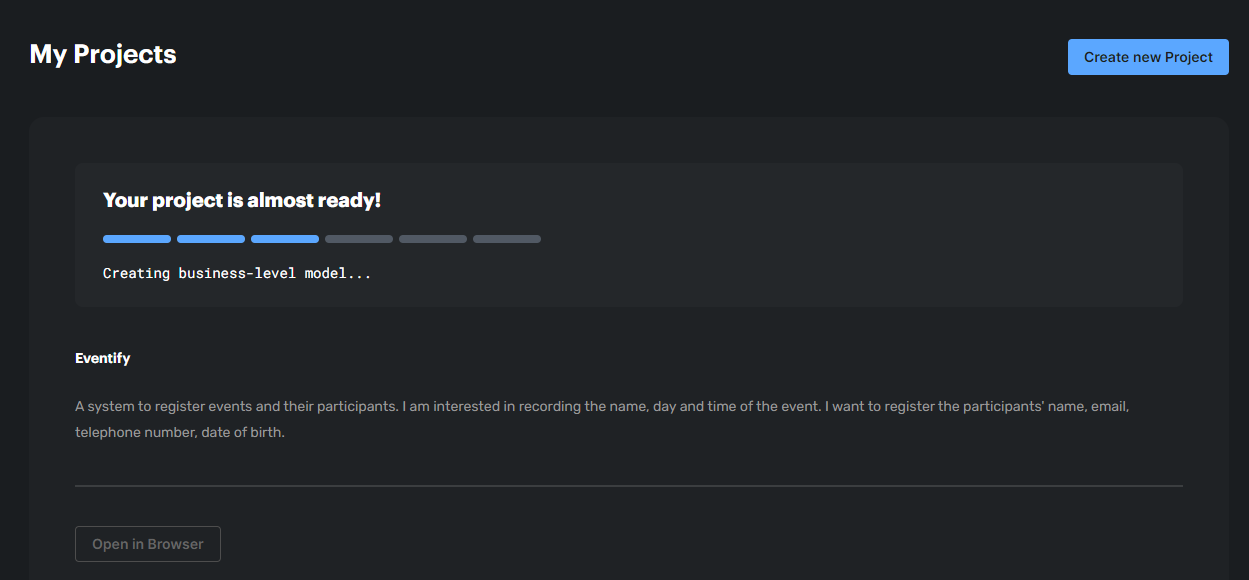
You can see the progress of the work and the task being performed. The user is also notified by email about the progress of the project.
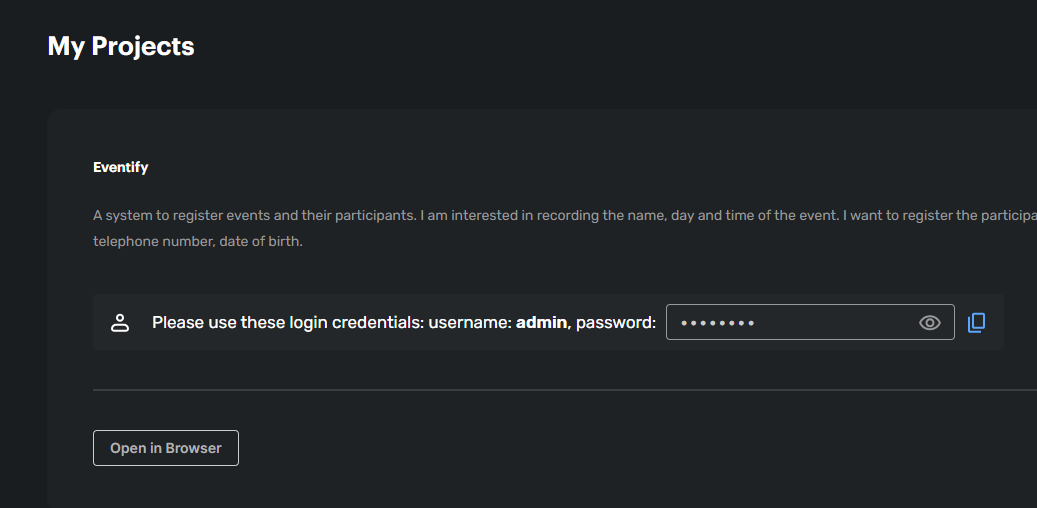
You will be notified when the application is ready to be run. The application will be ready for execution on a cloud server and associated with the project; information will be provided on the GAM credentials for accessing the backoffice.
Once the project has been created with GeneXus Next No-Code Start, it is possible to continue working with that project.
 Browse generated app with Work With Plus pattern
Browse generated app with Unanimo pattern