The GeneXus Design Assistant plugin automatically generates the Figma design (the frontend) of a GeneXus Next Start application using Generative Artificial Intelligence (Generative AI).
Install the plugin from this website: Figma Community | GeneXus Design Assistant.
For more information on how to install a plugin in Figma, please refer to Figma Help | Use plugins in files.
Note: If you are a designer not knowledgeable or interested in GeneXus Next, you may skip this step, but you should request the Application Web URL and Application Access Key from your developer.
Go to the GeneXus Next website and log in (or sign up).
Next, create a new project on GeneXus Next, wait until the process is completed (you will be notified by email), and open your generated project through the Menu > My Projects option.
Once you open your project, you will see a section like this:
Finally, get the Application Web URL and the Application Access Key as follows:
- Click on the Access Key tab.
- Click on the Copy button for the Access Key section. This key will be your Application Access Key.
- Click on the Copy button for the Backoffice URL section. This URL will be your Application Web URL.
Go back to Figma, open the GeneXus Design Assistant plugin, and set up the parameters for generating a new application flow.
Warning: Do not close the plugin at any stage. You can use the resize icon in the upper right to minimize or maximize. If you close the plugin, the process will restart from the beginning.
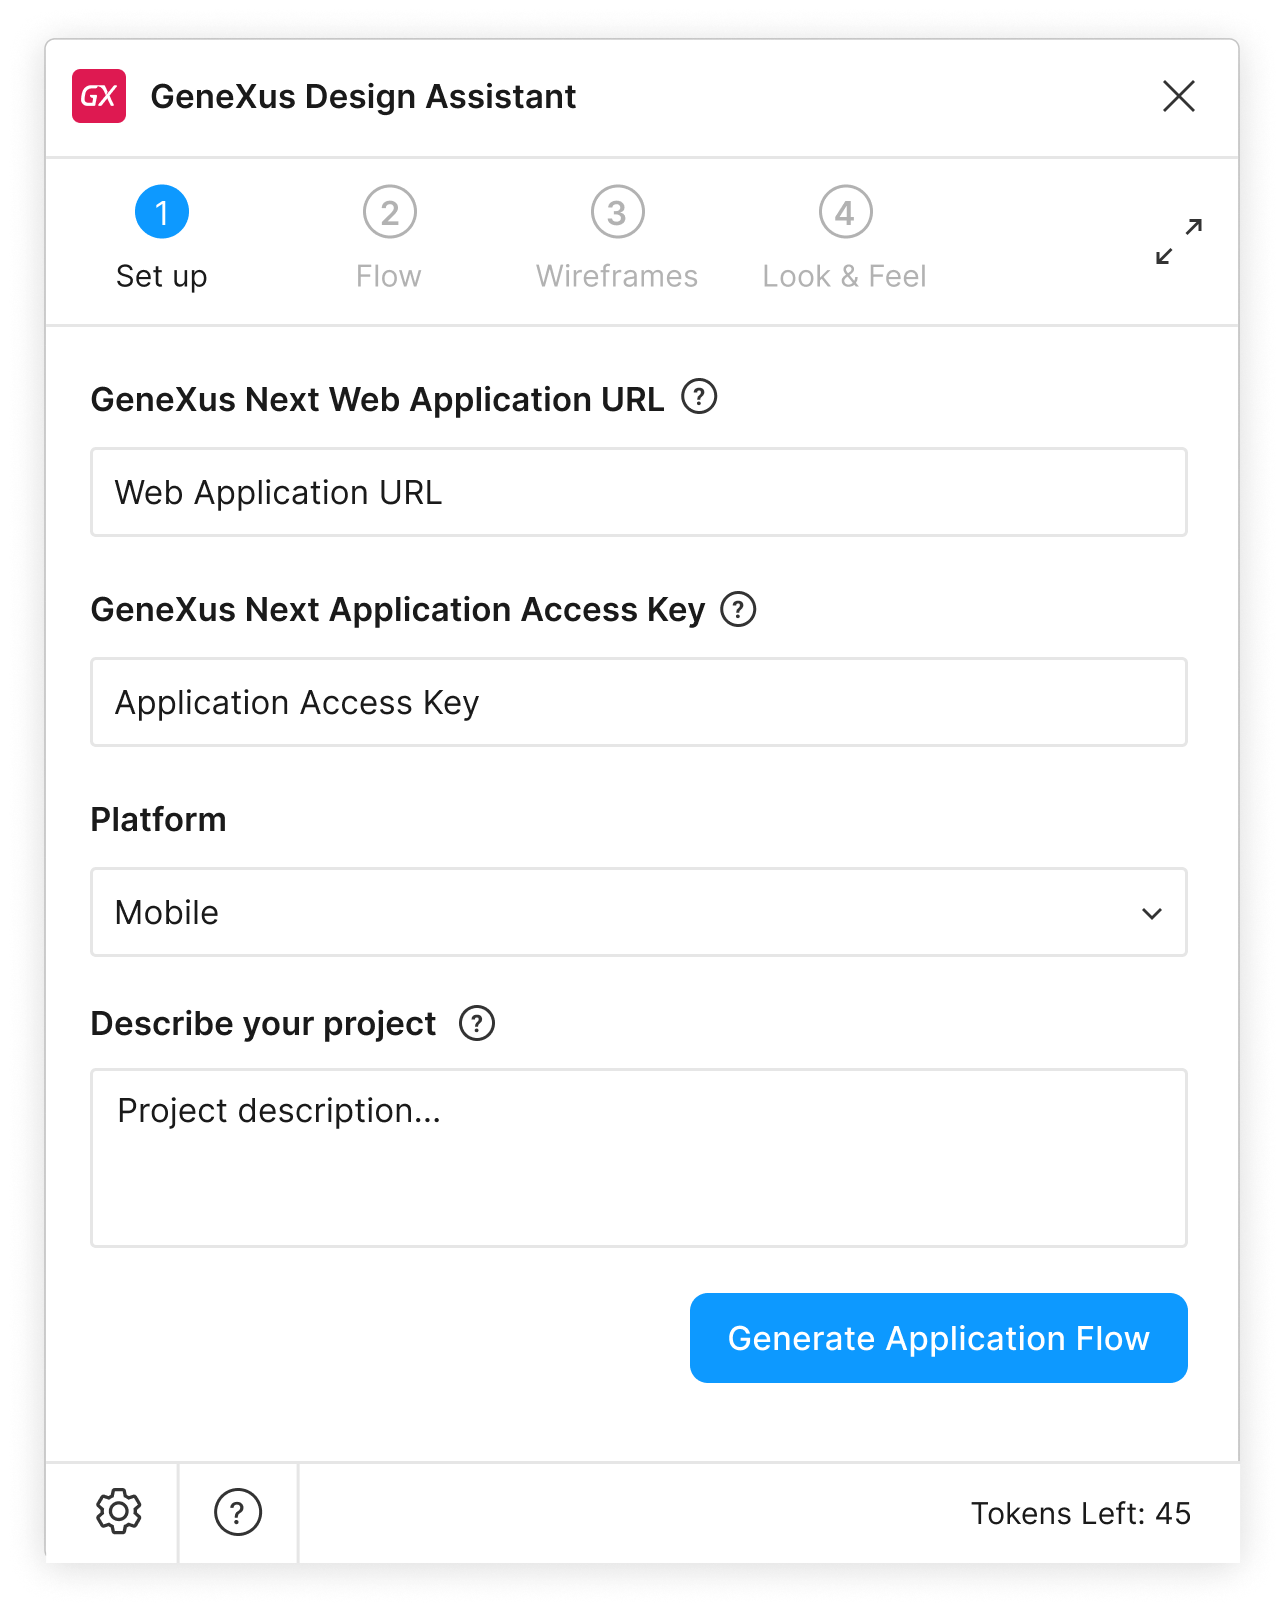 |
Options:
- GeneXus Next Web Application URL
The Web Application URL you obtained in step 1.
- GeneXus Next Application Access Key
The Application Access Key you obtained in step 1.
- Platform
The target platform for generating the design (mobile or web).
Note: Only mobile is allowed until future releases.
- Describe your project
A brief description of the design to be generated (considered as a prompt for the Generative AI).
- Generate Application Flow
Starts the generation process for an initial application flow, and continues with the following step: Flow.
|
Note: The GeneXus Next Web Application URL information is required for fetching the source prompt and data model from the Application you (or your developer) have created, enabling a comprehensive understanding by the Generative AI before the plugin generates the screens for your solution. Additionally, the GeneXus Next Application Access Key is required to access the above URL, specifically for reading its OpenAPI specification.
After generating the initial application flow, it is important to review the results to accept or reject them (by generating a new one).
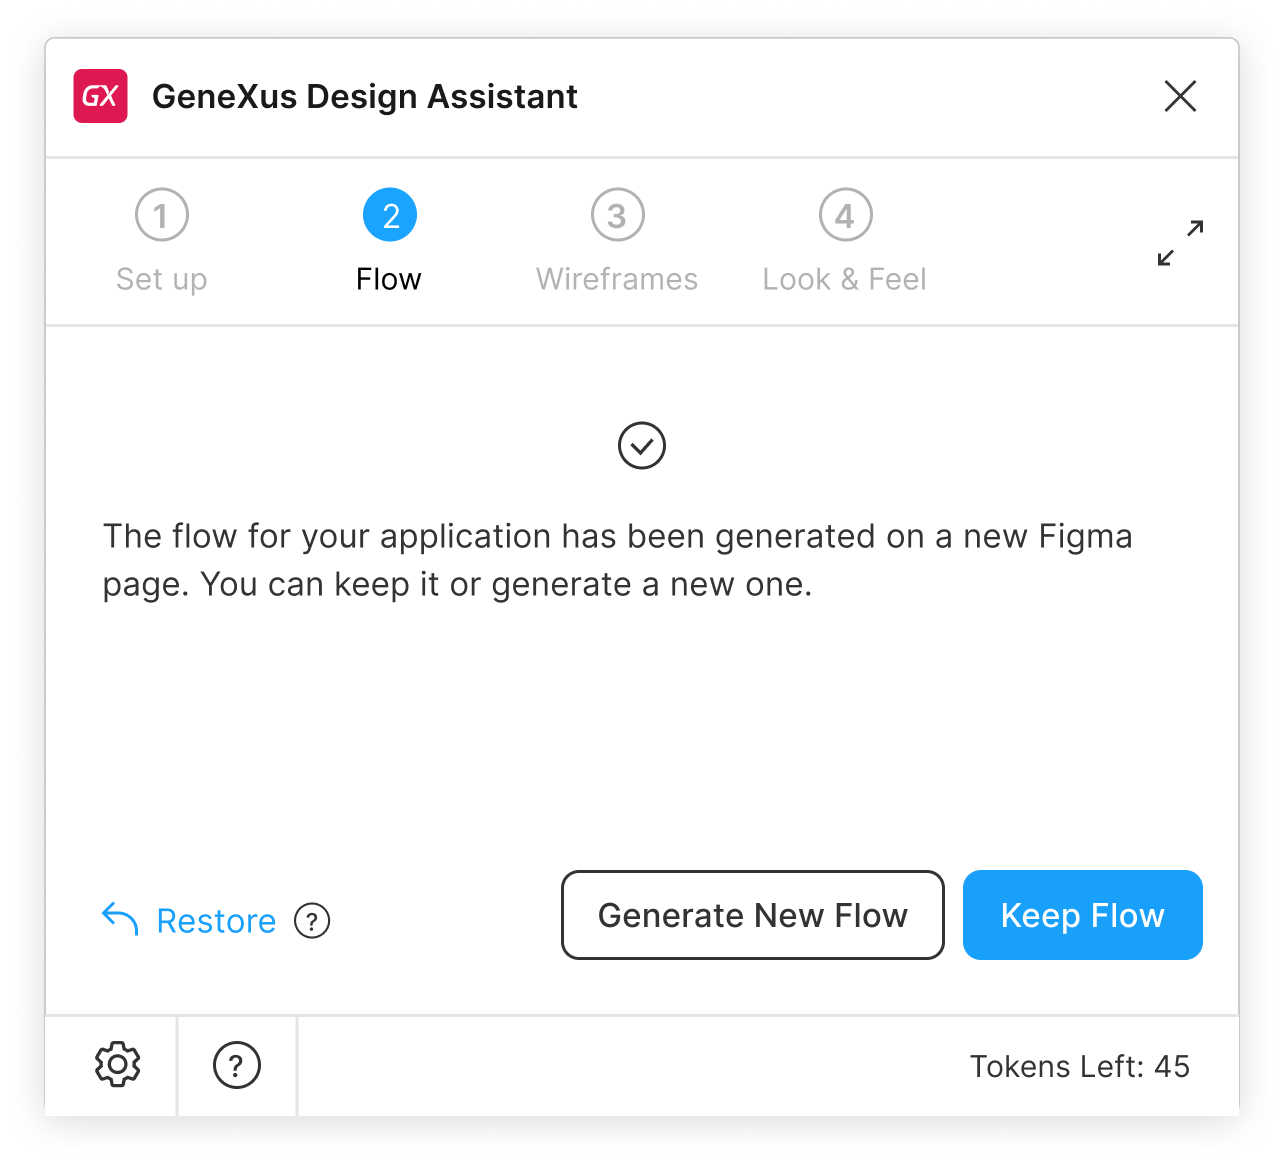 |
Options:
- Restore
Allows you to restore a previously generated flow (only available after regenerating).
- Generate New Flow
Creates a new application flow, considering that the previous flow was not good enough.
- Keep Flow
Accepts the generated application flow, and continues with the following step: Wireframes.
|
Configure how the initial set of wireframes is generated.
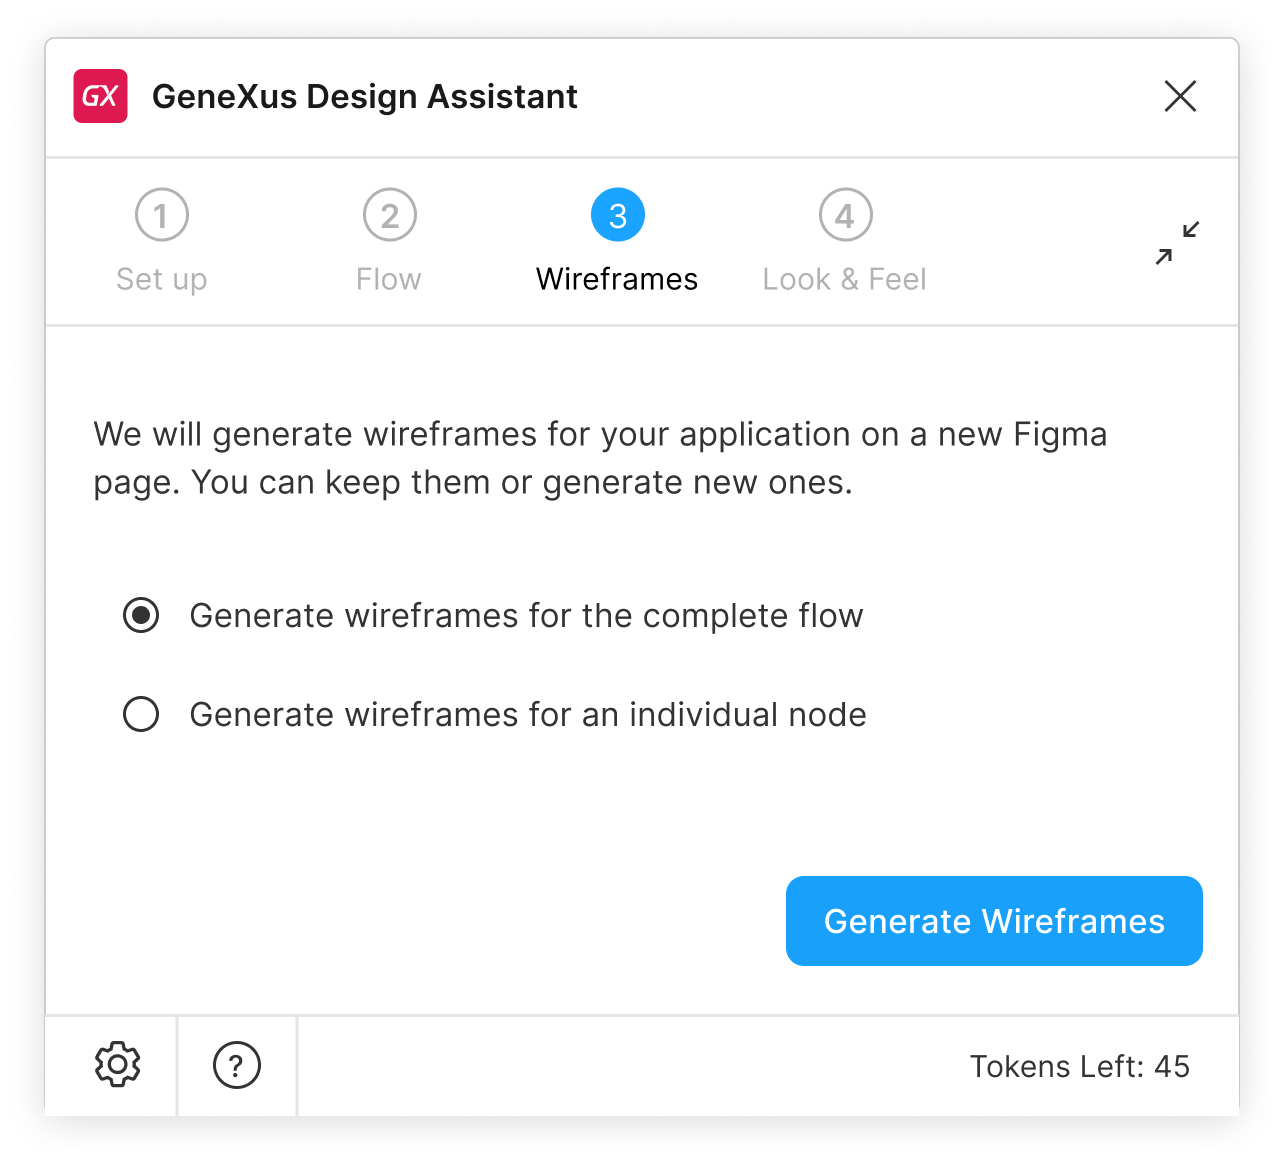 |
Options:
- Generate wireframes for the complete flow
Generates a set of wireframes for the whole set of nodes in the application flow.
- Generate wireframes for an individual node
Generates a single wireframe from an individual node in the application flow.
Note: Disabled until future releases.
- Generate Wireframes
Starts generating the wireframes.
|
When the initial wireframes are generated, review the results and accept or reject them (by generating a new set of wireframes). Please note that the wireframes are not intended to be editable, meaning any alterations made before generating the final screens will not be considered.
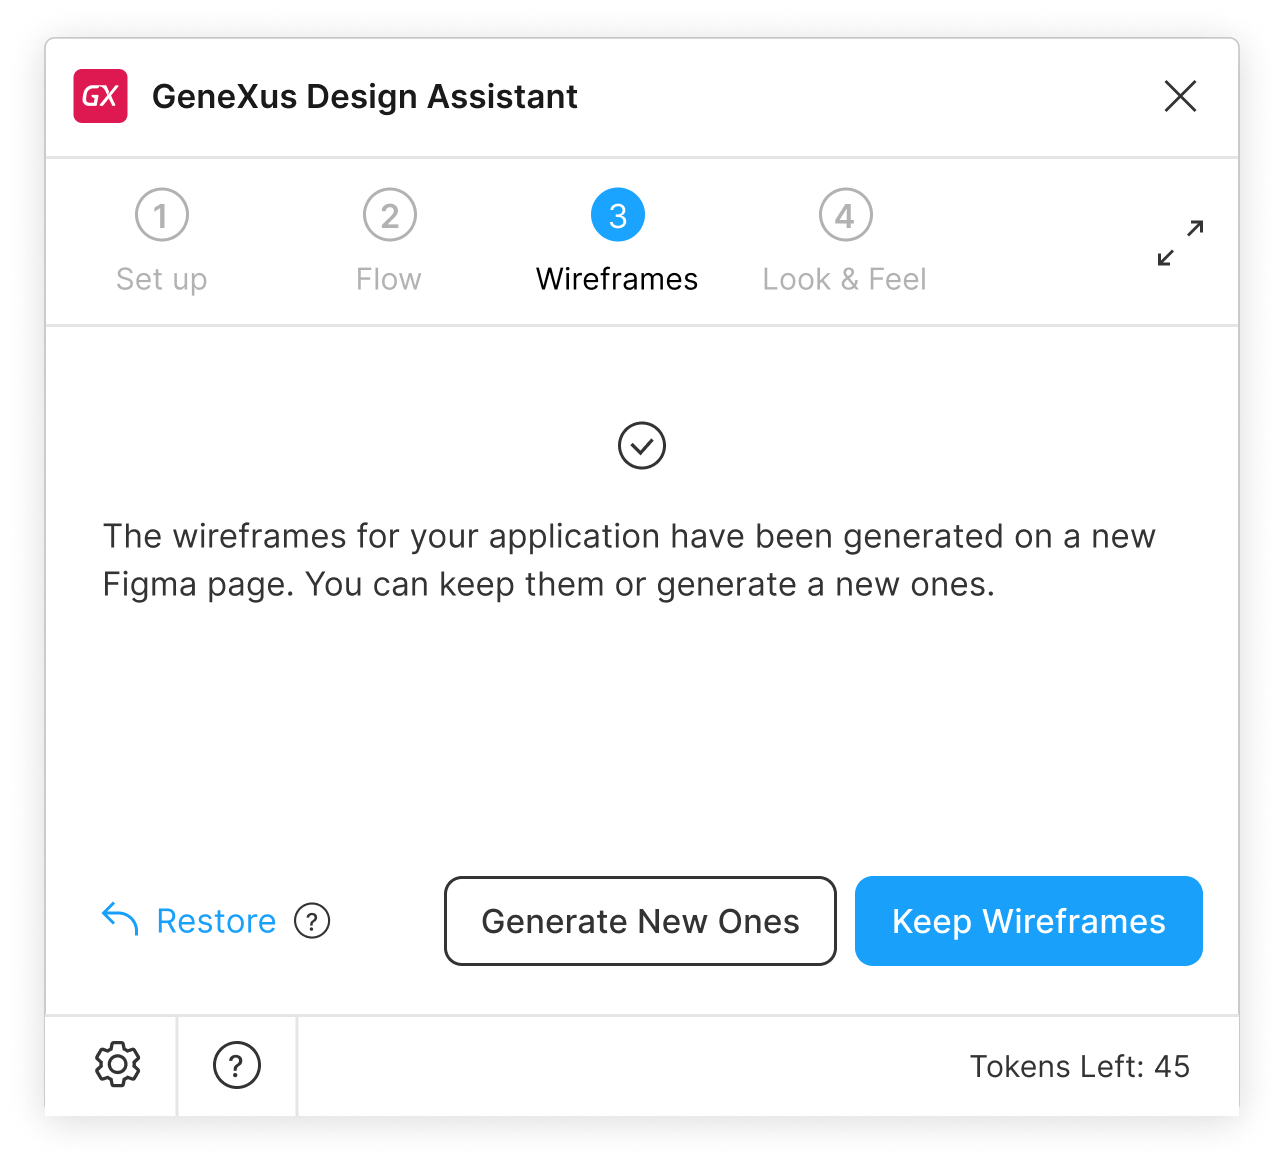 |
Options:
- Restore
Allows you to restore a previously generated flow (only available after regenerating).
- Generate New Ones
Creates a new set of wireframes, considering that the previous set was not good enough.
- Keep Wireframes
Accepts the generated wireframes and moves on to the following step: Look & Feel.
|
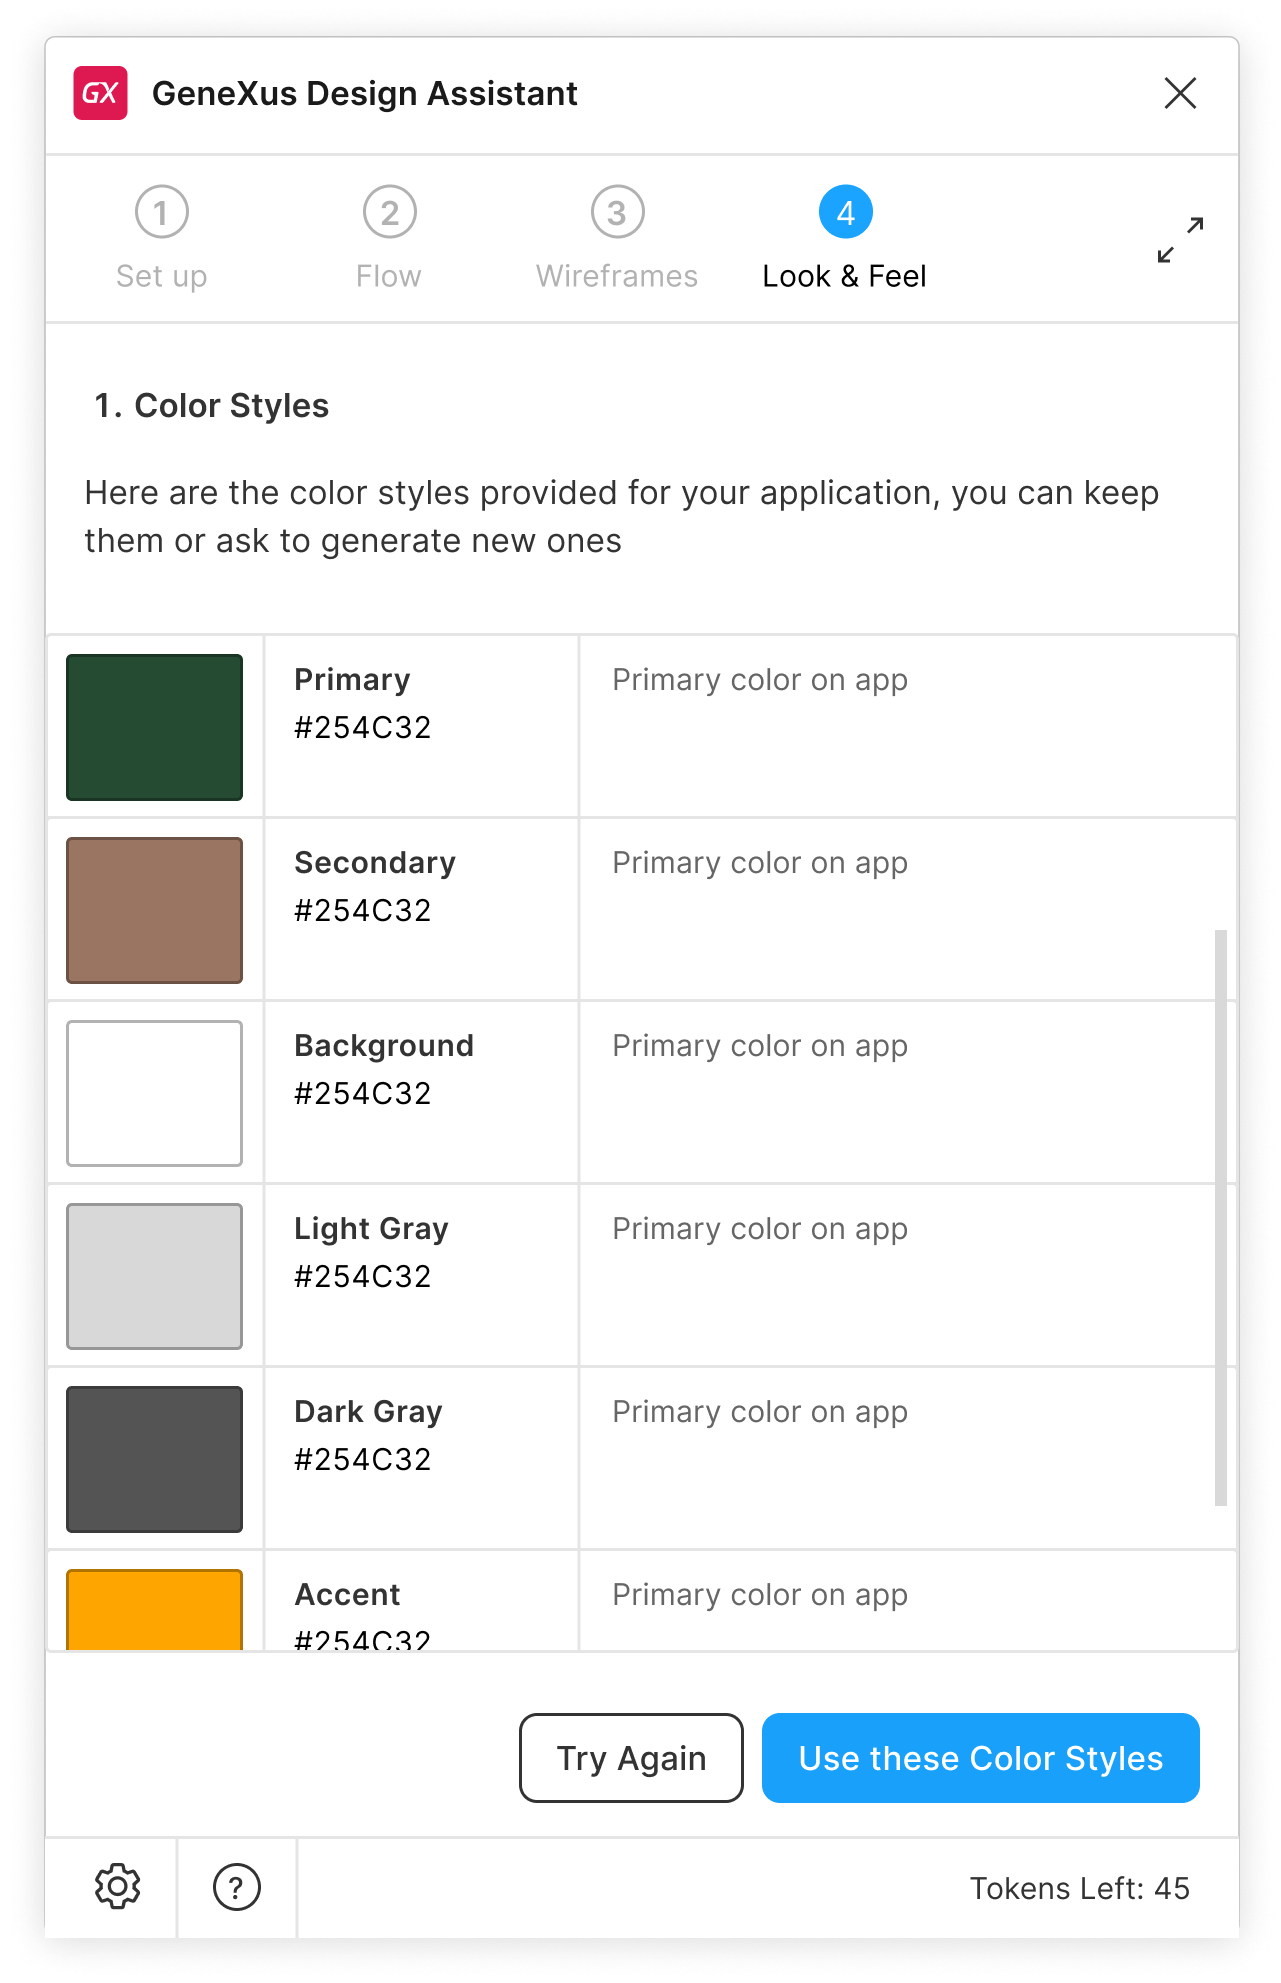
At this point, the GeneXus Design Assistant will recommend a set of color styles (palette). Each color is followed by a brief description of its purpose.
 |
Options:
- Try Again
Generate a new set of color styles.
- Use these Color Styles
Accepts the proposed color styles for the final application, and moves on to select the text styles.
|
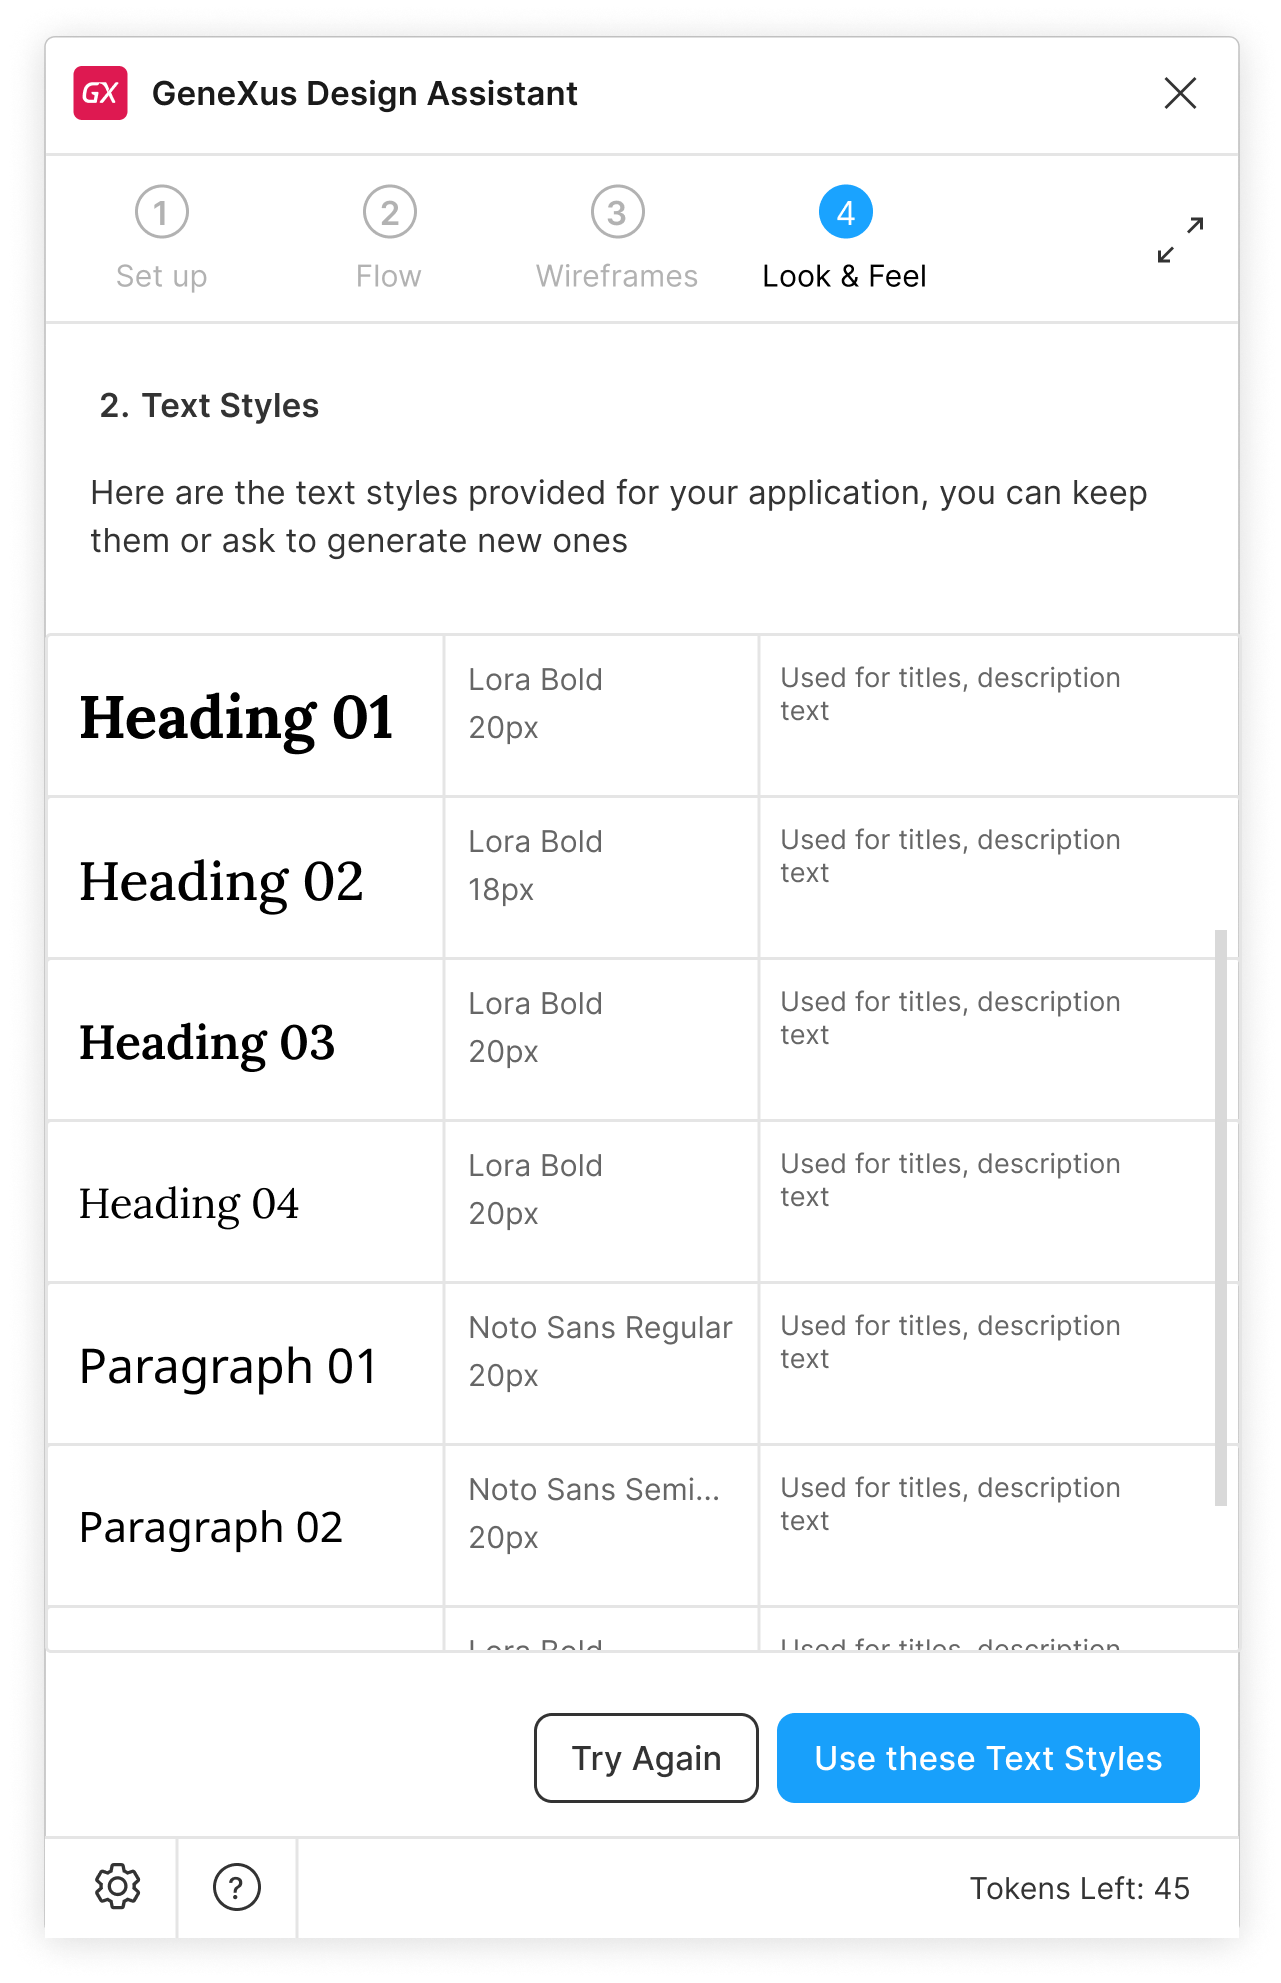
GeneXus Design Assistant will then recommend a set of text styles. Each text style is followed by a set of properties (font-family, font-size, etc.) and a brief description of where to apply them.
 |
Options:
- Try Again
Generate a new set of text styles.
- Use these Text Styles
Accepts the proposed text styles for the final application, and continues with the generation of the final application.
|
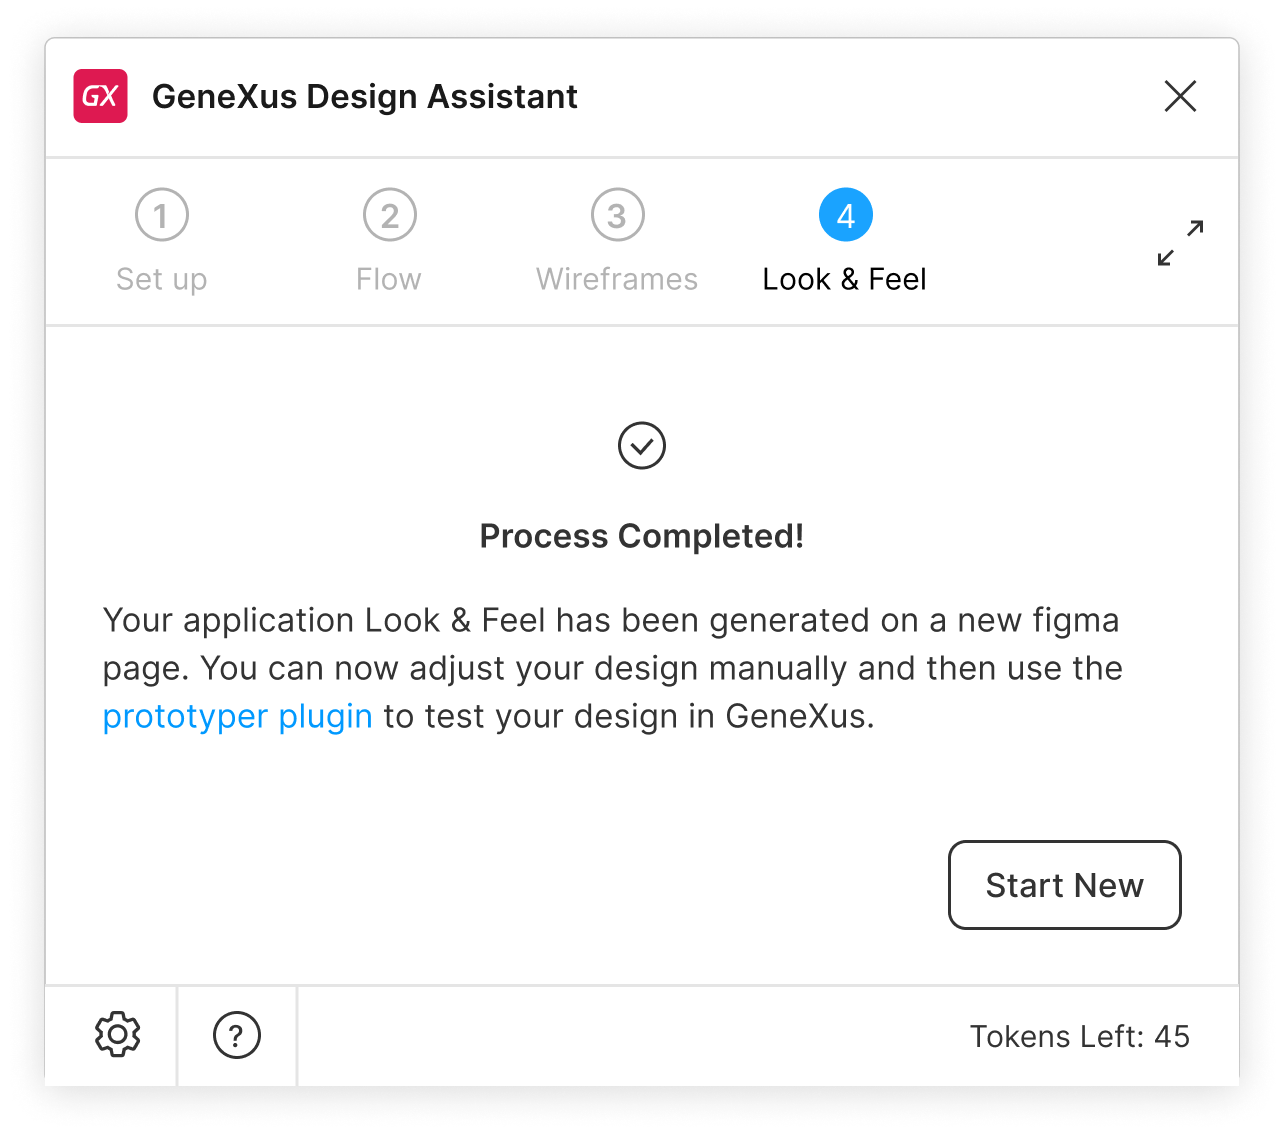
After completing the assistant, GeneXus Design Assistant will generate the final application drawing, applying the color and text styles to the wireframes. At this point, you can start all over again.
 |
Options:
- Start New
Restart the complete process from the beginning.
|
Finally, the designer can make any adjustments deemed necessary before creating a prototype for it using the plugin GeneXus Design Prototyper for Figma or even import it directly into GeneXus using the Design Import option to view the generated objects before running the app.
| Q: |
Can the generated elements in a specific step be edited and still proceed with generating the subsequent steps? |
| A: |
Currently, this is not possible. Modifications made to the generated elements in a specific step will not be reflected in the elements generated for subsequent steps. Future updates are planned to address this limitation and will include enhancements to support edits made to the file at various stages. |
| |
|
| Q: |
What can be done once the application generation process with the GeneXus Design Assistant is completed? |
| A: |
After completing the application generation process, you can make additional adjustments and then create a prototype using the GeneXus Prototyper plugin for Figma, or import the design directly into GeneXus to manually refine details during the development stage. Alternatively, you can proceed with traditional application development based on the generated design. |
| |
|
| Q: |
Does the plugin generate everything necessary for importing into GeneXus? |
| A: |
No. The plugin is still under development and there are several considerations to address before importing into GeneXus. For instance, the plugin currently does not generate reusable components for the application and does not cover all conventions required for GeneXus to disambiguate certain scenarios and accurately interpret the designer's intentions. |
| |
|
- Each stage (flow, wireframes, and screens) is generated on a new page named UserFlow, WireframePage, and ScreenPage, respectively.
- Remember that Figma's free tier accounts allow 3 pages per file. For more information, refer to Figma | Pricing documentation.
 How AI is Revolutionizing the Development and Design Cycle in GeneXus
Export from Figma
GeneXus Design Prototyper for Figma
GeneXus Design Assistant Website