- Setting Credentials
- Create Payment Preference
- Paying in MercadoPago's Website
- Receiving MercadoPago Notifications
First, you have to create a payment preference, where the purchase order is created. You need your access token, seller id, and a PreferenceSDT variable, which includes:
- Prices of items
- Total price
- Callback URL (where the user has to be redirected to after the purchase is completed)
- Notification URL (URL to which MercadoPago will send notifications, so the purchase order is updated)
- Seller Information
- Etc
&BaseURL = &HttpRequest.BaseUrl
&Notification_Url = &BaseURL.Trim() + ReceiveNotifications.Link()
&AccessToken = GetCurrentToken()

//== Create Preference on MercadoPago ==

//==Items information ==
&PreferenceItem.title = !'Product 1'
&PreferenceItem.quantity = 1
&PreferenceItem.currency_id = currency_id.Mexico
&PreferenceItem.unit_price = 70
&PreferenceSDT.items.Add(&PreferenceItem)

//== BacksUrls ==
&PreferenceSDT.back_urls.success = &BaseURL.Trim() + PreferenceBackURLPanelSuccess.Link()
&PreferenceSDT.back_urls.pending = &BaseURL.Trim() + PreferenceBackURLPanelPending.Link()
&PreferenceSDT.back_urls.failure = &BaseURL.Trim() + PreferenceBackURLPanelFailure.Link()
&PreferenceSDT.notification_url = &Notification_Url

&PreferenceSDT.external_reference = <My internal Order ID>

MercadoPago.Preference.CreatePreference(&AccessToken, &PreferenceSDT, &Message, &ErrorCode)

If &ErrorCode = 0
    &InitPointURL = &PreferenceSDT.init_point
    Link(&InitPointURL)
Else
    msg('ERROR ! :' + &Message.ToJson(), status)
endif
If the service invocation is successful, the procedure returns, in the same variable, more information about the purchase.
There are two relevant fields:
- init_point (it is the URL where the user needs to be redirected to, to proceed with the purchase, at MercadoPago’s site)
- sandbox_init_point (same as init_point, but used for testing (no real purchases done here))
Tests can also be done using init_point and two test users.
It is recommended to test using the first option (init_point with test users), which provides the production UI, and it is more stable than sandbox mode.
When redirected to that URL, MercadoPago sends a notification (which is received by the procedure you set up before in the notification URL property) with information about the order’s current state.
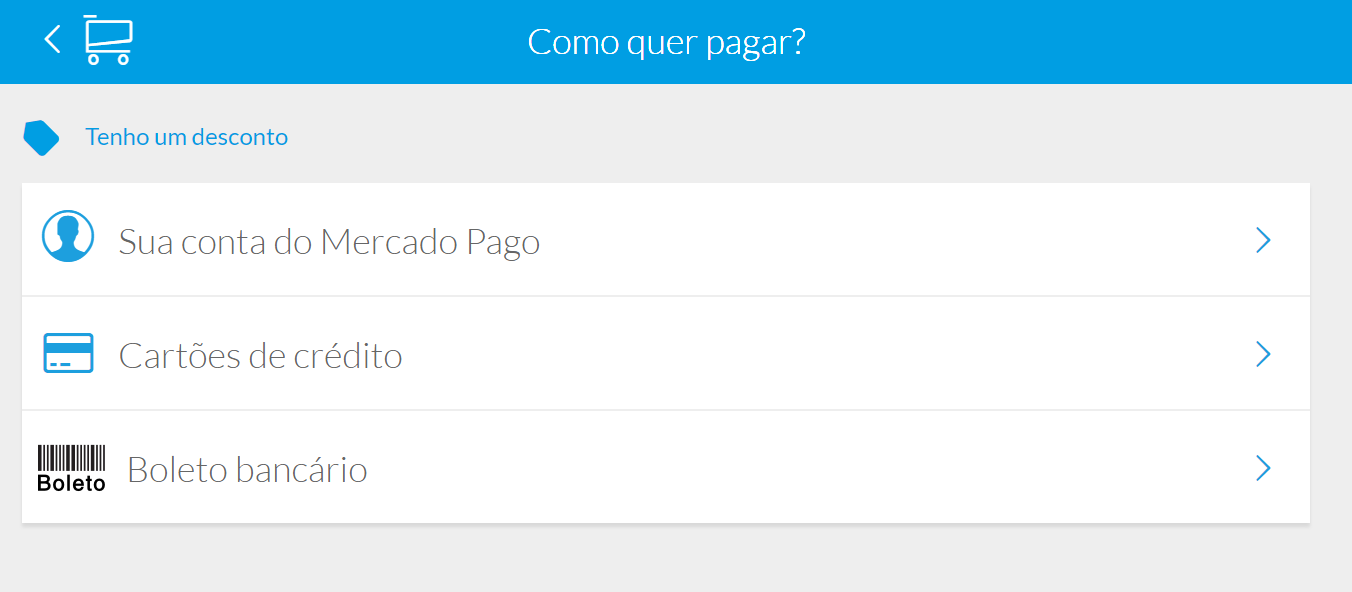
To make a payment, the buyer can log in (it will have its favorite credit cards, be able to pay with MercadoPago credit, etc.), or it can pay without login, but providing a valid e-mail.
Note: while developing, where buyer and seller roles are being tested, you need to log out from MercadoPago (with the seller user) to be able to log in as the buyer to make the purchase.
Different payment options will be displayed, depending on the country you are in (the seller's account country).
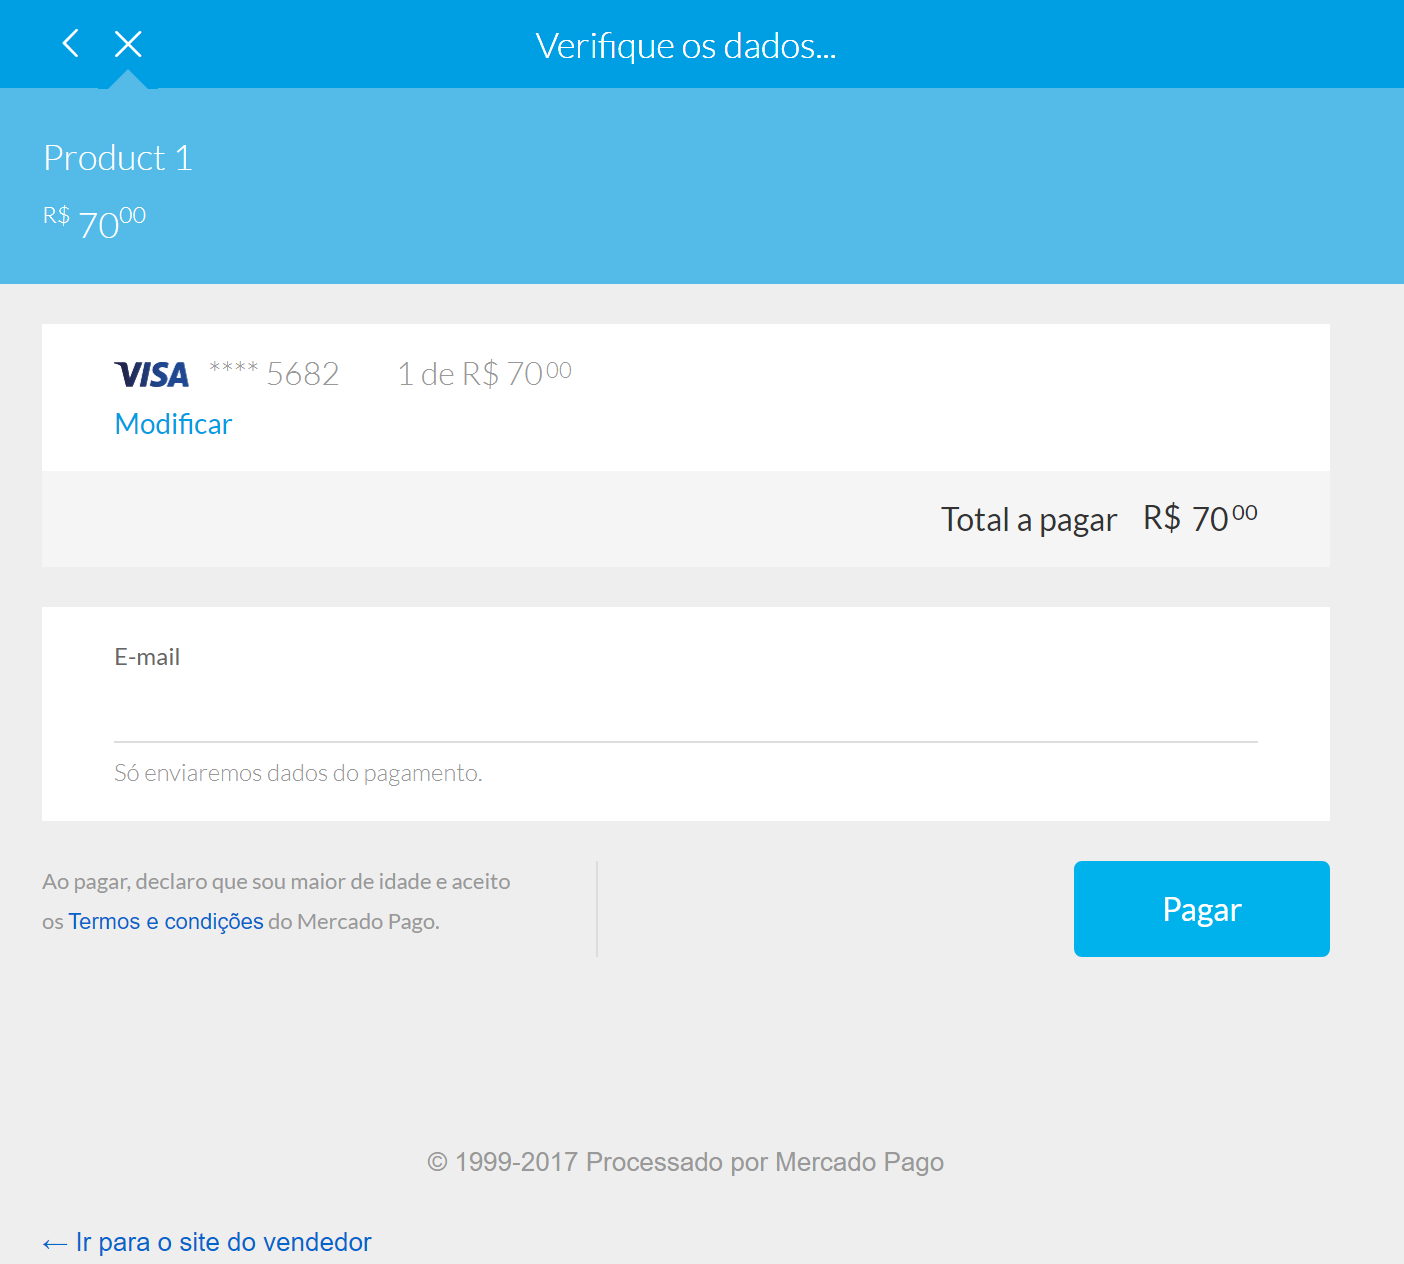
If the user has previously used a credit/debit card, he may be automatically redirected to this page.
Once the payment was made successfully
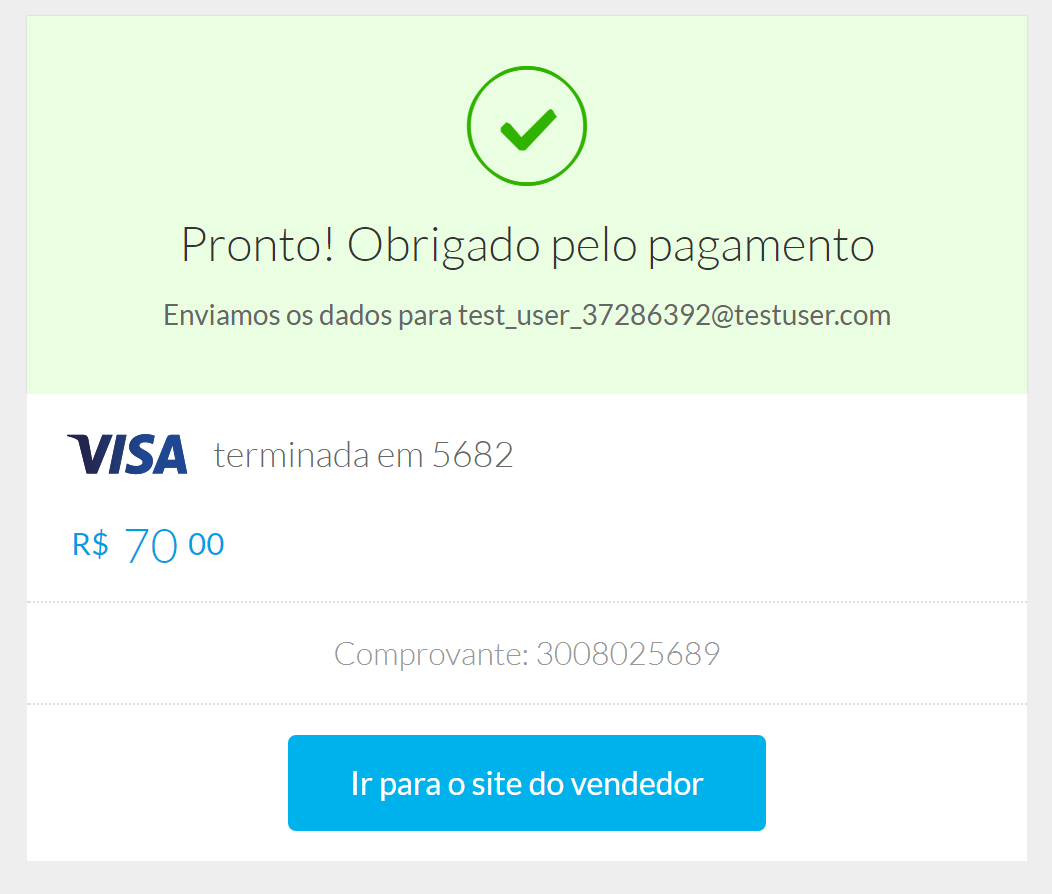
If the user selects the ticket option, it will receive an e-mail from MercadoPago to print the ticket.
To simulate payments, you must log in with one of the test users. You can use these test credit cards, available in MercadoPago’s developer site: https://www.mercadopago.com.ar/developers/en/guides/payments/api/testing/
You can also set up the name (read the link above) so that the payment behaves as successful, failed, pending, etc.
“Return to seller’s site” link, takes the user to the previously configured URL in Create Payment Preferences, depending on the result of the purchase.
&PreferenceSDT.back_urls.success = &BaseURL.Trim() + PreferenceBackURLPanelSuccess.Link()
&PreferenceSDT.back_urls.pending = &BaseURL.Trim() + PreferenceBackURLPanelPending.Link()
&PreferenceSDT.back_urls.failure = &BaseURL.Trim() + PreferenceBackURLPanelFailure.Link()
Information is sent as a parameter to that URL.
For example, in case of a successful payment, this procedure will receive a JSON with this information:
[
   "collection_id=2533991388",
   "collection_status=approved",
   "preference_id=239275945-66ba7044-bd9b-48a0-86df-a49ee6200a5f",
   "external_reference= 24",
   "payment_type=credit_card",
   "merchant_order_id=445047590"
]
If on the other hand, the user chose to pay later, for example through a Mexican Telecomm office, the website will take the user to the seller's site using the pending URL, with this information:
[
  "collection_id=3020019106",
  "collection_status=pending",
  "preference_id=272090172-3ad5e871-b381-4a00-881c-4f489bd3d2d6",
  "external_reference=13",
  "payment_type=telecomm",
  "merchant_order_id=570765634"
]
Once the payment is completed, MercadoPago sends a notification to the seller’s website, with information about the order (topic = merchant_order) and the payment (topic = payment). Because of that notification, you can keep your information about the payment process synchronized.
The notification will be sent to the URL that you specified when the Preference was created (&PreferenceSDT.notification_url )
See the ReceivesNotification procedure to know how to handle the received notifications.