Once the Knowledge Base has been created and the Fiori resources were initialized, the next step is to describe the objects of reality using GeneXus objects.
Transaction objects allow you to describe the entities and associated attributes of the application in a declarative manner, using database tables in SAP HANA Database automatically created by GeneXus. Transaction objects also create responsive web forms (pages) to insert, update and delete records. The default web forms created by Transaction objects can be customized.
It is desired to have a travel agency application, which shows: recommended tourist attractions, countries and cities where they offer tours.
To achieve this, the following entities (reality actors) will be defined in the Travel Agency Knowledge Base, using Transaction objects:
- Customers
- Tours attractions
- Countries
- Cities
All entities have attributes that provide detailed information about the entity. For example, a customer has attributes: first name, last name, email address, and phone number.
For each entity, you will have to create a Transaction object.
To create a new object, go to Toolbar and select File > New > Object.
Once you select the option to create a new object, you can choose the type of object that will be created from the dialog box.
Select Data Management in the categories section of the dialog box and select the Transaction object type. Name it “Customer” and click on the ‘Create’ button.
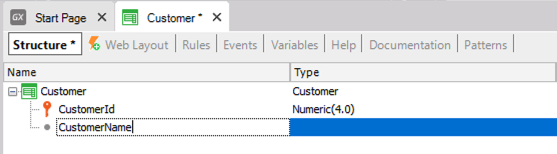
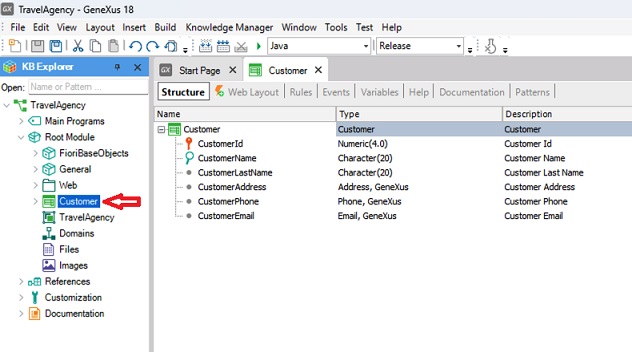
When a Transaction object is created, the Structure section is open by default:
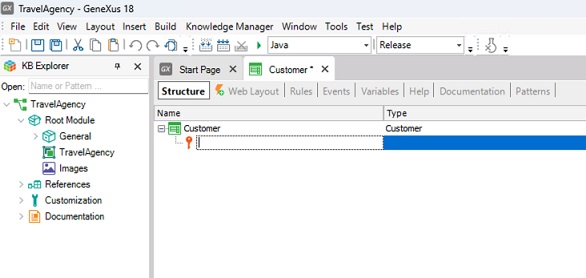
In the Transaction object Structure, you have to specify the name and data type of each attribute of the Transaction.
A customer has attributes such as first name, last name, phone, email, and address.
Customer
{
   CustomerId*
   CustomerName
   CustomerLastName
   CustomerAddress
   CustomerPhone
   CustomerEmail
}
Note that the first line is already created to enter the first attribute.
In every Transaction object, an attribute or set of attributes must be able to uniquely identify each record. In other words, one cannot enter two customers with the same identifier value. For this reason, a key icon that distinguishes the identifier attribute from other attributes is associated with the first line.
Customer’s passport number or ID card numbers could be candidates for identifier roles. Since the application is not required to store passport number or ID card number, you can create an attribute called "CustomerId". You can configure the identifier attribute to automatically increment in steps of 1 for every record added to the Transaction by setting the Autonumber property of the attribute to True.
If you press the “dot” key on the keyboard, GeneXus automatically shows the Transaction name as a prefix in the attribute name field.
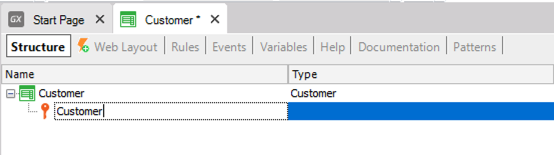
You only have to type "Id" after the "Customer" prefix.
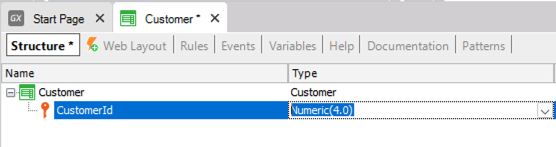
After entering the name of the attribute, press the Tab key and choose the data type.
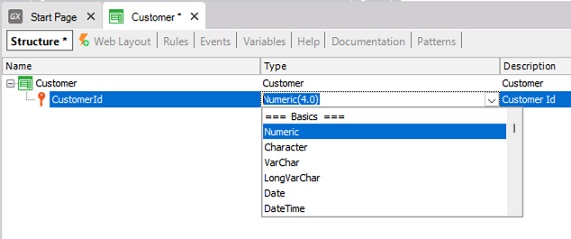
Clicking on the arrow displays the data types available in GeneXus. For this attribute, leave the default data type: Numeric of 4 digits (with no decimals).
Press ENTER and start creating the second attribute.
A new line will open.
The second attribute to be entered is ‘CustomerName’.
Once again, type “.” and complete the attribute name by typing “Name”.
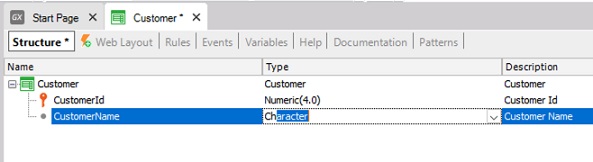
In the data type section for the CustomerName attribute, type ‘Character’.
Note that if you type an opening bracket, the default length is 20 characters; you can leave it unchanged.
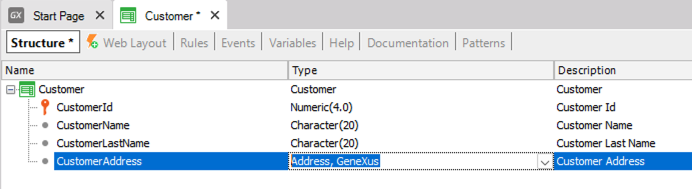
Follow the same steps to enter the ‘CustomerLastName’ attribute, which will also be of Character type, length 20.
Now, add the CustomerAddress attribute. In this case, the data type ‘Address’ was automatically assigned. GeneXus realized that you want to create an attribute whose name partially matches the name of the existing data type ‘Address’.
Continue with ‘CustomerPhone’. GeneXus will automatically assign it the data type ‘Phone’.
Lastly, enter the ‘CustomerEmail’ Attribute, which is automatically assigned the Email data type by GeneXus. In particular, the data types Address, Phone and Email are special data types called semantic domains. Semantic Domains include features that are specific to an address, a phone number, or an email address, respectively.
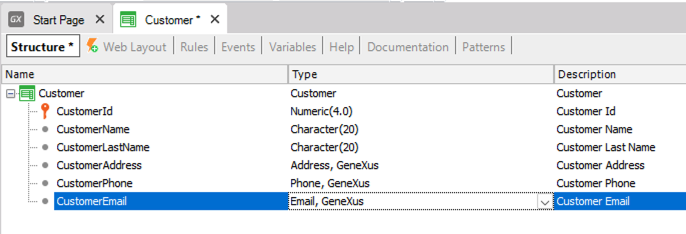
Note that an asterisk is being displayed in the Customer Transaction tab.
This means that the Transaction is being edited. When you save the changes, the asterisk will disappear, and the Transaction object will be displayed in the KB Explorer window. Click on File > Save or press Ctrl + S to save the Transaction.
Select the “Web Layout” section.
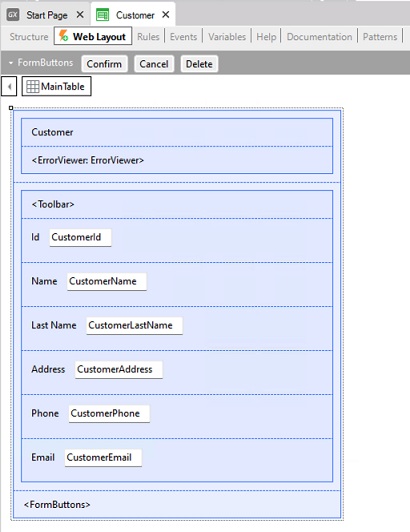
For web applications, GeneXus automatically designs responsive Web Forms according to the defined structure. This form allows users to add, change and delete customers.
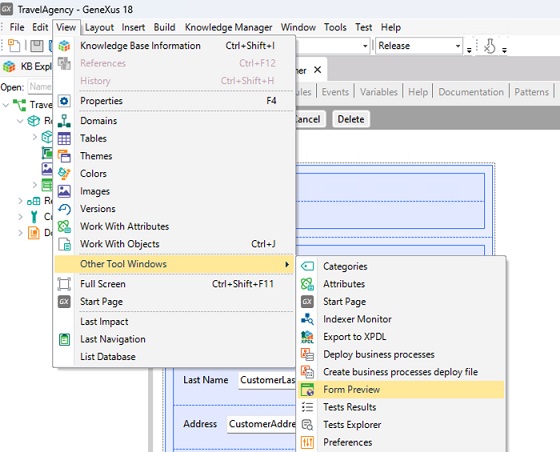
Form Preview shows you how the web form will look at runtime according to the screen size. To open the Form Preview window, click on View > Other Tool Windows > Form Preview.
Note that the Form Preview window shows the screen size for the preview in the footer of the window.
GeneXus supports the following screen size categories.
- Large size devices that have width more than 1200px
- Medium size devices that have width more than 992 px but less than 1200 px.
- Small size devices that have width more than 768 px but less than 992 px.
- Extra small size devices that have width less than 768 px
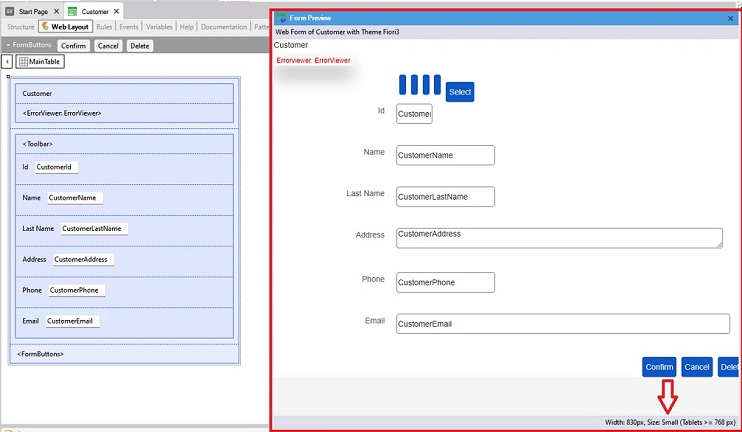
You can change the size of the preview by enlarging or reducing the size of the Form Preview window.
When you change the screen size, the controls will be adapted to show the data according to that size.