The Wizard Floorplan is a useful page that allows you to create an easy way to get the user to complete a long or difficult task.
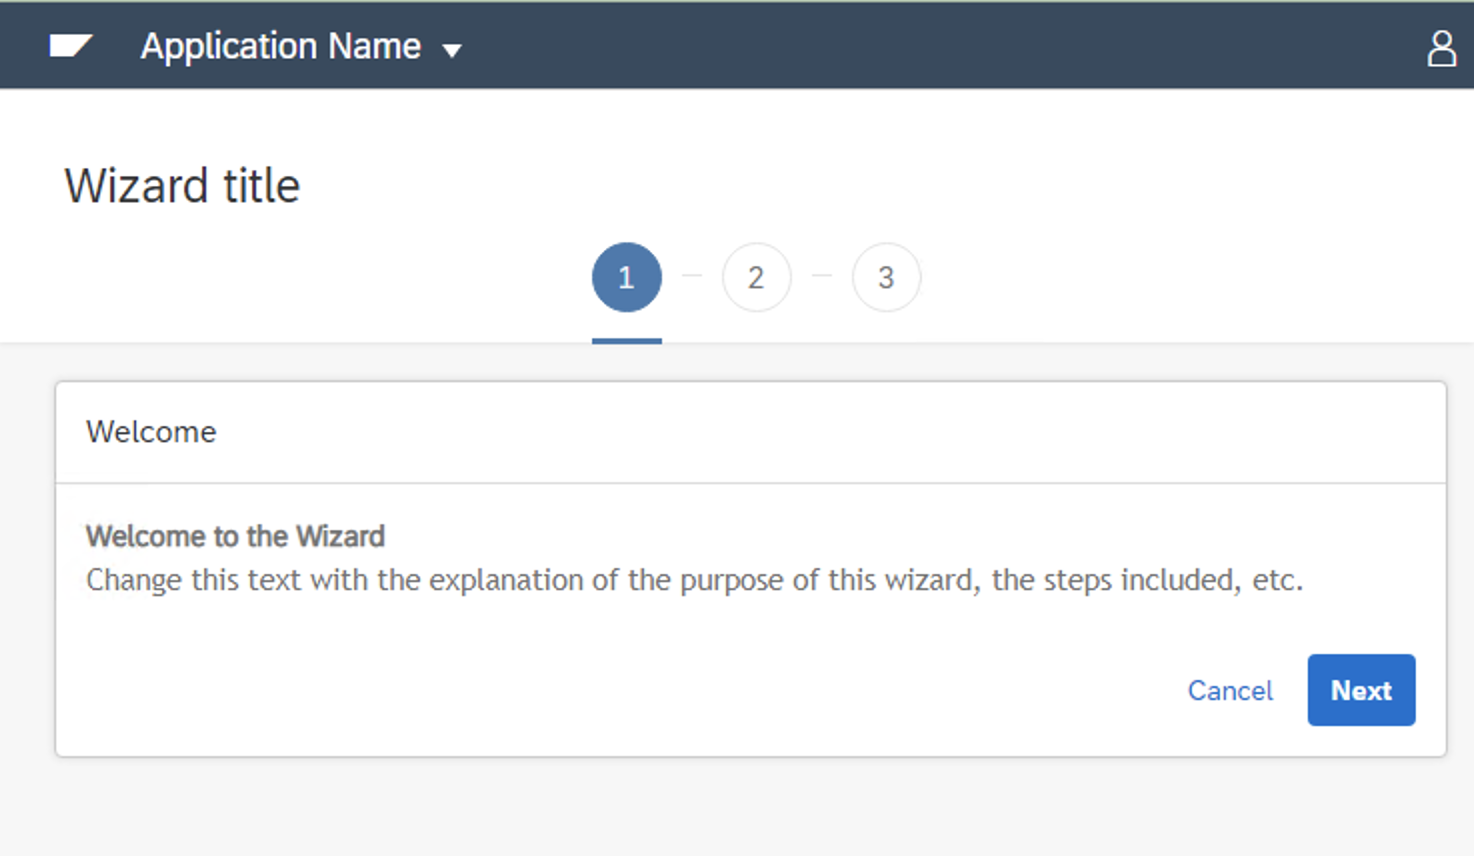
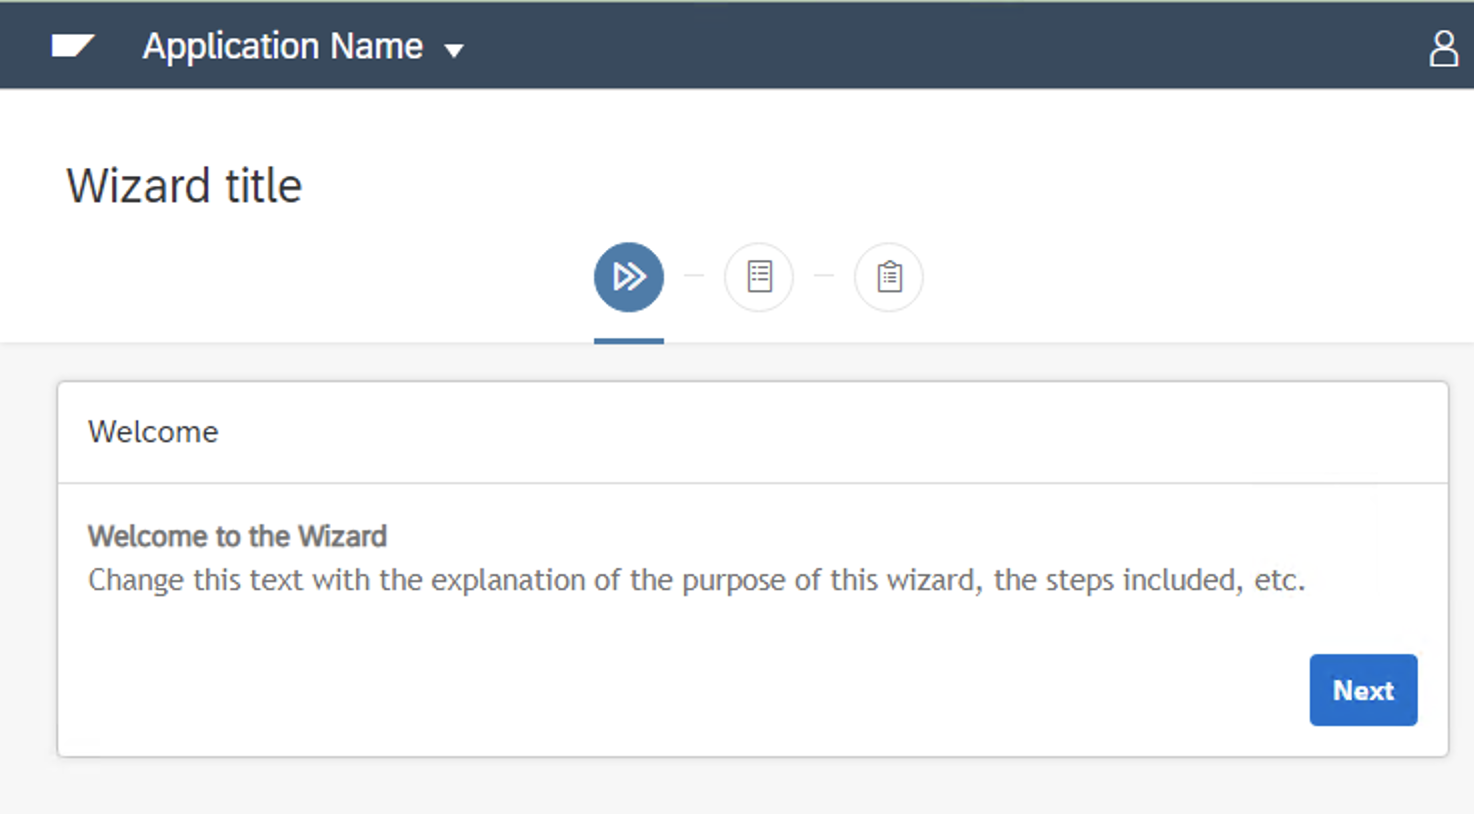
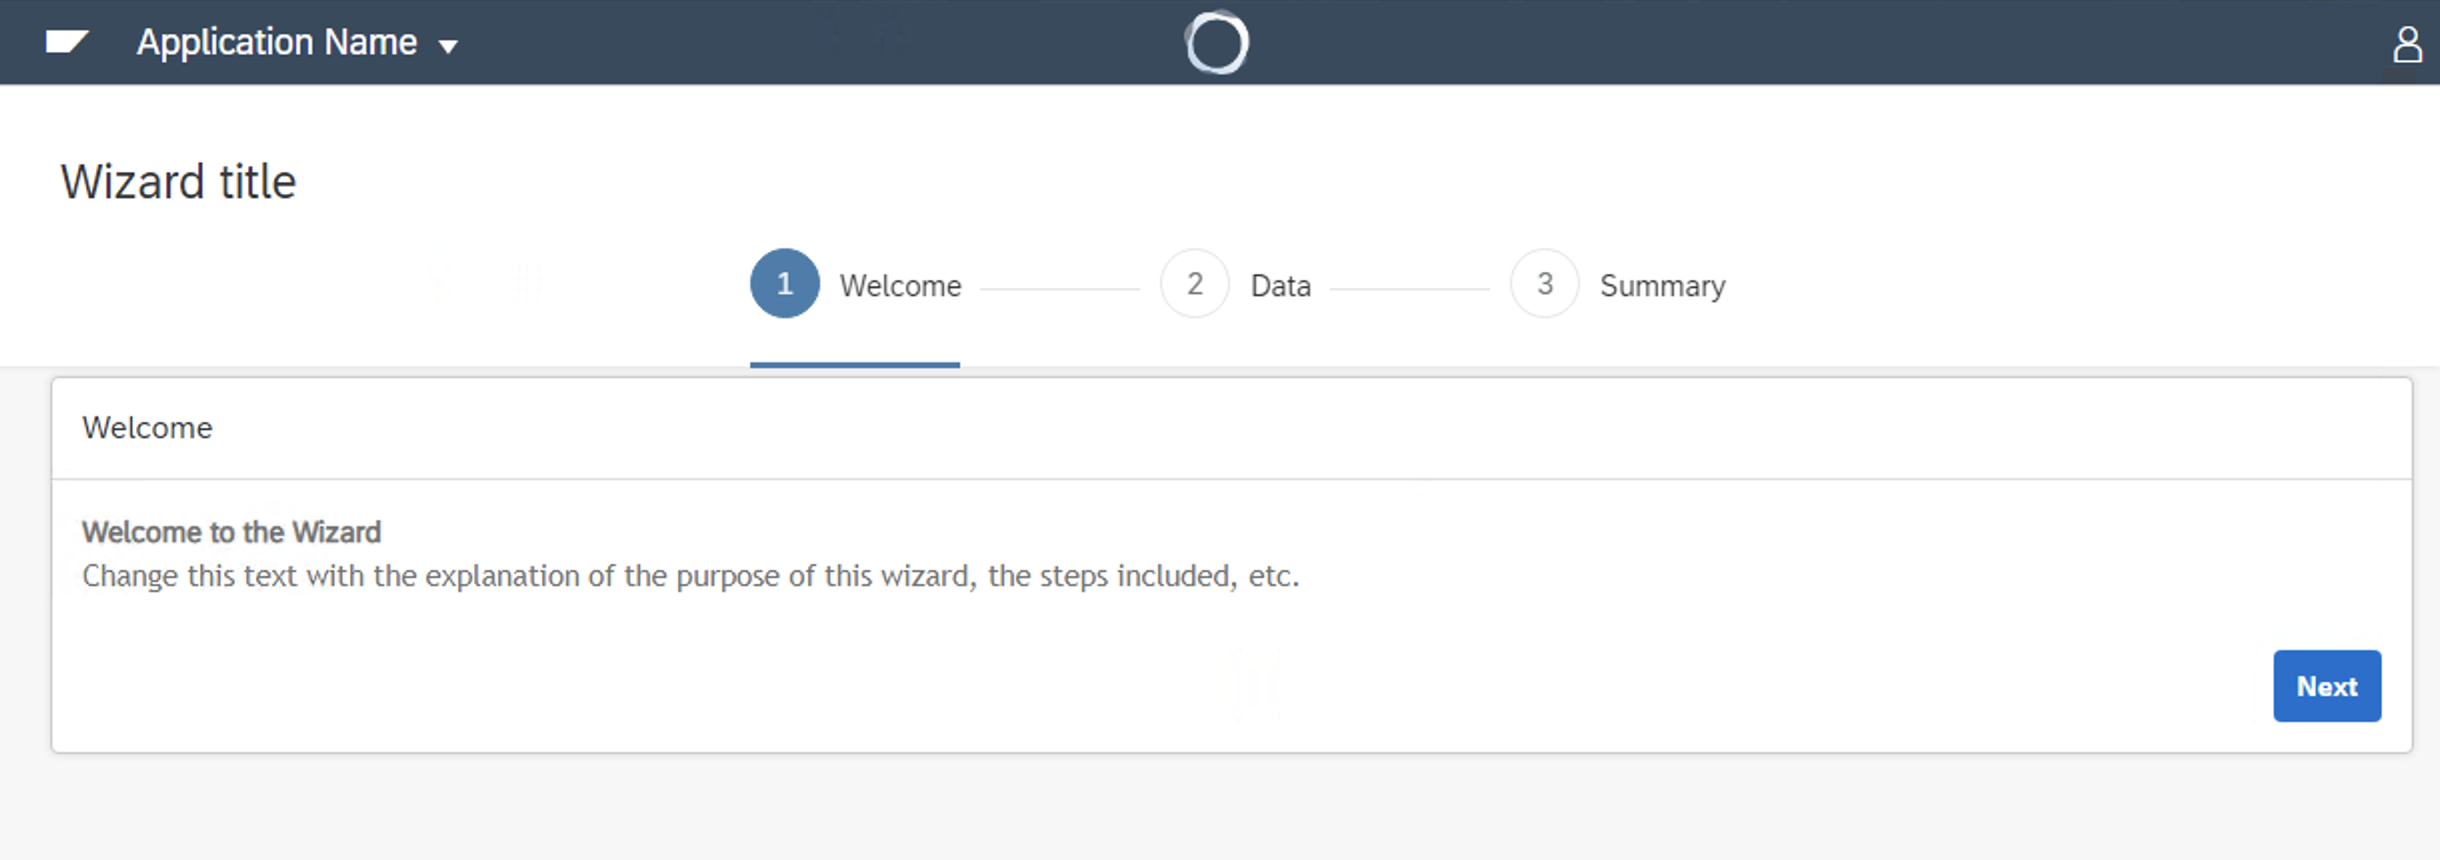
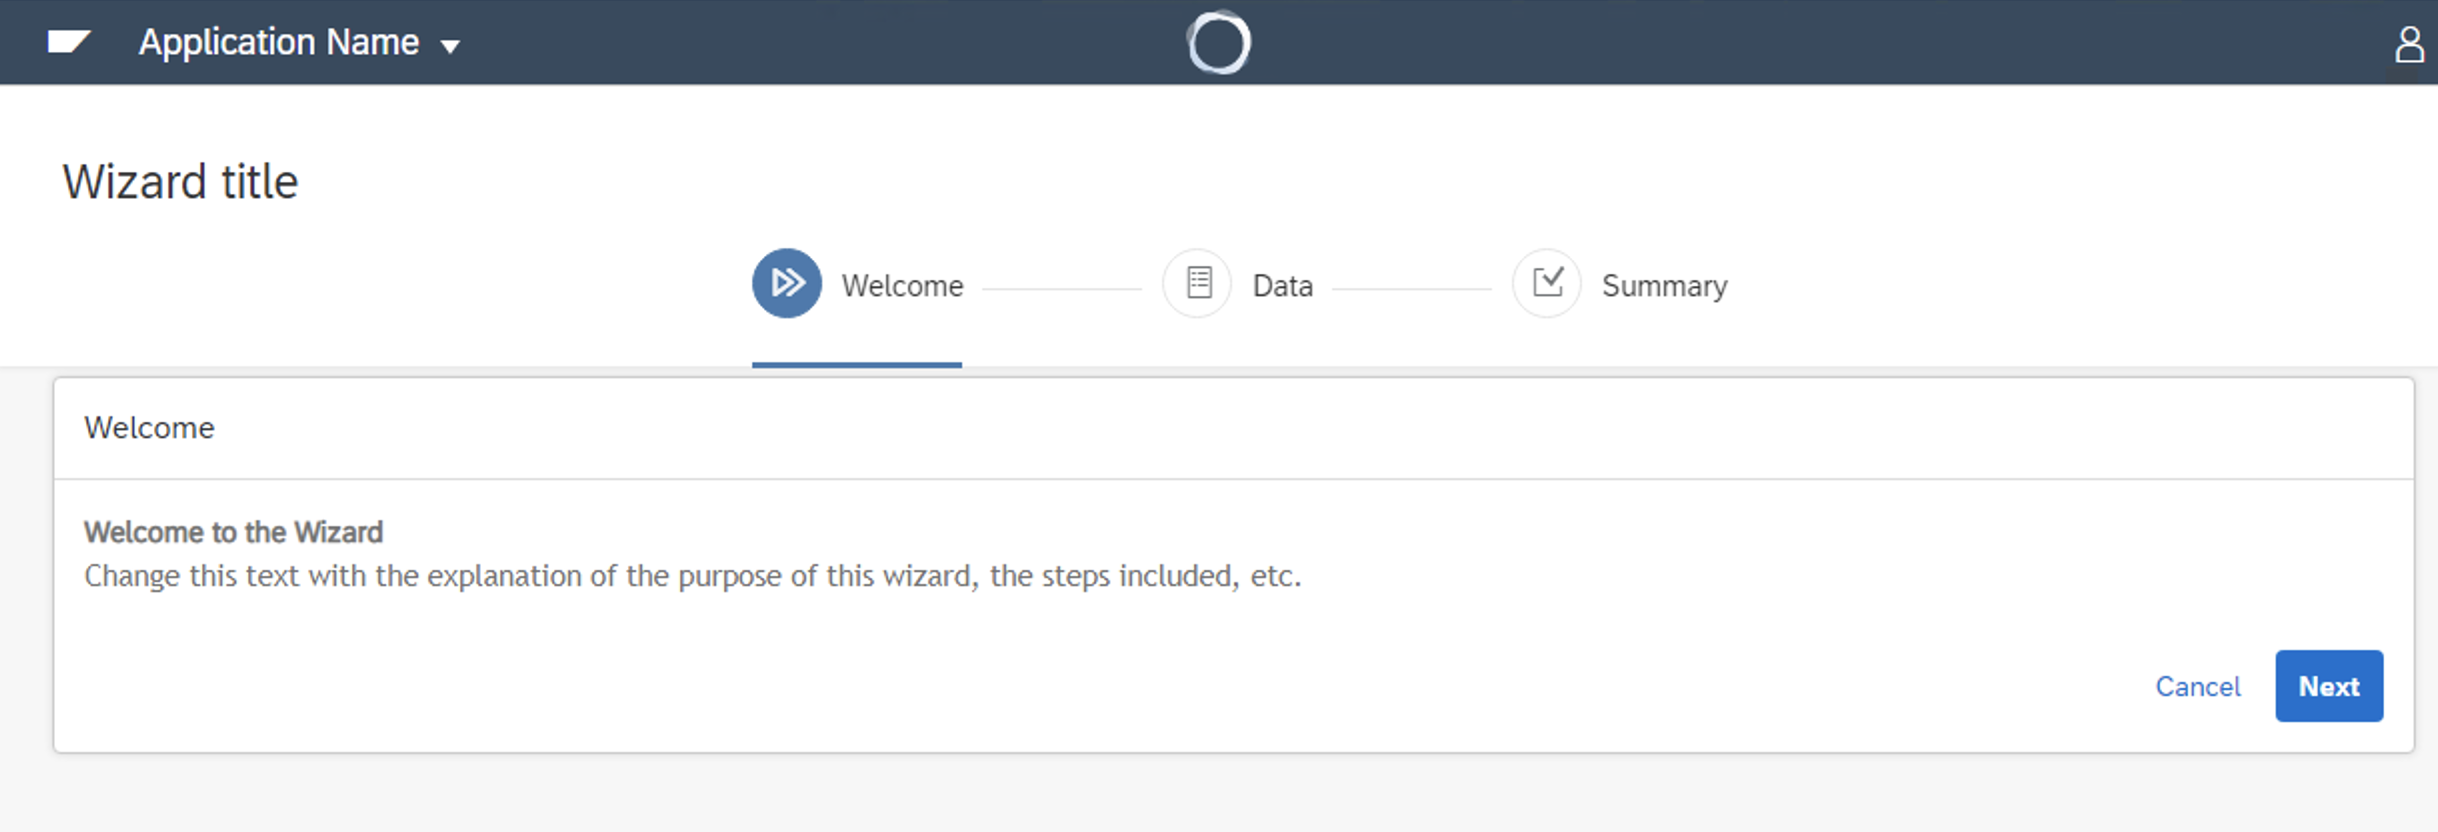
You have 4 kinds of wizards to choose from. They have a different appearance, but their functionality is the same.
The 4 kinds are:
The wizard is divided into steps. Each step focuses on a single part of the task (insert information, select, add,etc).
The wizard is a Web Panel object, and the steps are Web Panels that behave as Web Components of the wizard.
By default, the wizard comes step-empty.
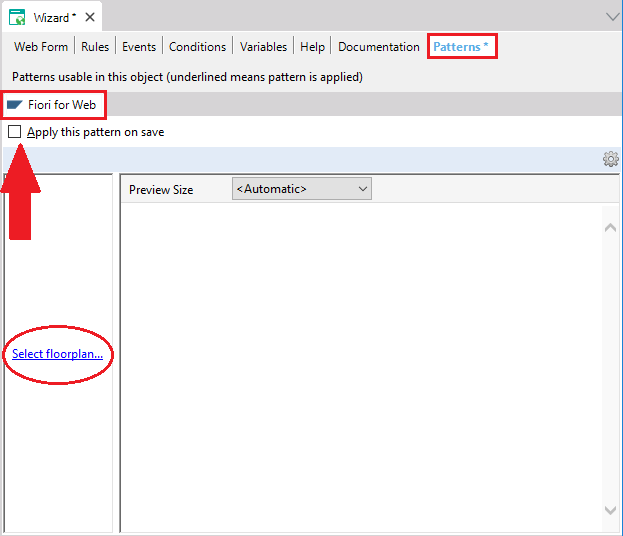
Look at the Patterns tab of the shown Web Panel object. If you have never applied the Fiori for Web pattern in your Knowledge Base, read this article: HowTo: Apply the Fiori for Web pattern for the first time. Otherwise, being positioned on the Fiori for Web Pattern tab, check the Apply this pattern on save checkbox and select the offered link to choose a floorplan:
Then, select the Wizard option from the list given by GeneXus:
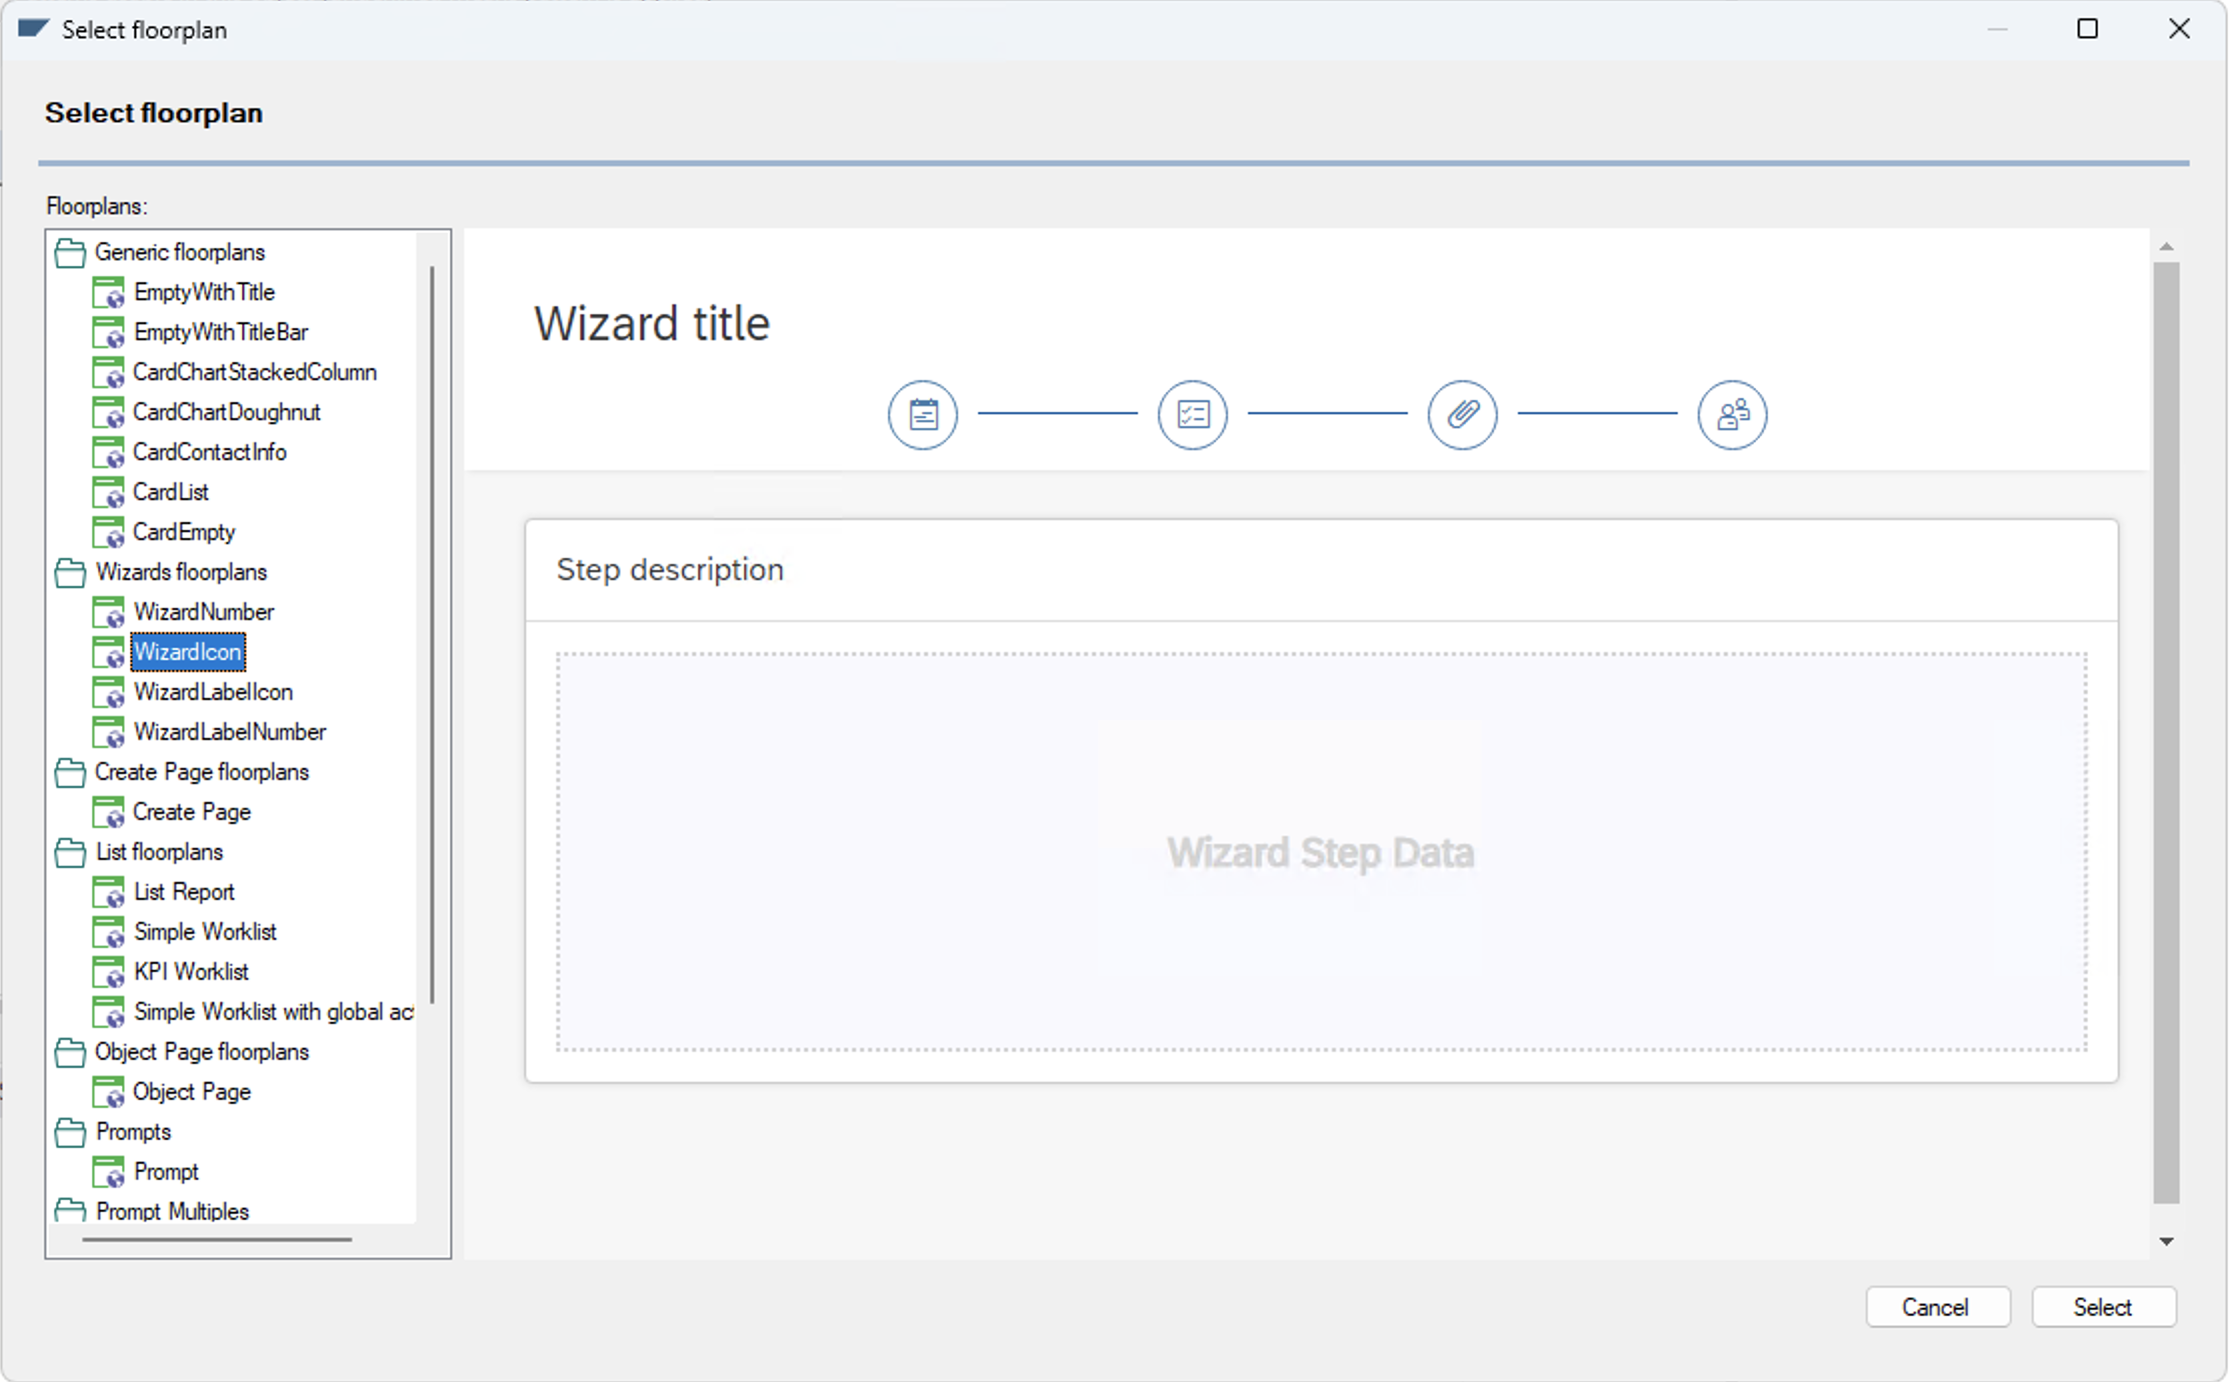
This floorplan can be applied only to a Web Panel object.
This section explains how to work with the steps.
First of all, you need to know how to add a step to the Wizard. To do that, you have to right-click the Steps node (it has a folder icon) and select in the contextual menu Add > Step:

There are 6 different kinds of steps:
- Welcome Step
- Data Step
- Select Grid Items Step
- Add Grid Items Step
- Summary Step
- Completed Step
These steps are detailed below on this page.
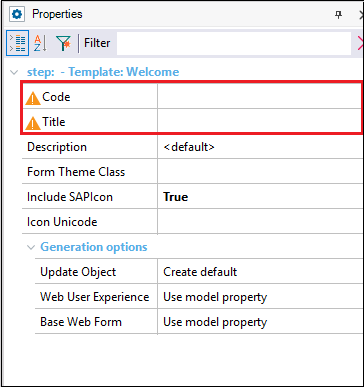
When you create a step by default, their Code and Title Properties are empty. You have to set them up in order to compile:
To delete a step, you have to -while being positioned on the Wizard Floorplan tab- right-click on the step and select the Delete option from the contextual menu.
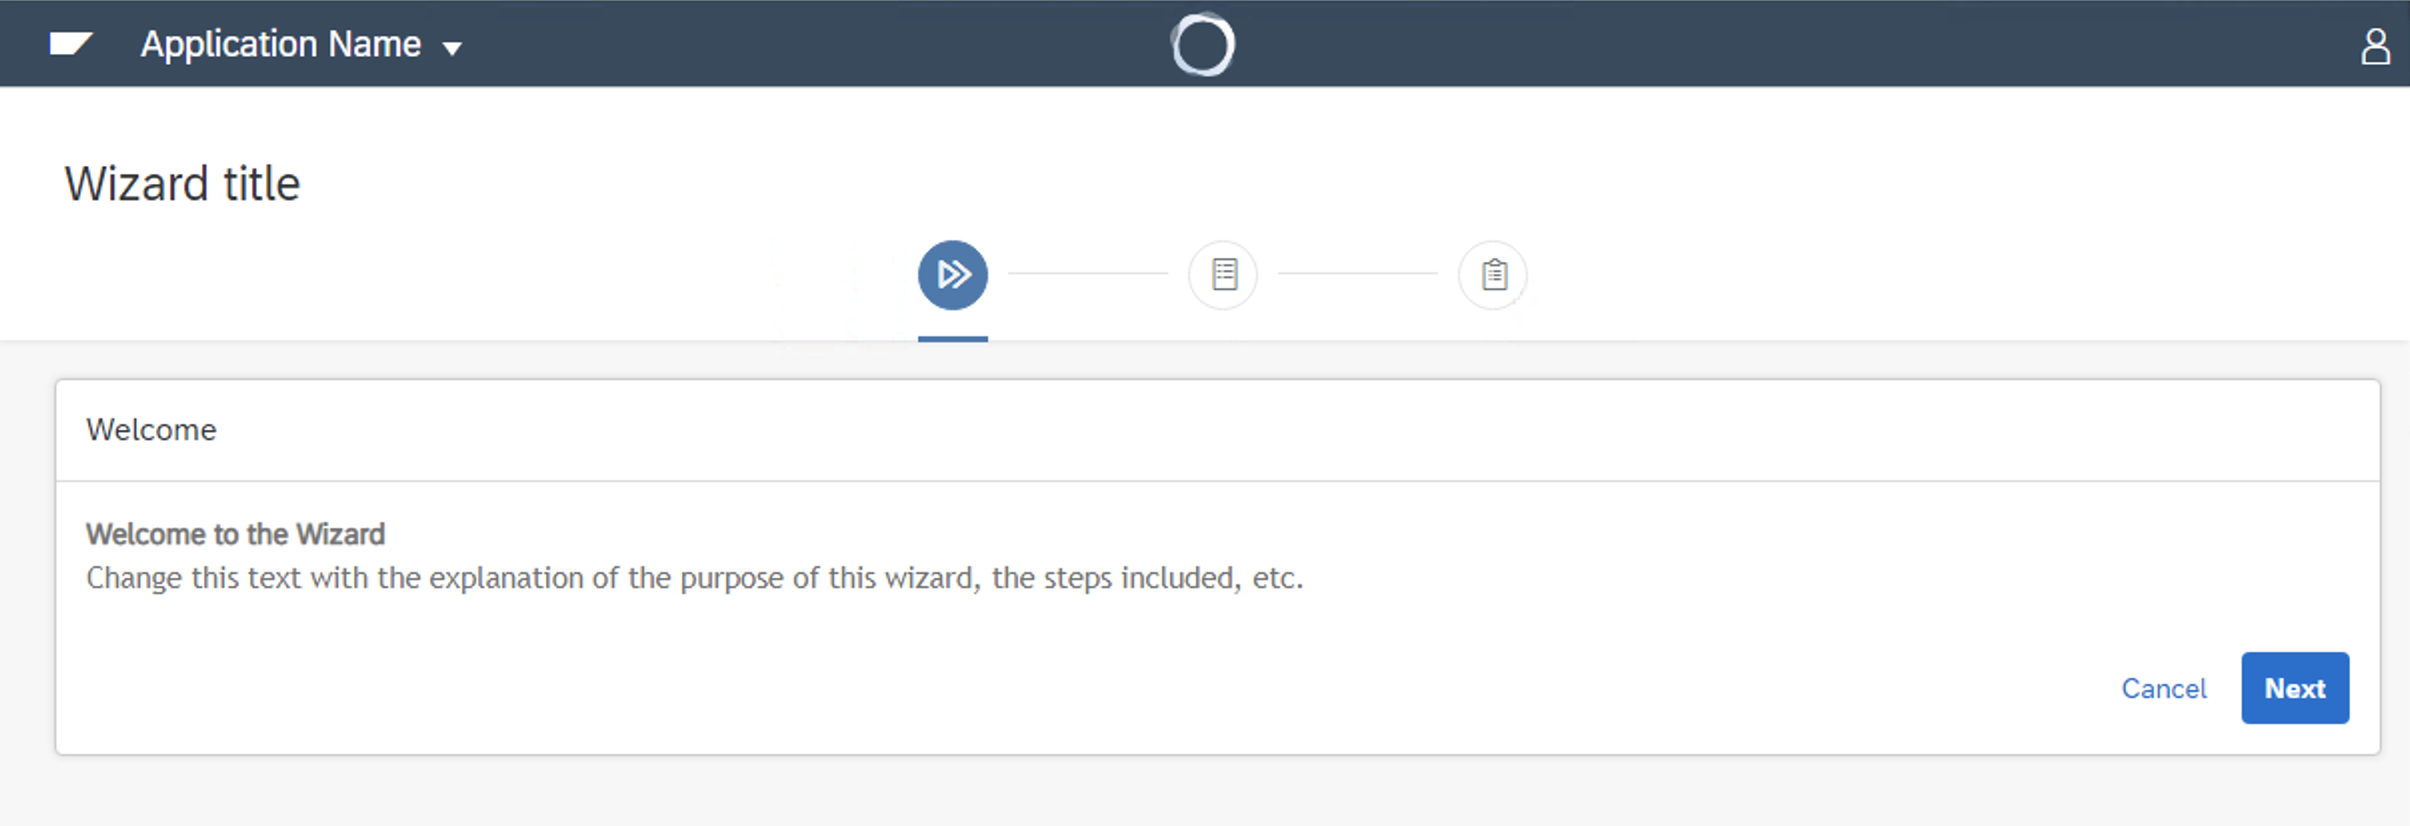
The purpose of the Welcome step is to introduce the users to the wizard and give some information about what they will do in the steps that follow.
To modify the information shown in this step, first, you have to select the Welcome tab:
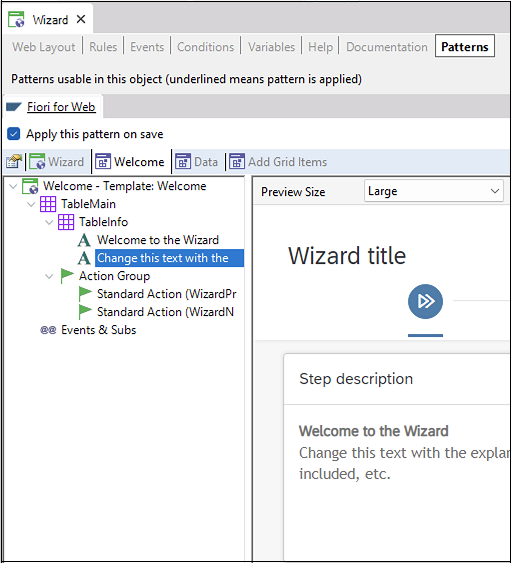
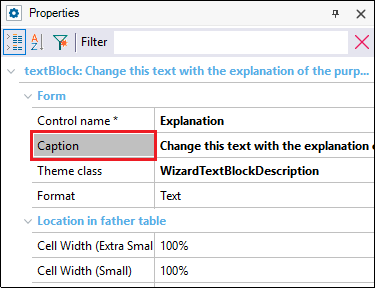
Then, you have to modify the Caption property in order to show the text you decide.
Also, you can add actions (it is not the meaning of the step) by right-clicking the node of the area in which you want the action to be in, and then, by selecting from the contextual menu Add > UserAction.
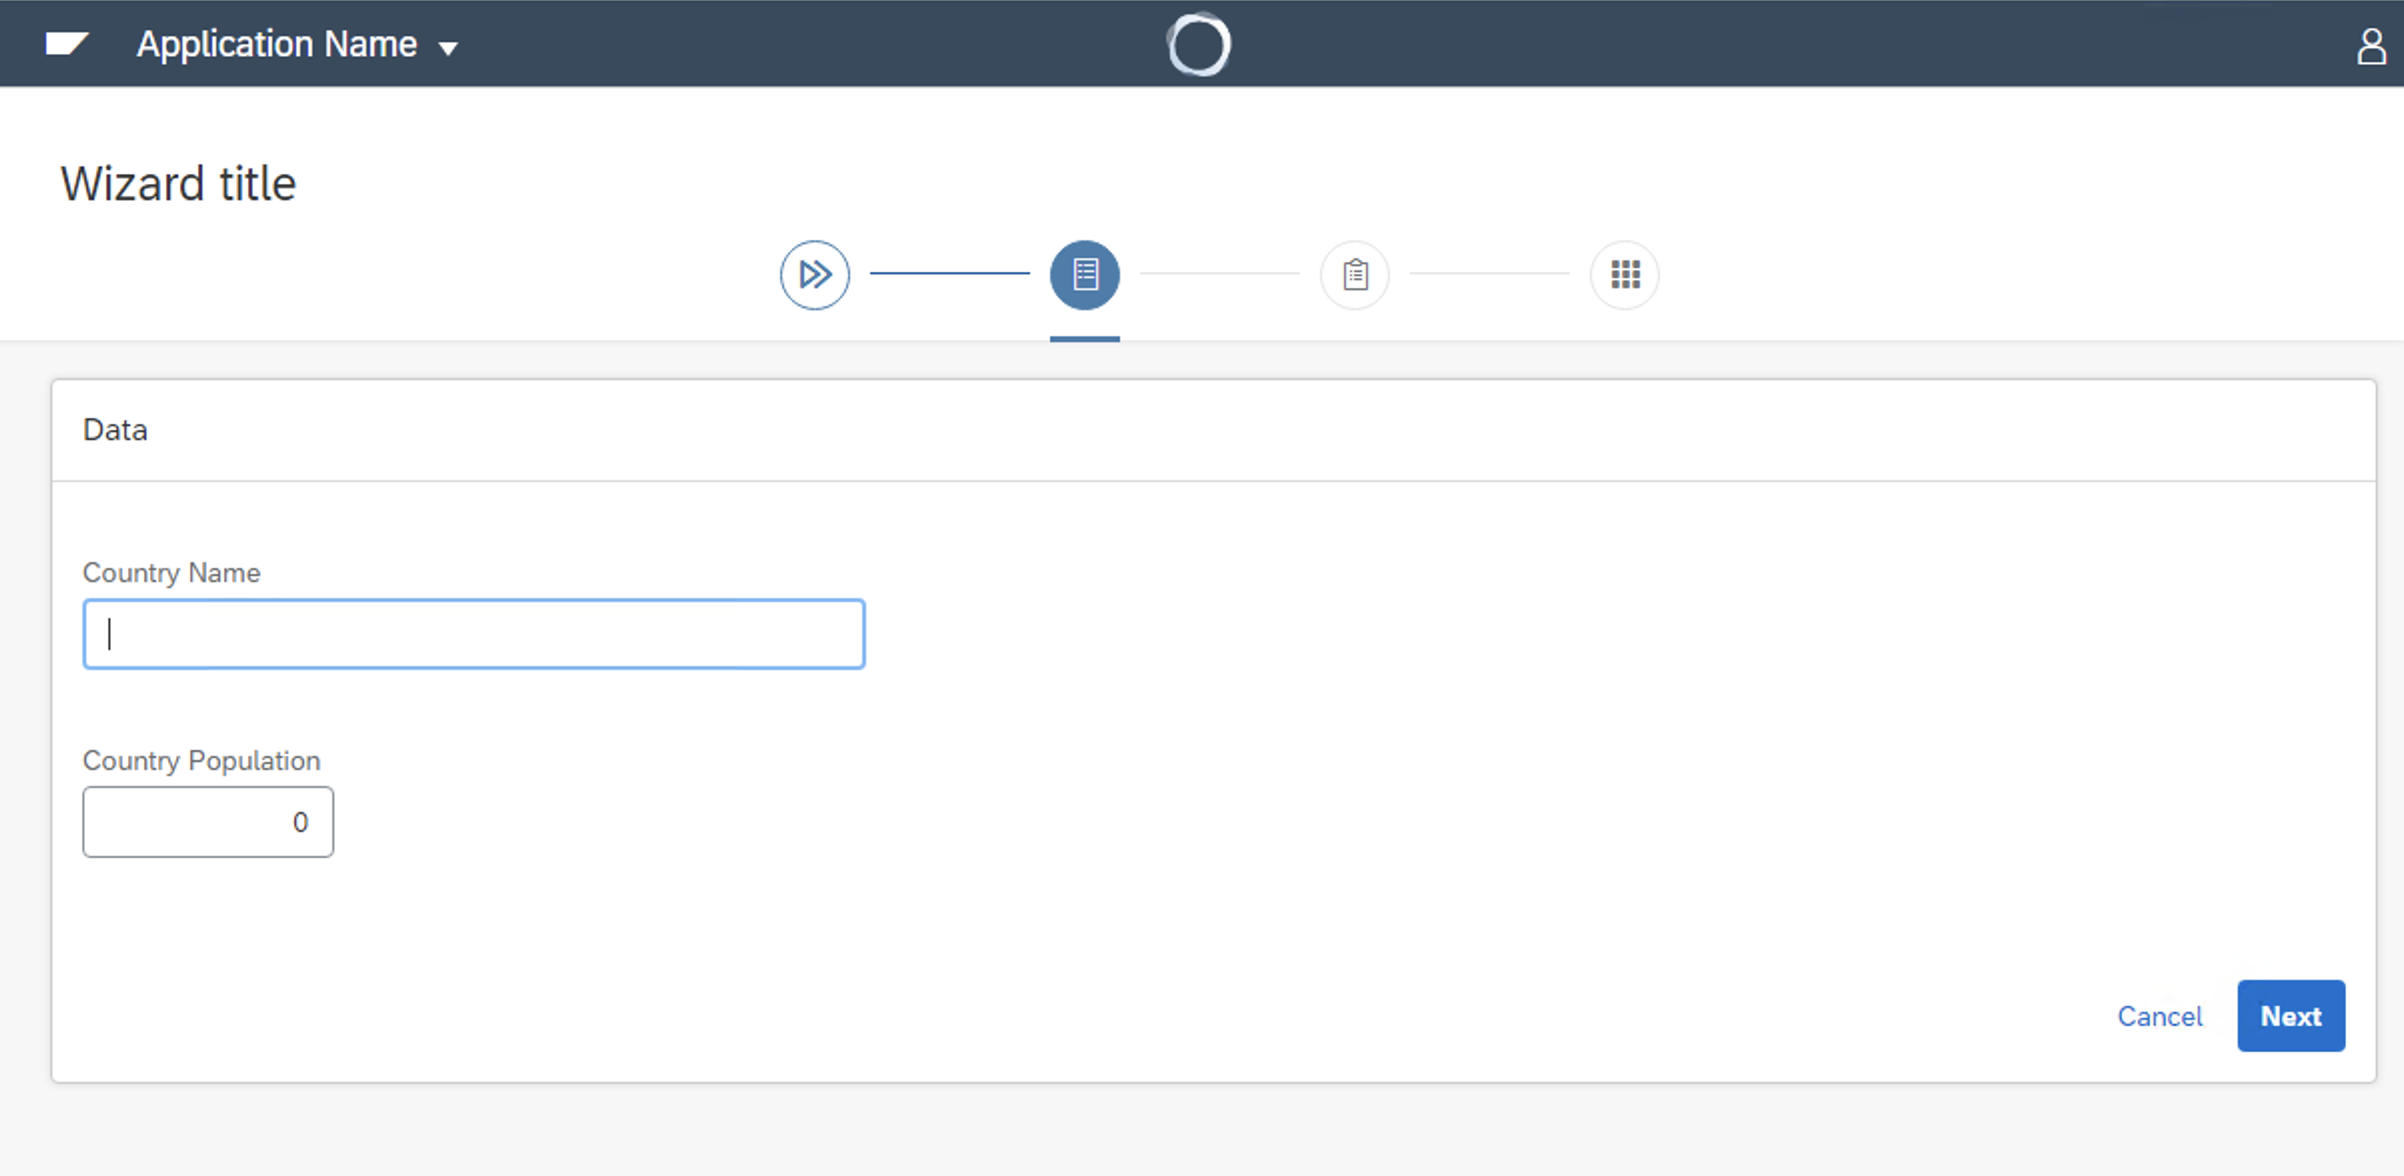
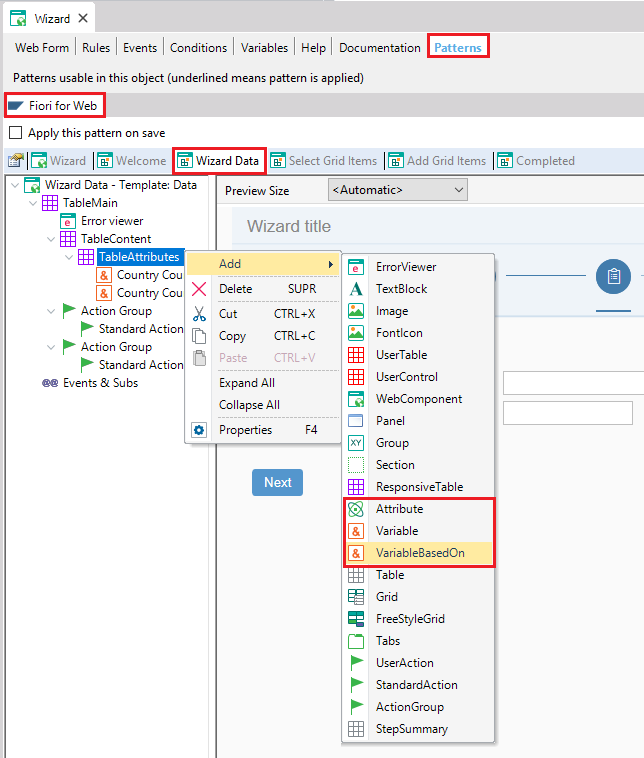
The purpose of the Data step is to allow users to enter information.
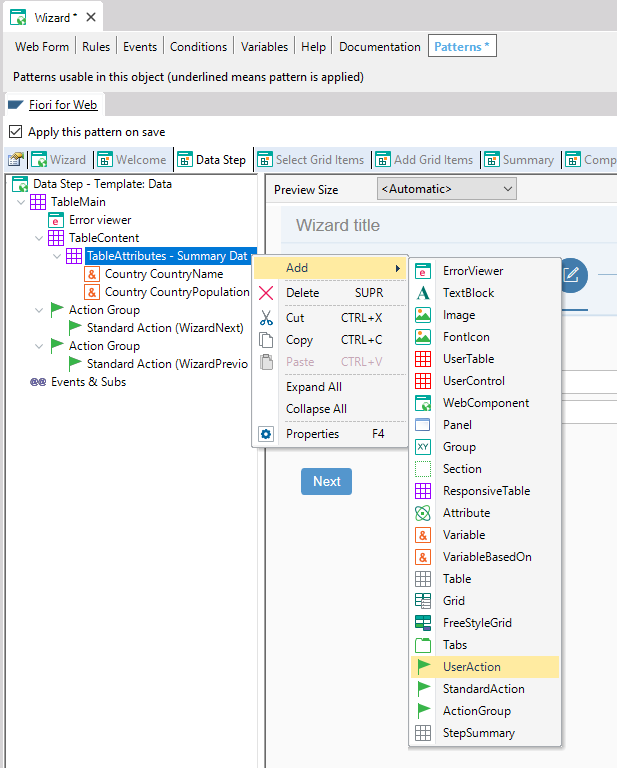
By default, the step is offered empty. To add variables, you have to right-click the TableAttributes node and then select Add > Variable (if you want to use new variables) or Add > VariablesBasedOn (to use variables based on attributes definitions).
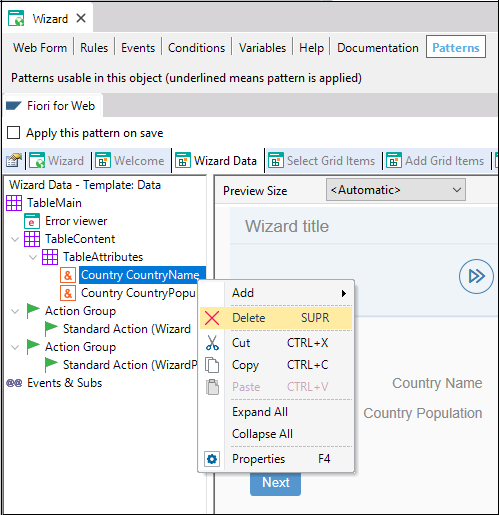
To delete variables, you have to right-click the variable and select Delete from the contextual menu.
You can add actions. In order to do it, you have to right-click the node of the area in which you want to add it, and then select Add > UserAction.
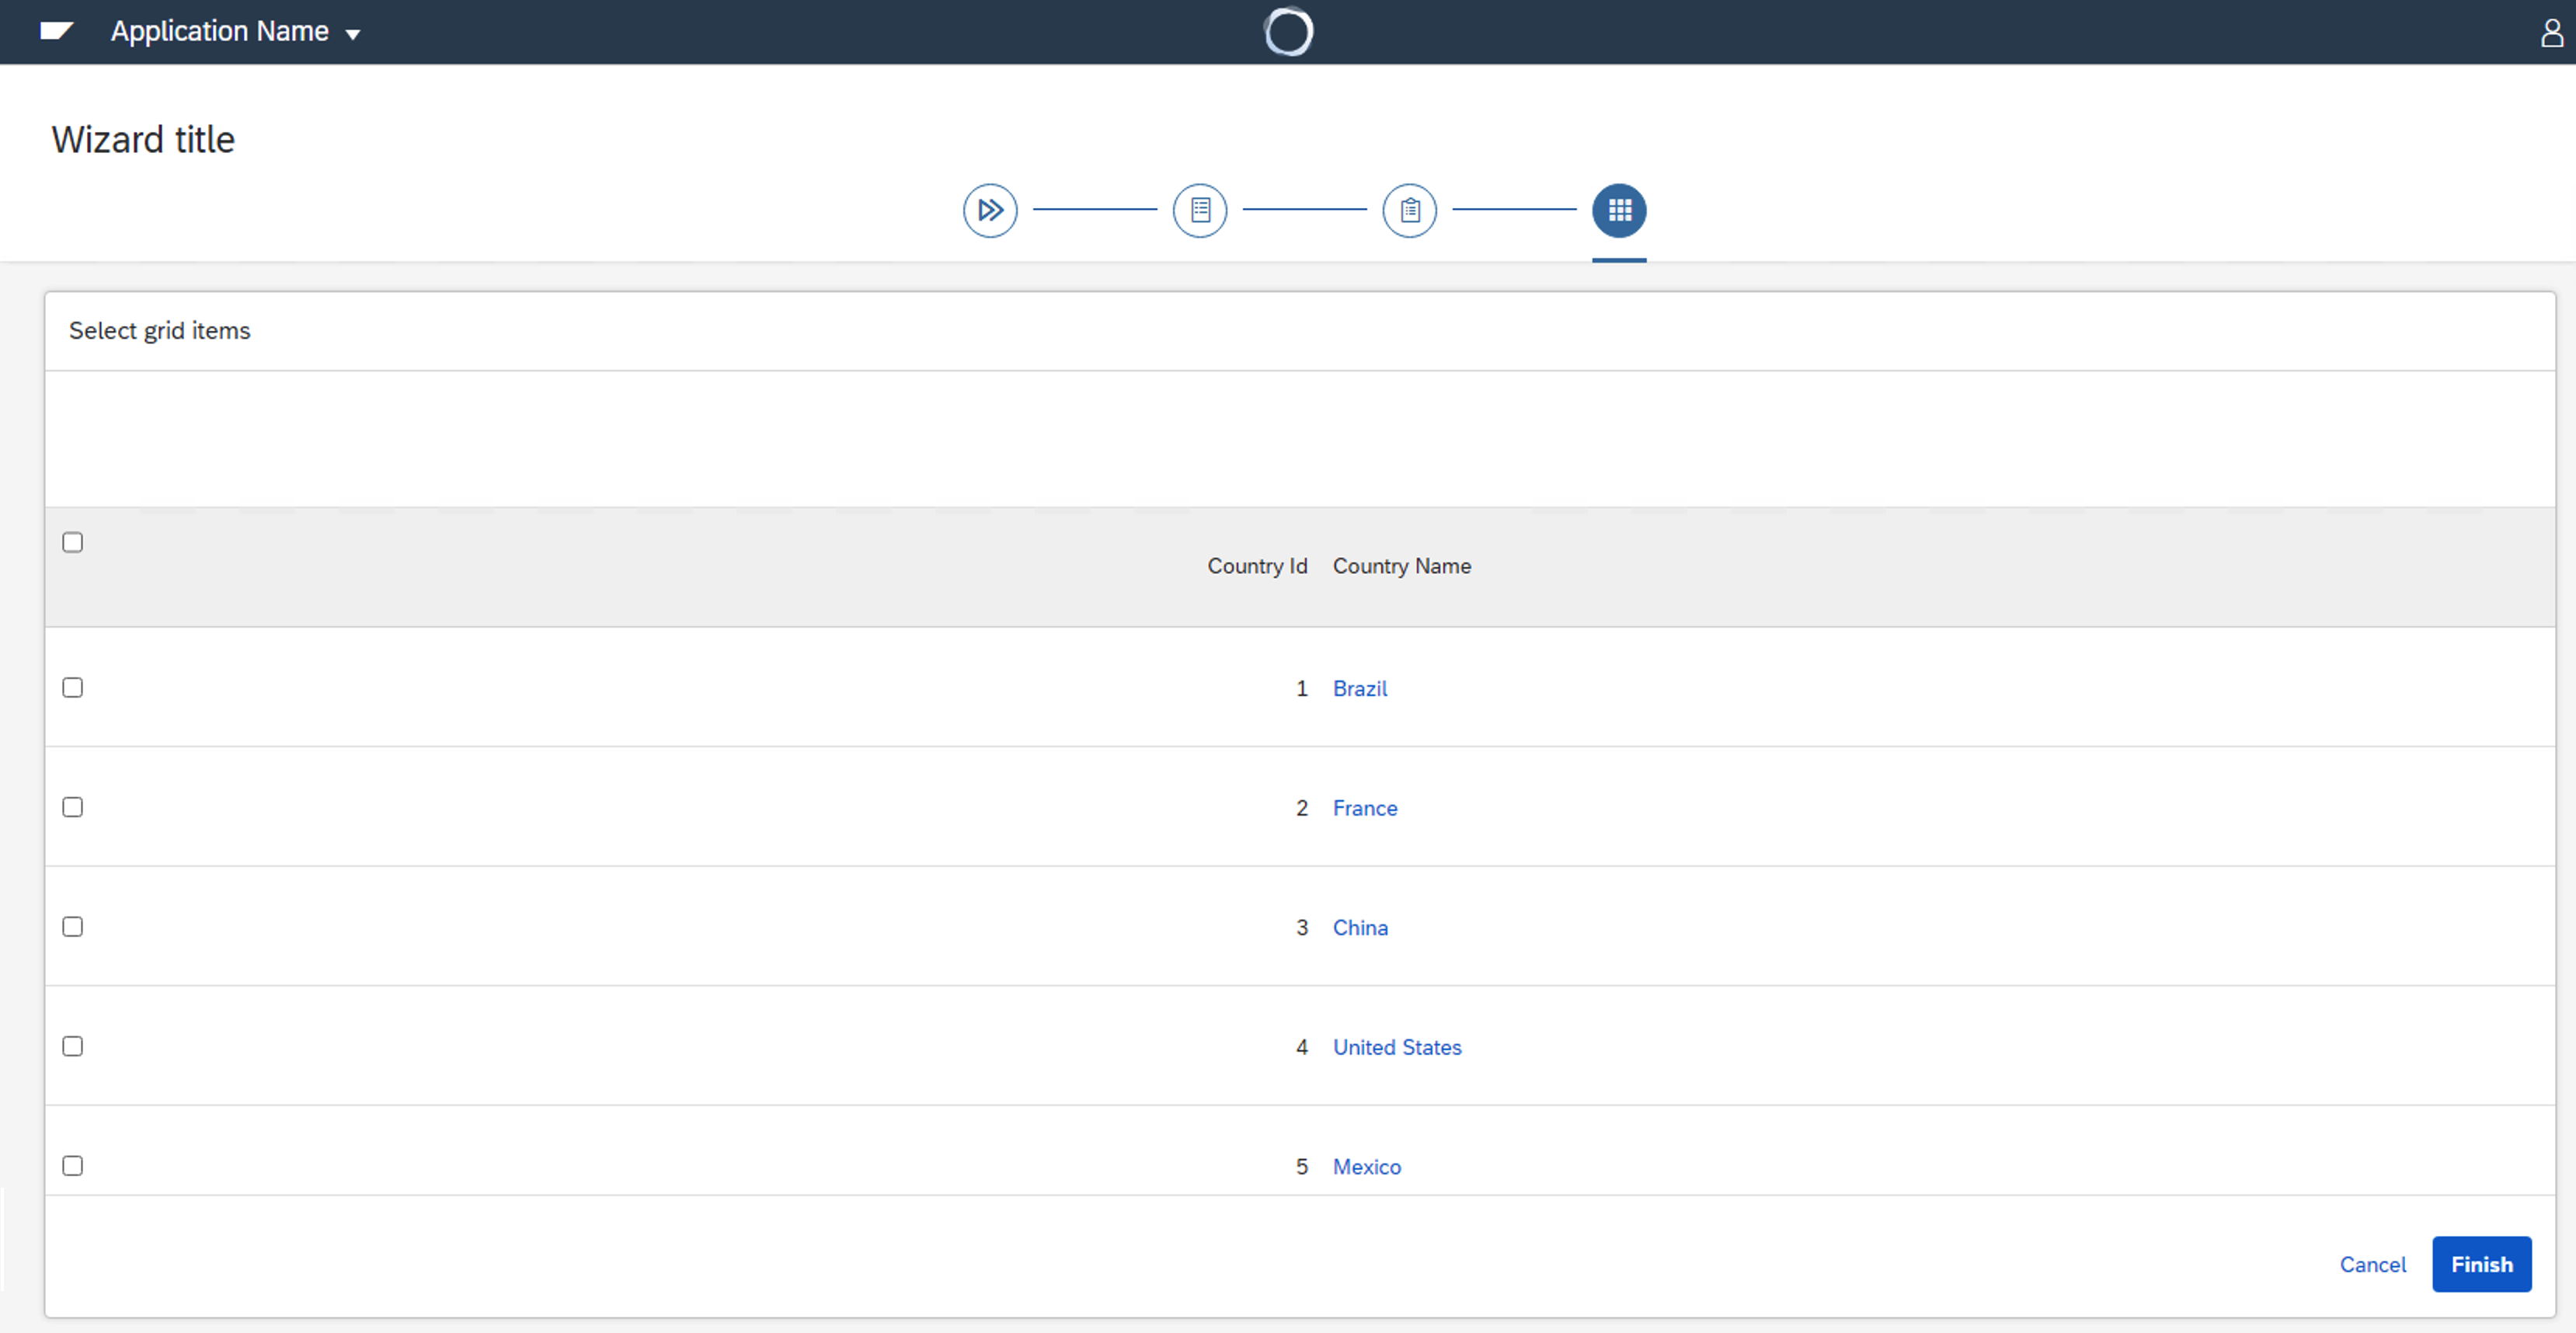
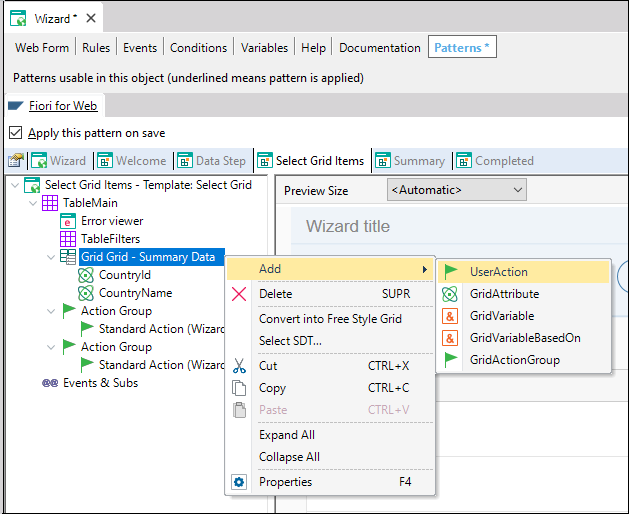
The objective of the Select Grid Items step is to allow users to select items from a list.
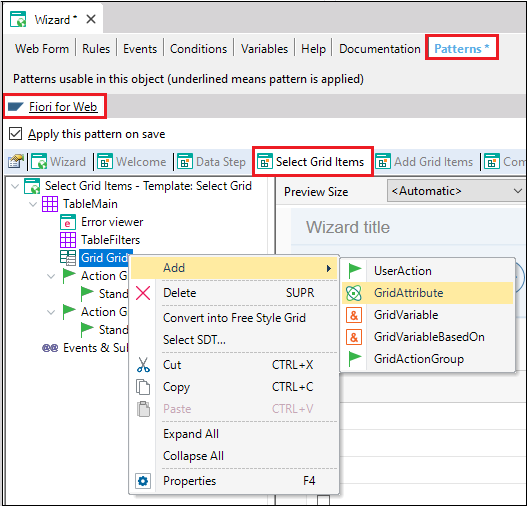
By default, the grid that will contain the list is empty. To choose which items you want to show, you have to right-click the GridGrid node and select Add >
Grid Attribute from the contextual menu.
Then, you only have to select the attributes you want to add:

You can also add actions. In order to do it, you have to right-click the node of the area in which you want to add it, and select from the contextual menu Add > UserAction.
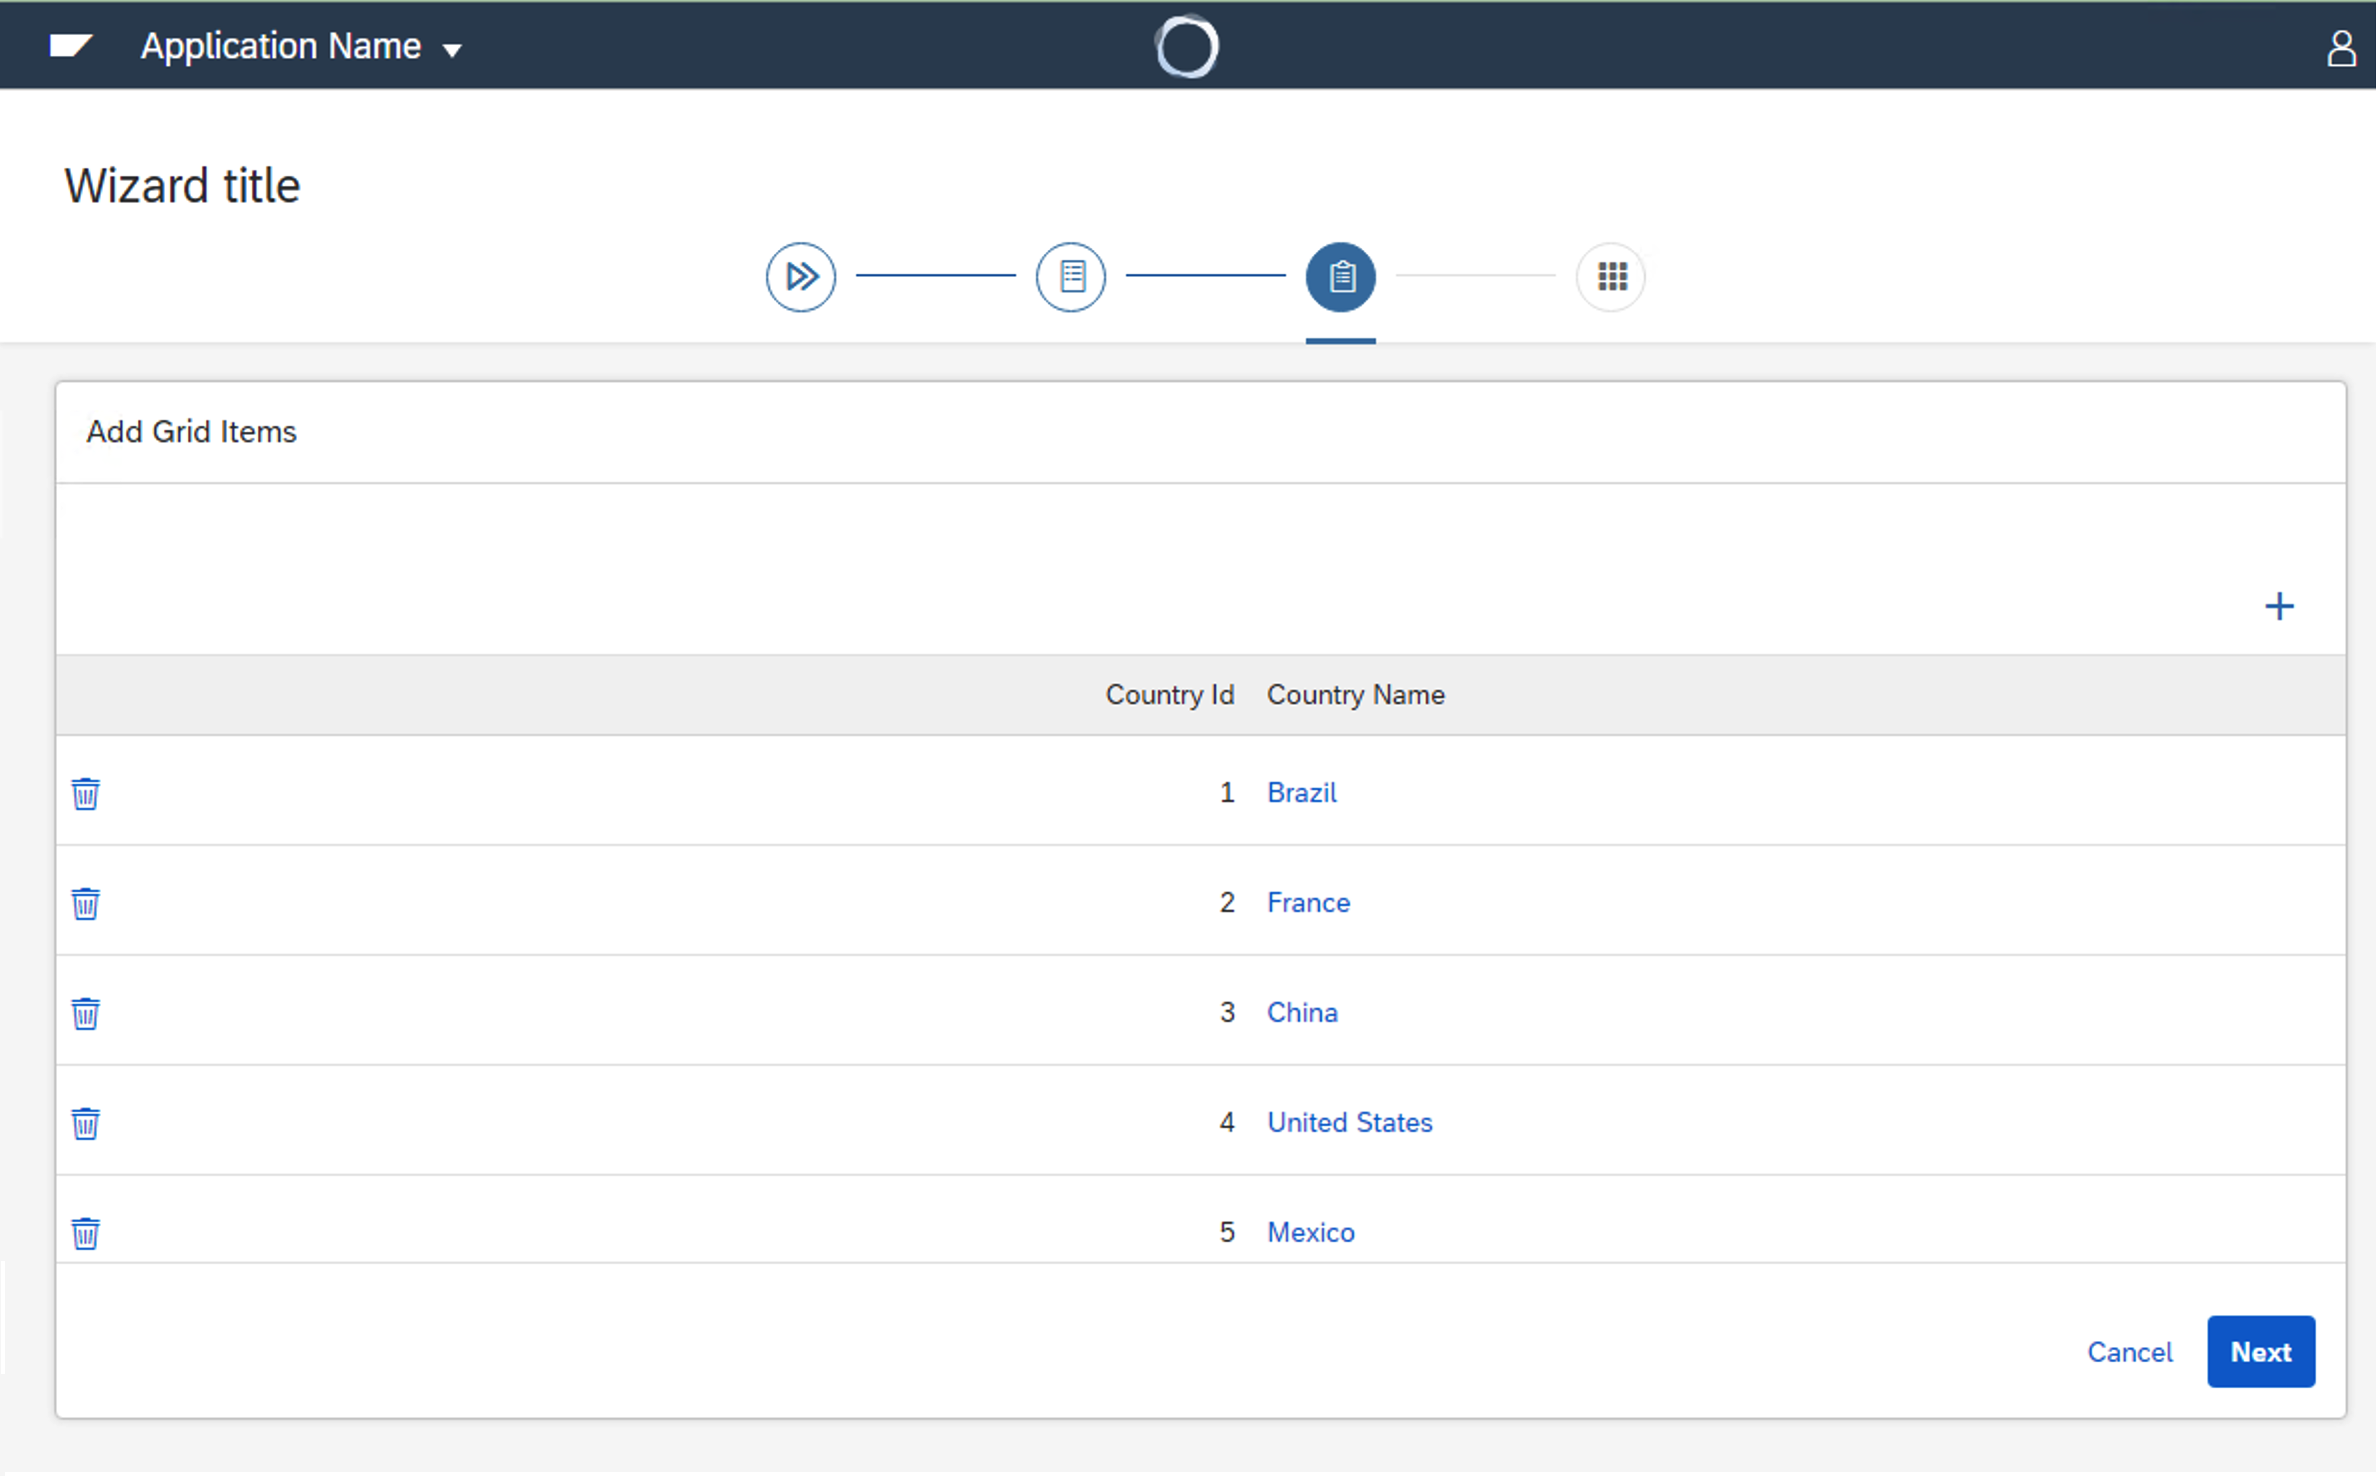
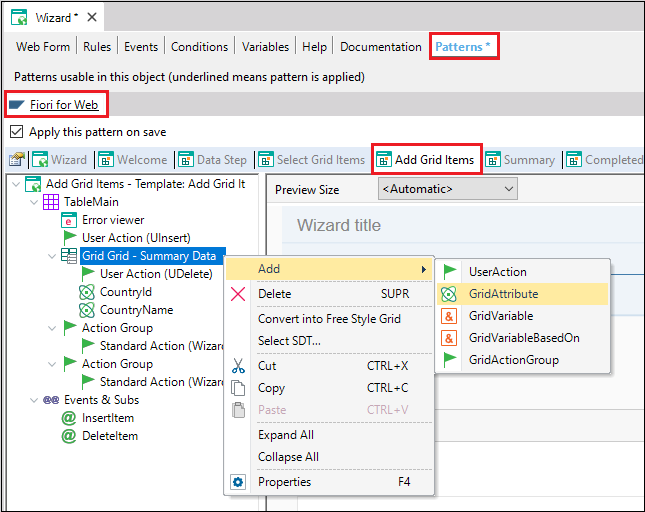
The objective of the Add Grid Items step is to allow users to insert or delete items from a list.
By default, the grid that will contain the list is empty, and the buttons are unprogrammed. To choose which items you want to show, you have to right-click the GridGrid node and select Add > Grid Attribute.
Then, you only have to select the attributes you want to add:

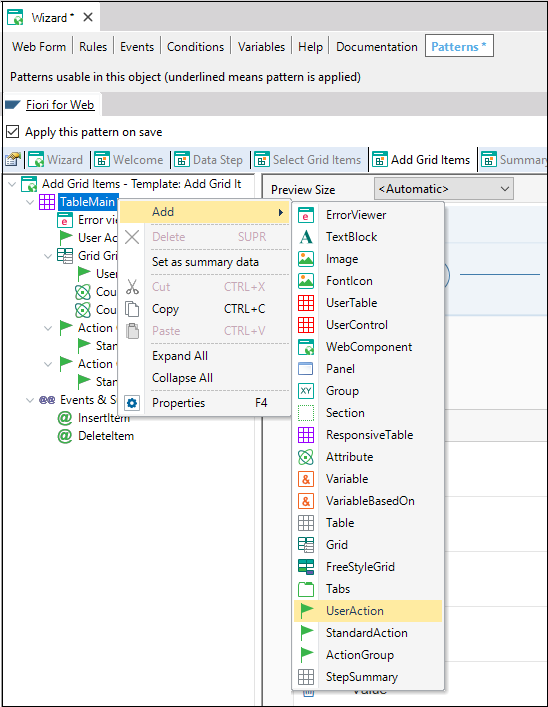
You can also add actions. In order to do it, you have to right-click the node of the area in which you want to add it, and select from the contextual menu Add > UserAction.
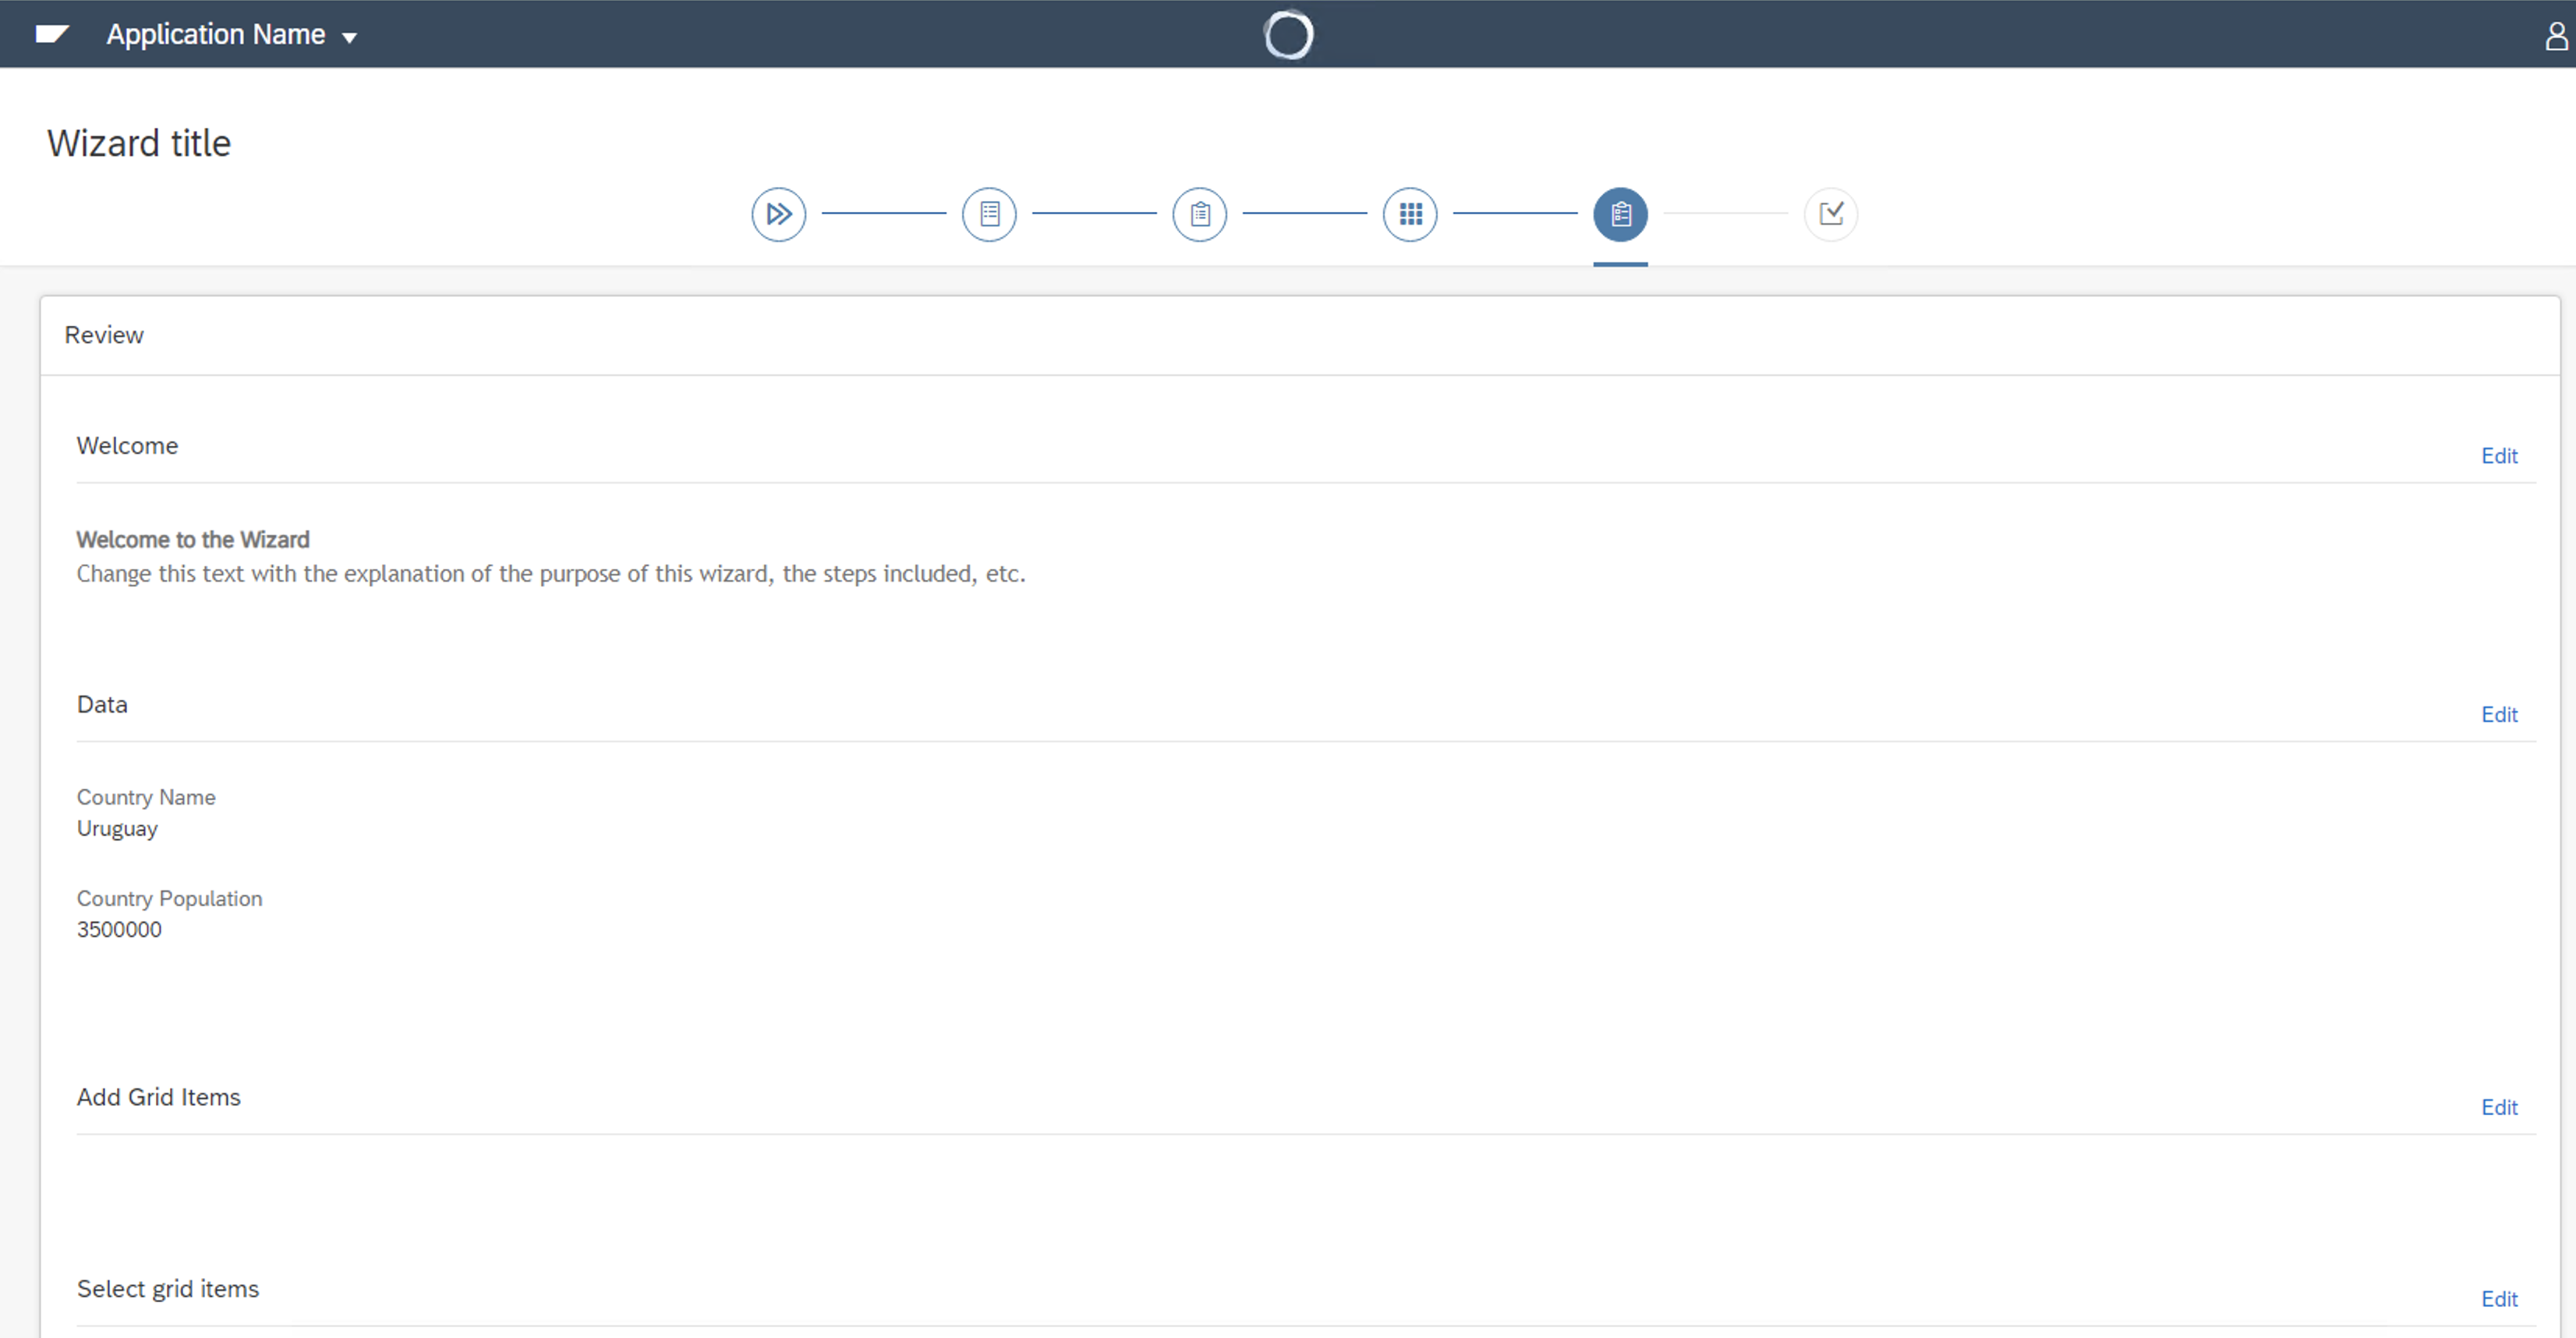
The objective of the Summary step is to give users a summary of the wizard.
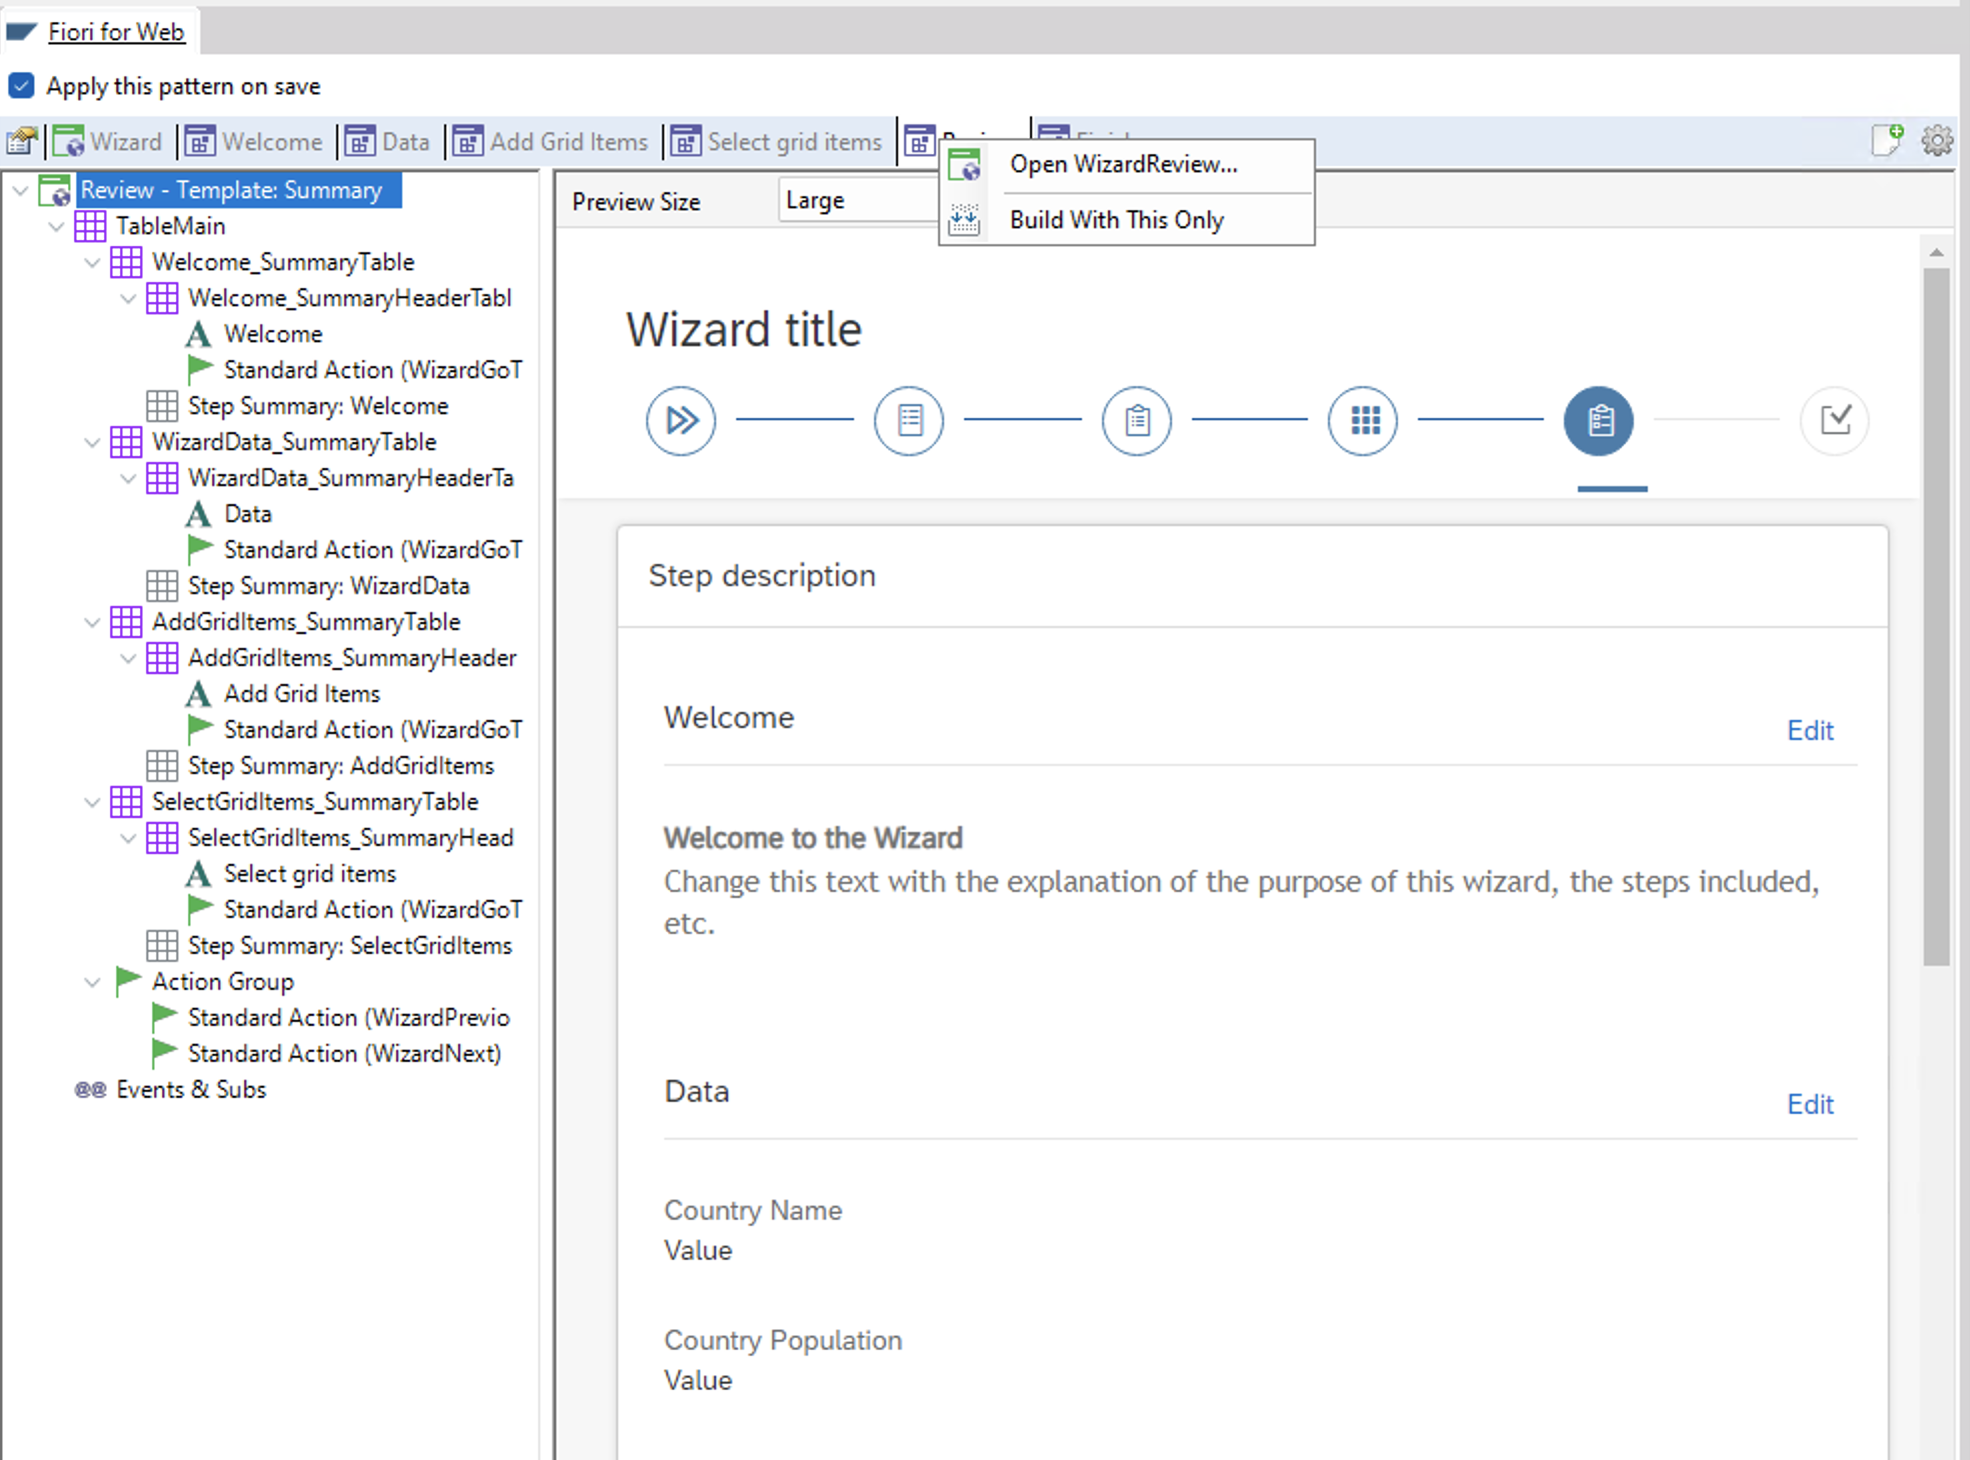
To modify which summaries you want to show, you can right-click the Summary tab and select Open WizardYourSummaryName:
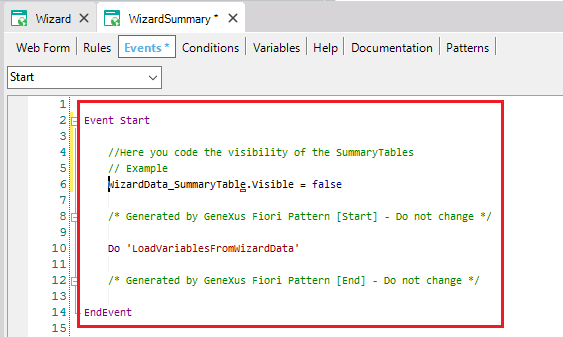
Once there, go to the Events Section. Then, go to the Start event and after that, set the visible property of YourStepName_SummaryTable to False:
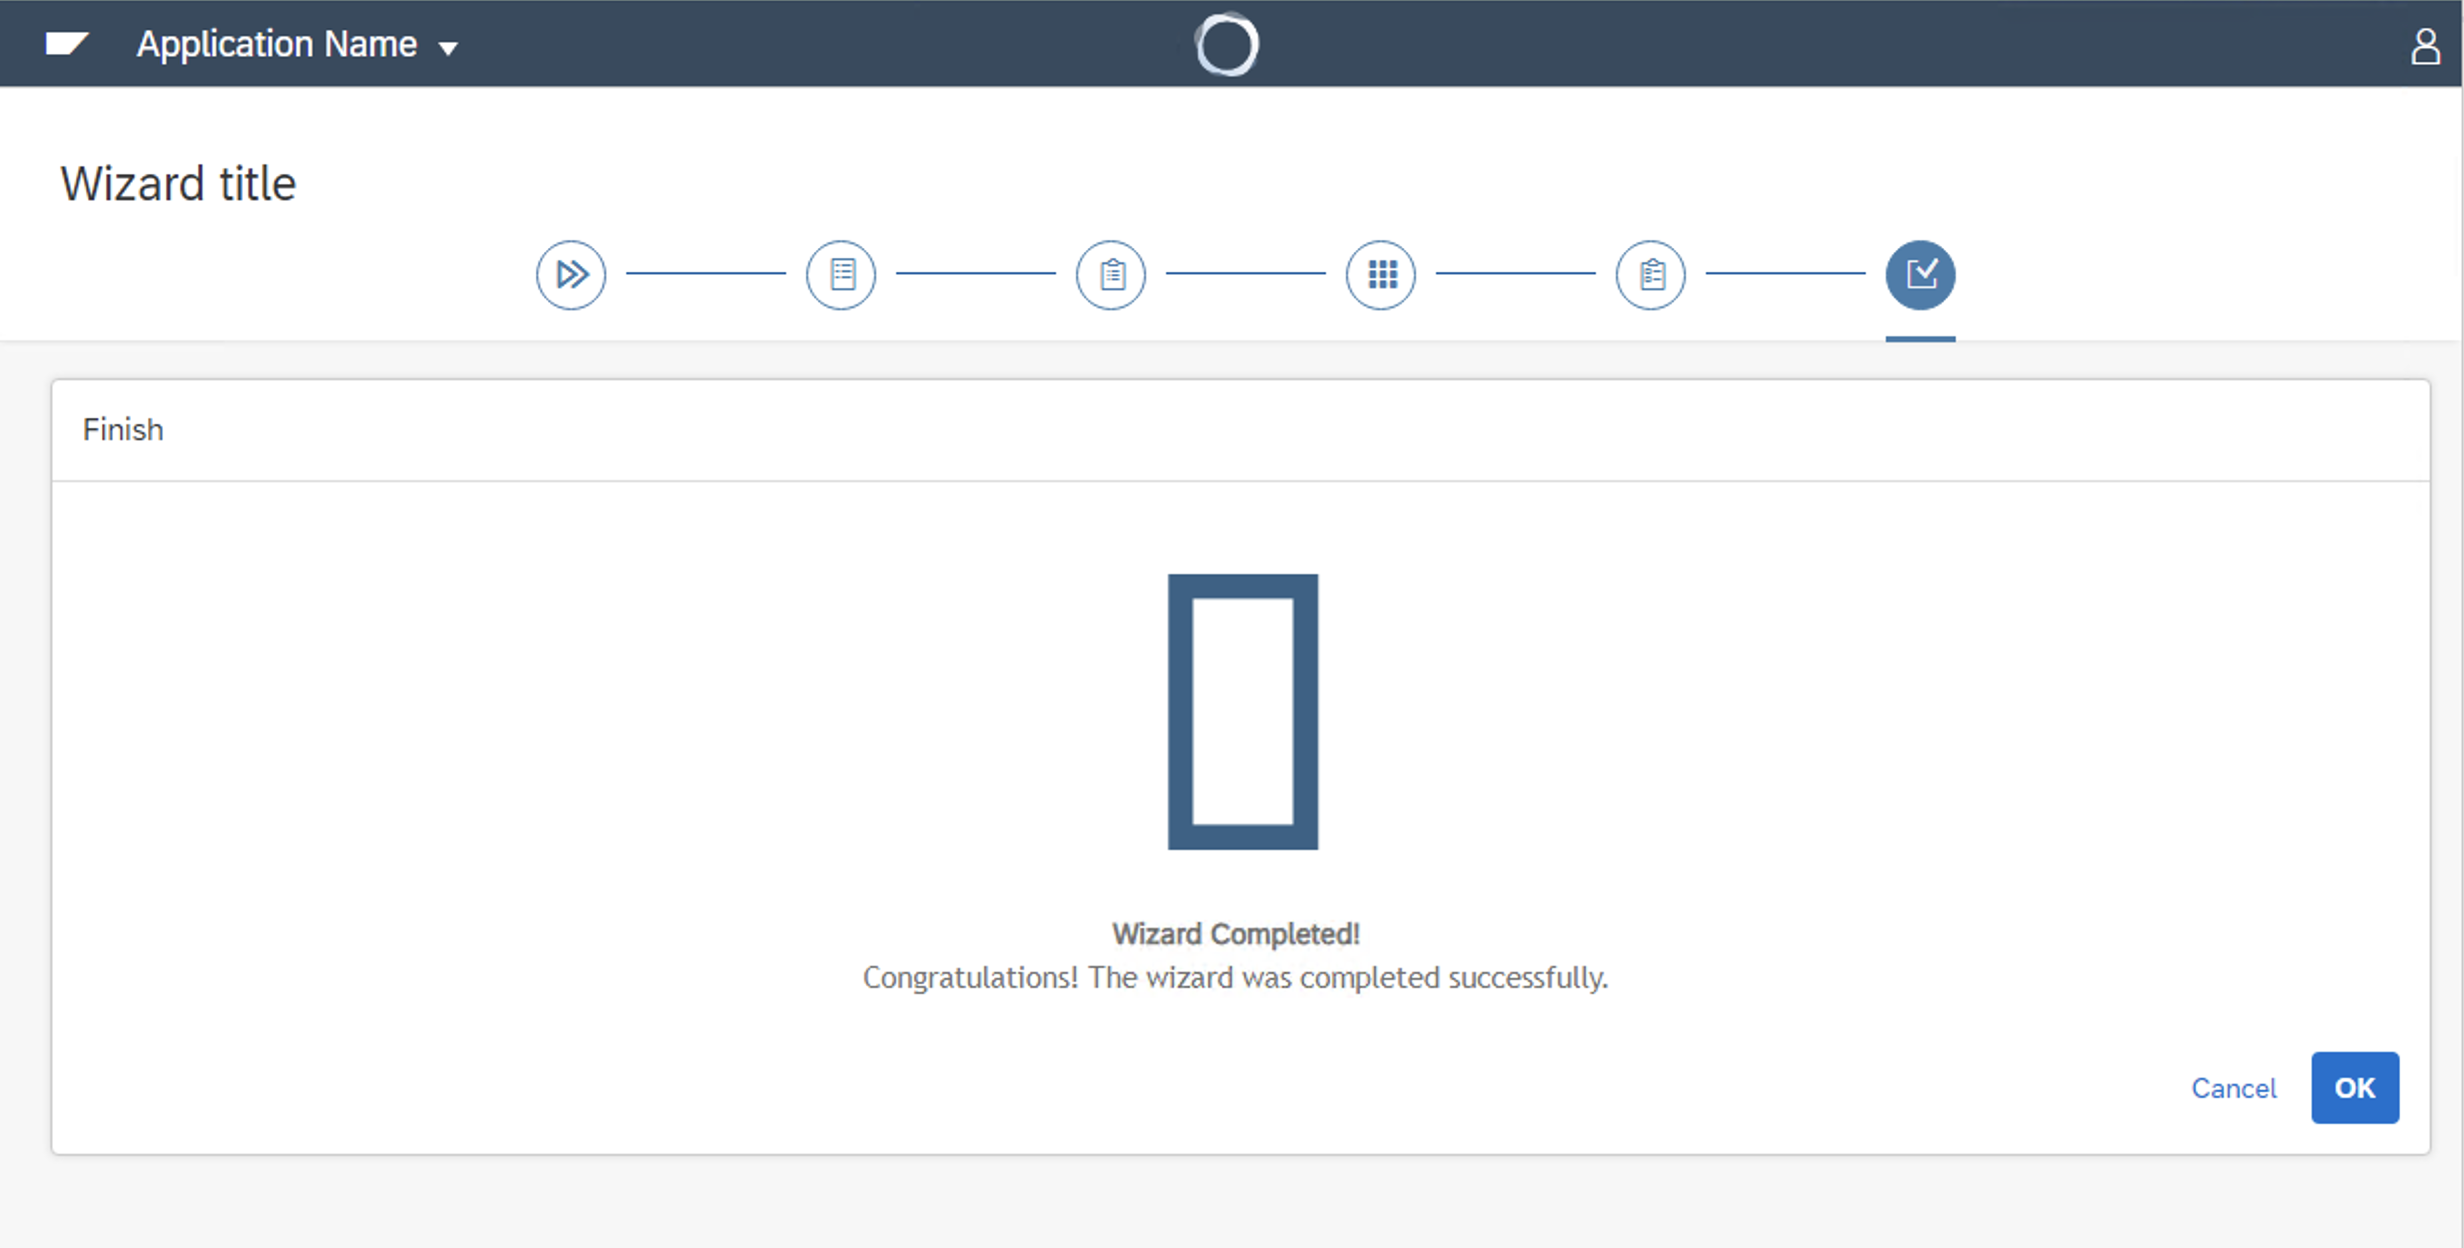
The completed step functionality is to give the user a closure of the wizard. Here is where you will handle the information stored on the Web Session.
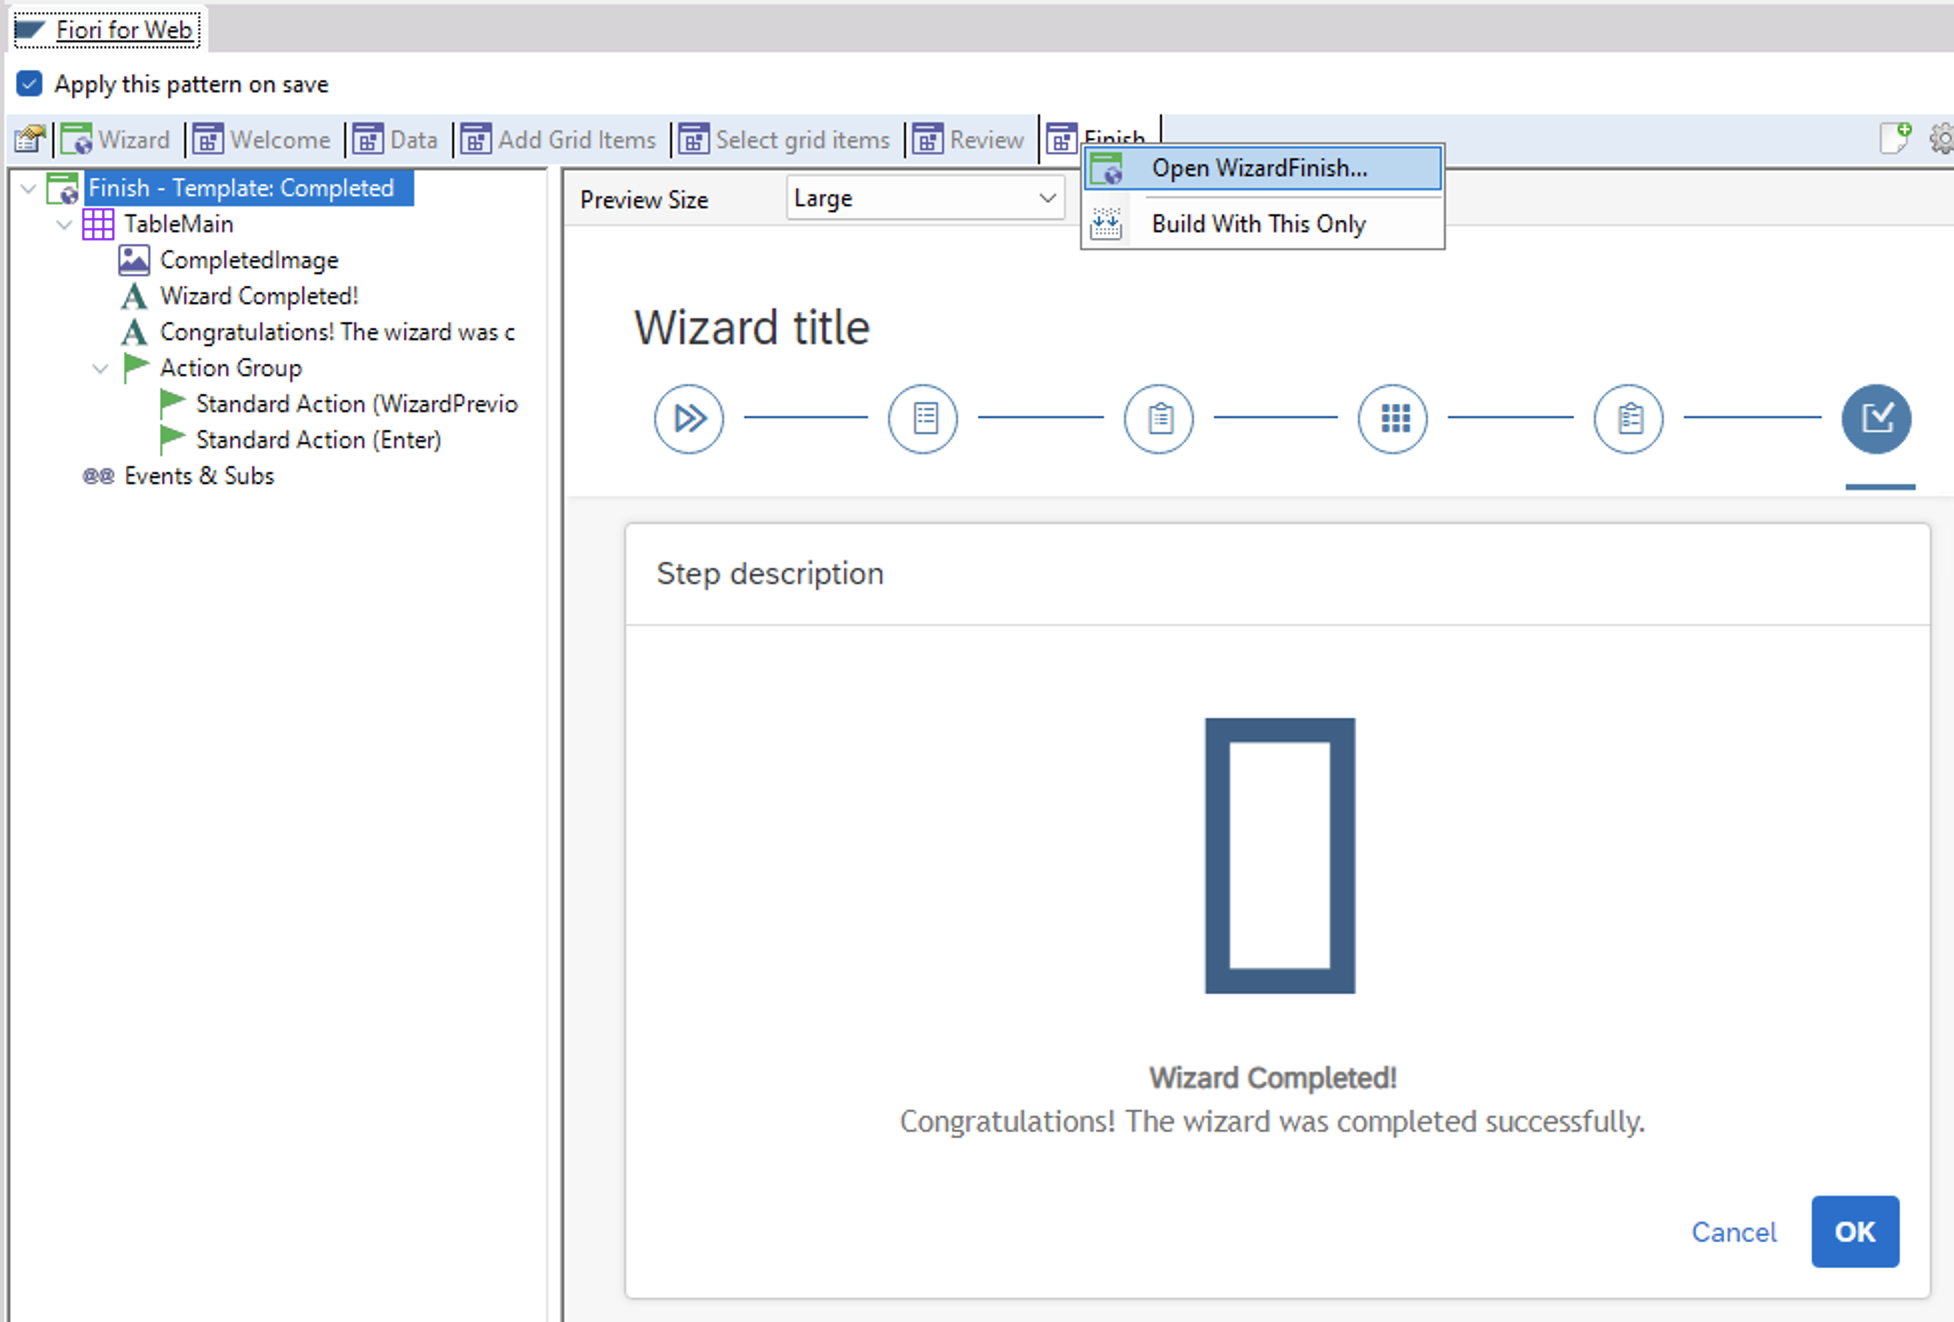
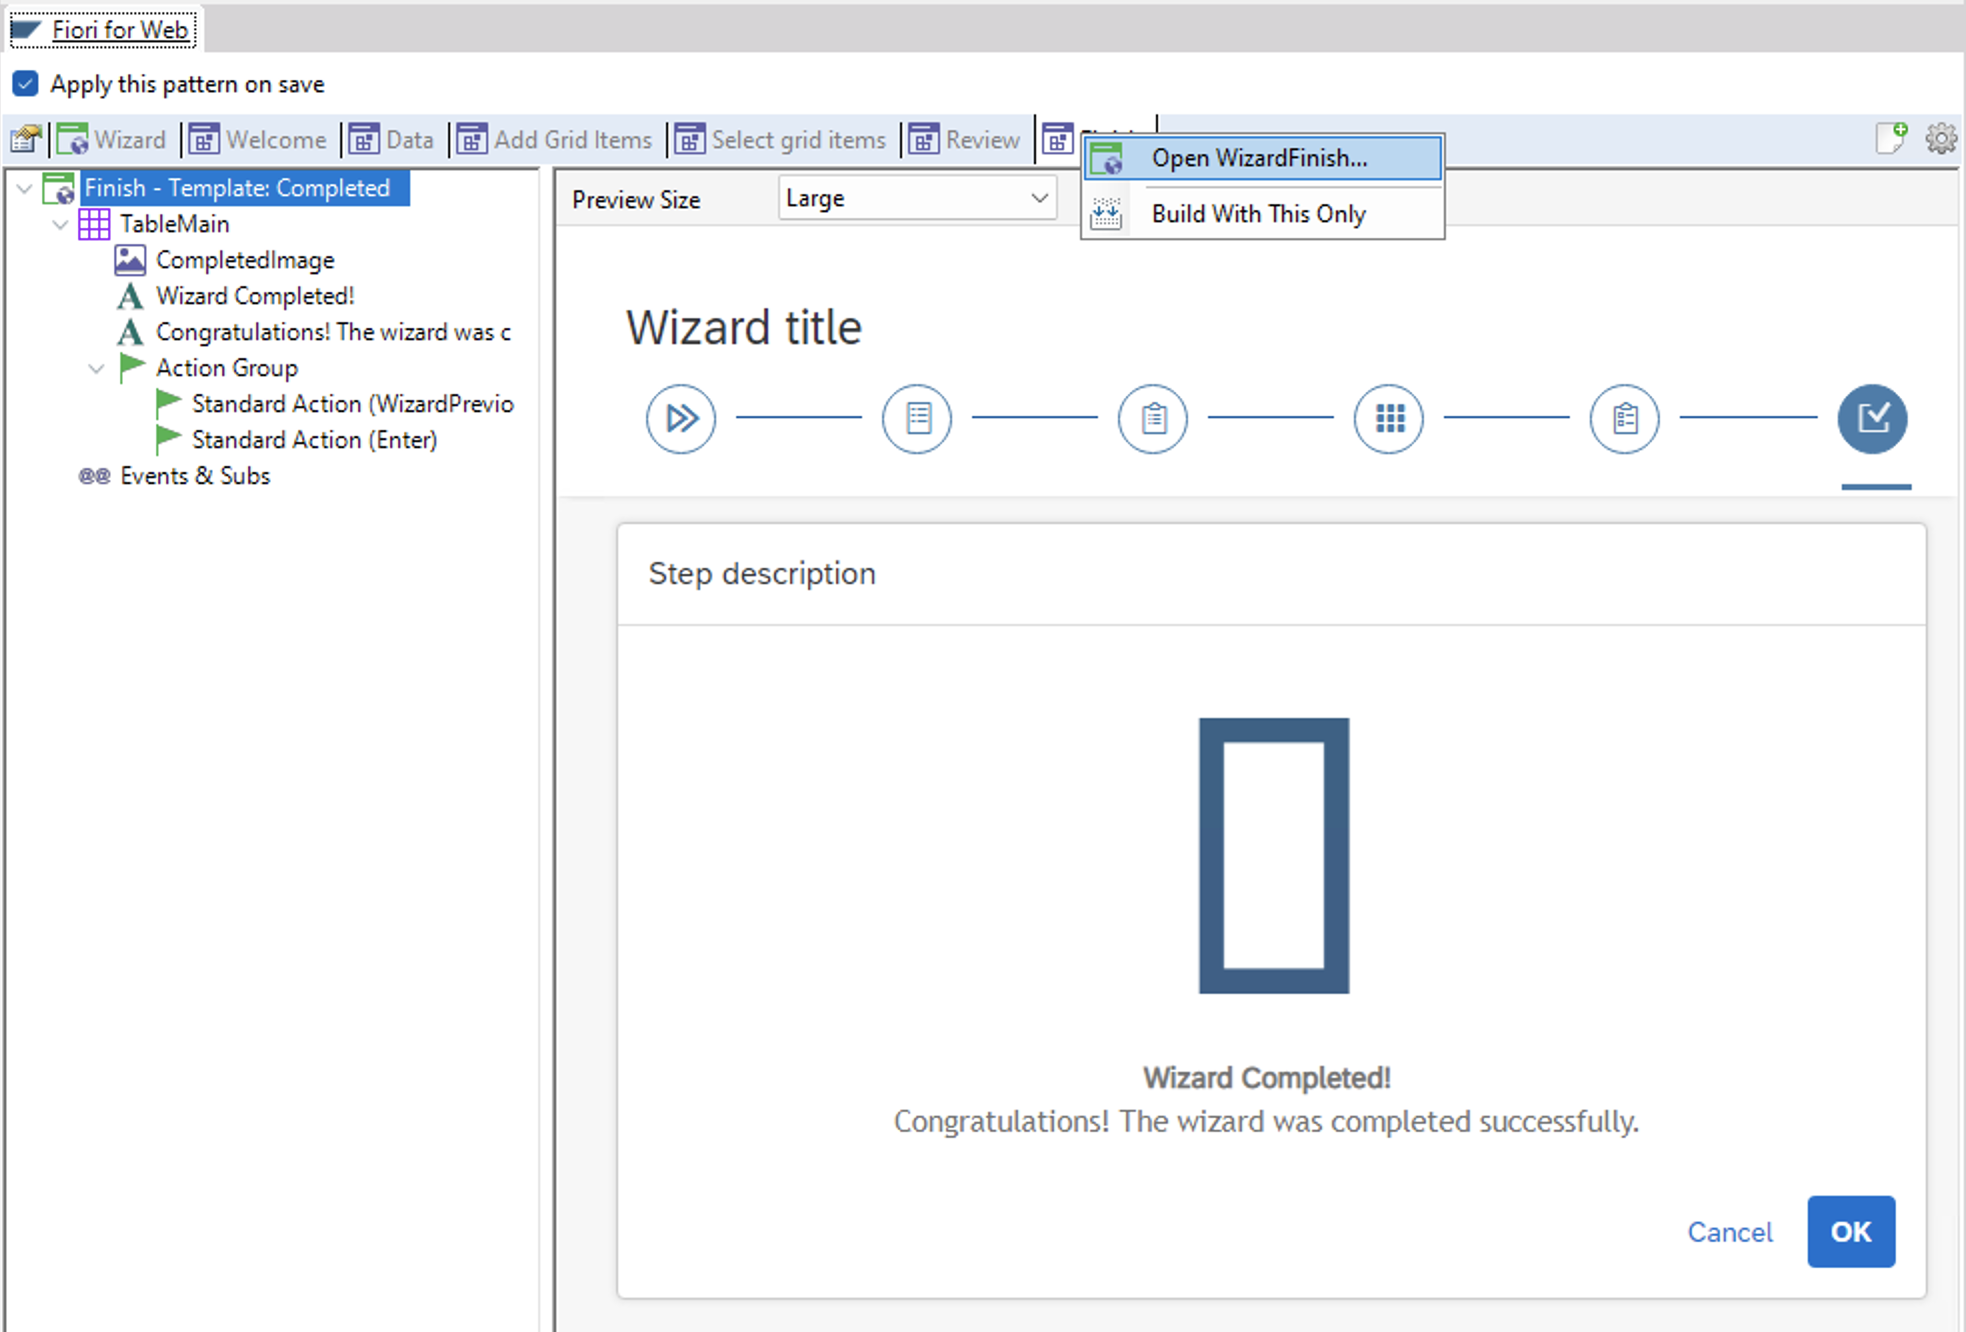
By default, the OK button comes with no functionality besides the automatically generated by GeneXus, so to program what do you want the wizard to do when finished you have to:
Open the Completed Web Panel:
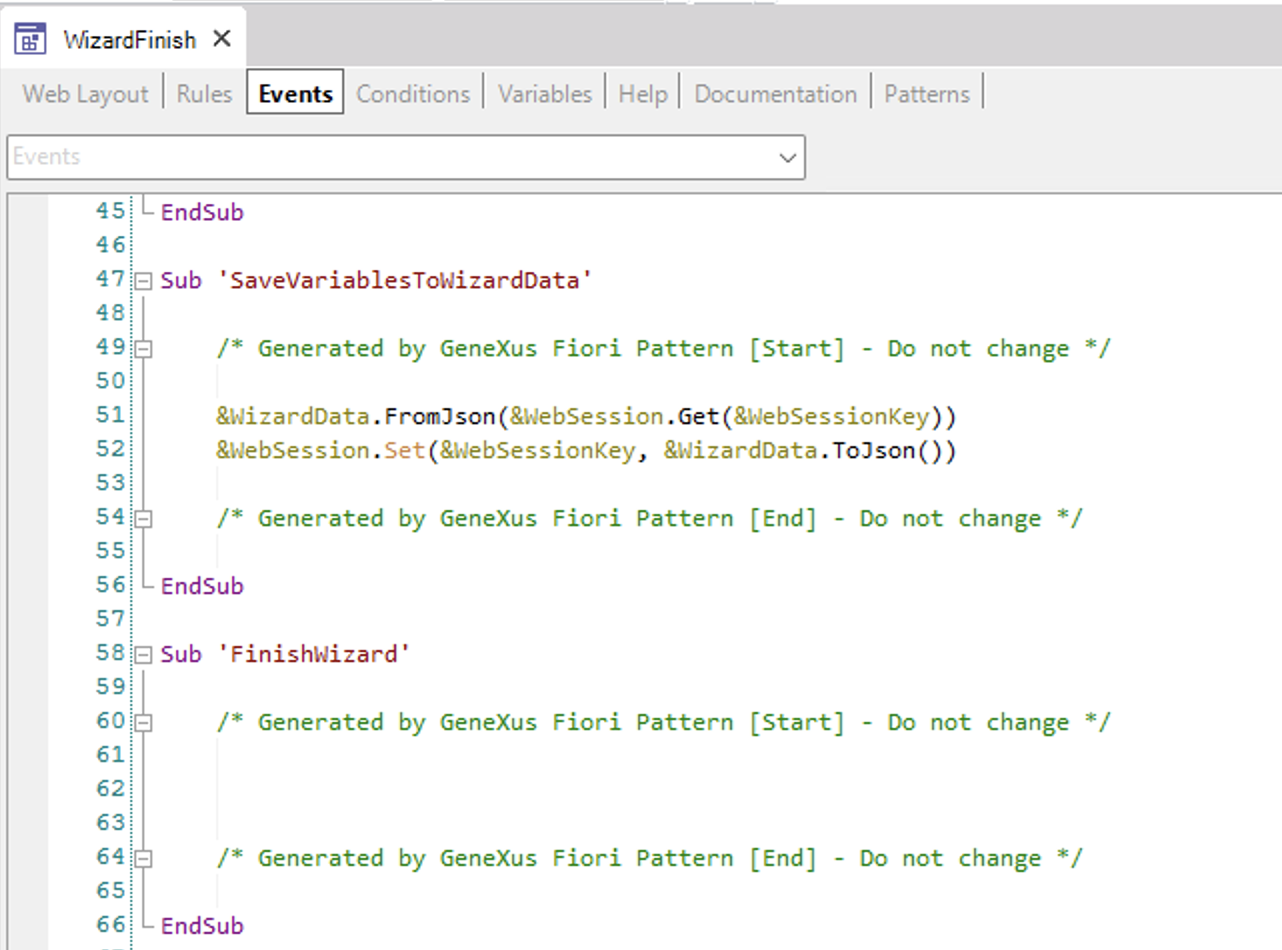
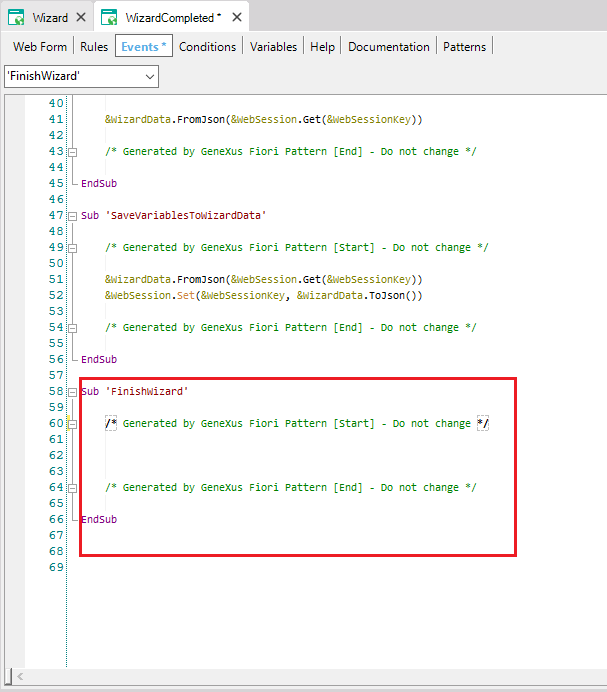
Go to the Events section. Once there, program what do you want it to do in the finish wizard event.
Also, you can add actions (it is not the meaning of the step) by right-clicking the node of the area you want the action to be in, and select from the contextual menu Add > UserAction.
You may be wondering how to use the data collected from the wizard. In order to use the data, you can do it from the last step's Web Panel (if you want to work with all the data at once) or from a particular step's Web Panel (if you want to work ASAP with the data of the step (Example: save a Country to appear on the list of the next steps)).
If you want to work with all the data at once, you have to open your last step's Web Panel. In this example, it is the Completed Step.
Once there, go to the events section. And on the Events Section, you can manage the data from the Finish Wizard Subroutine.
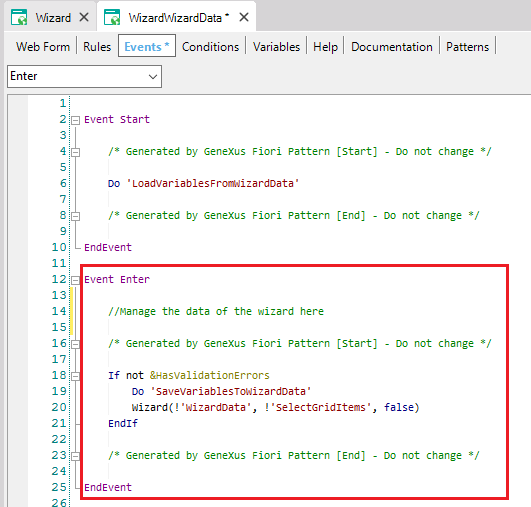
If you want to work with the data step by step, you can do it by opening the step's Web Panel. In this example, the data step will be used:
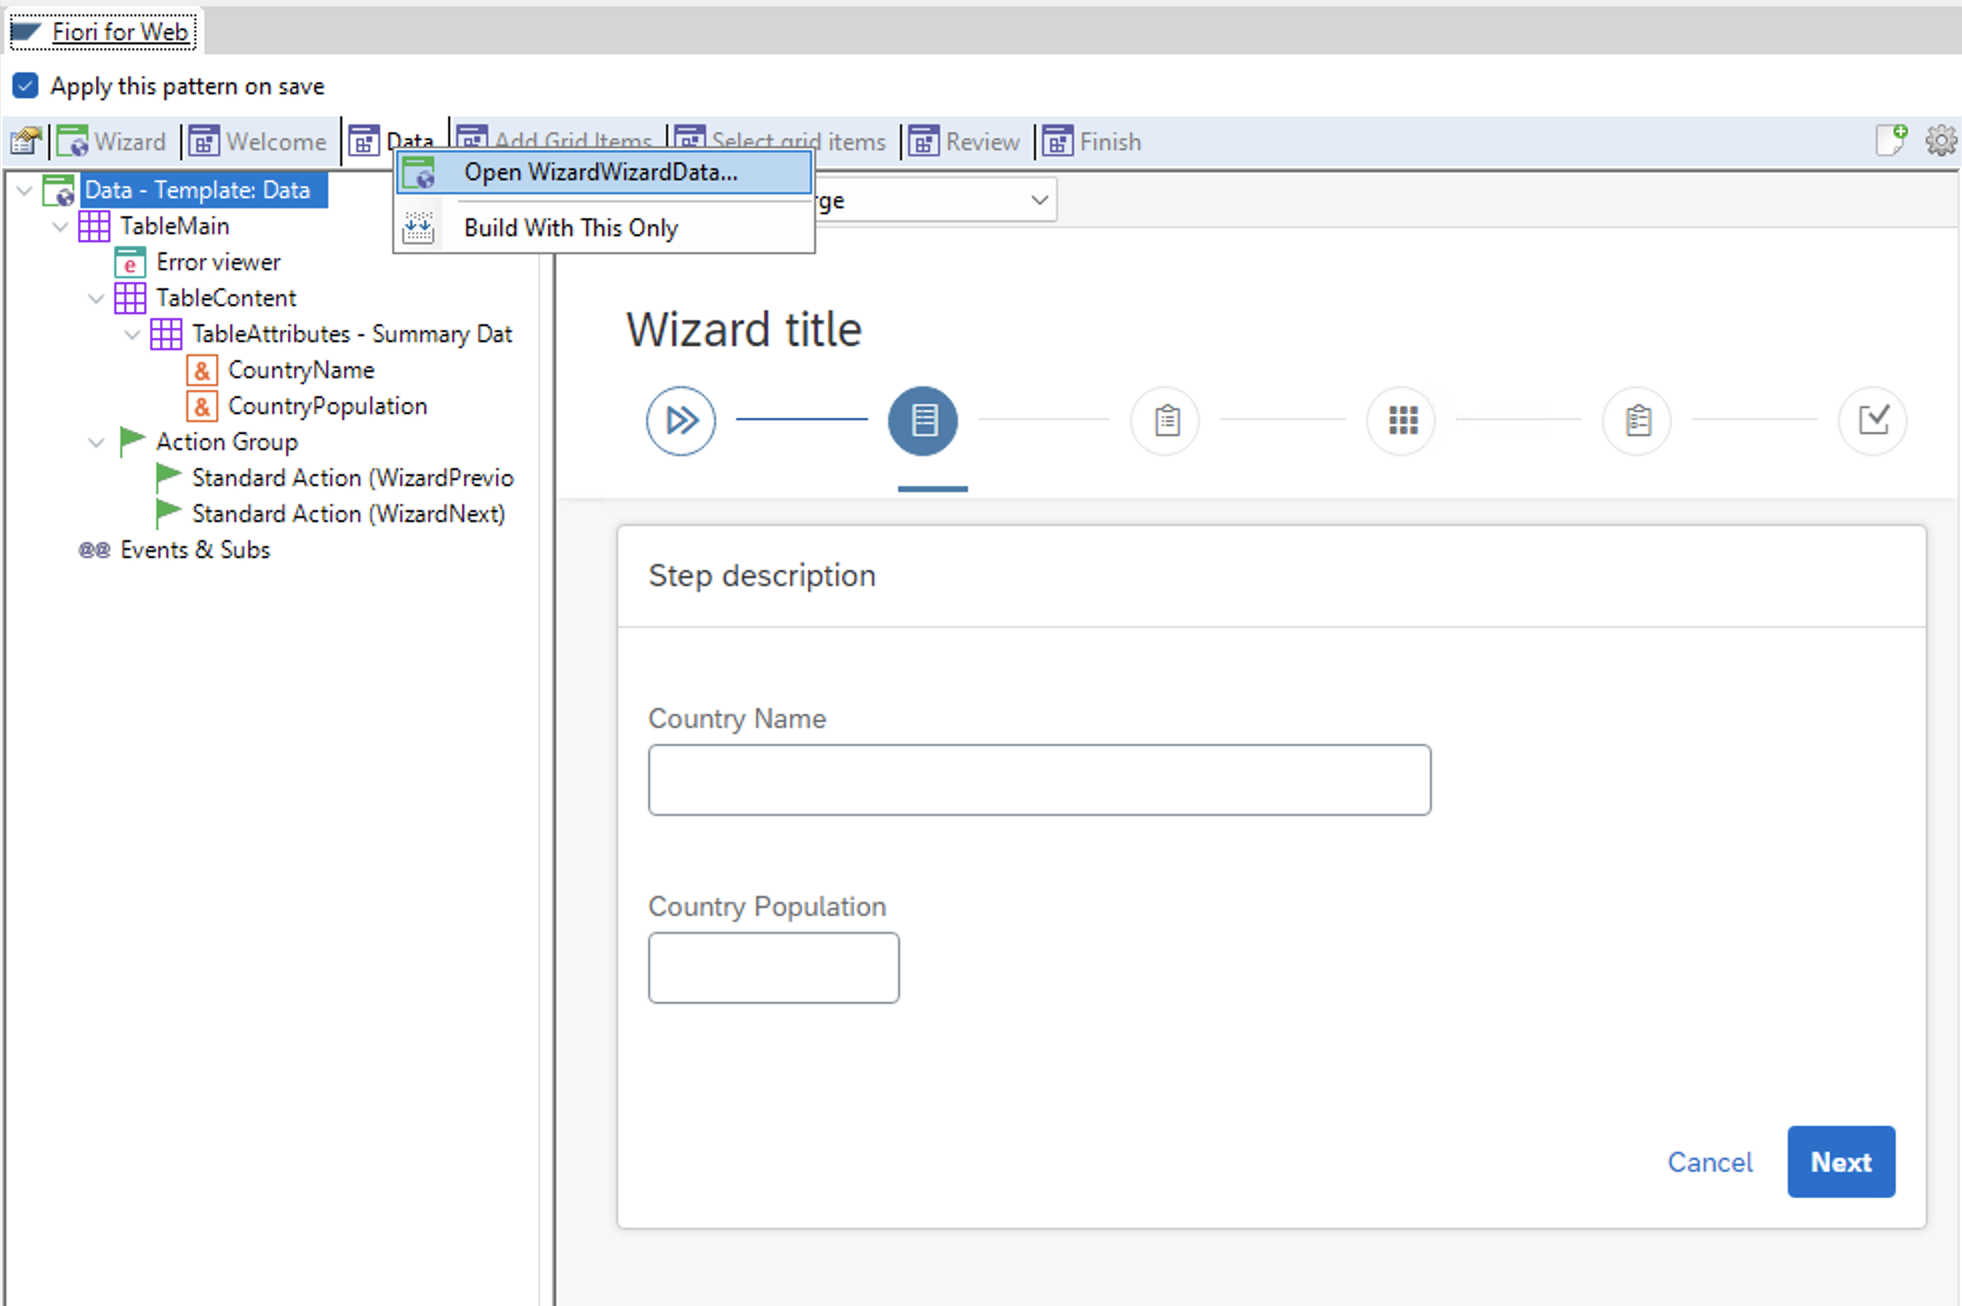
once there, go to the Events section. And there, you can manage the data from the Enter event in most of the steps.(Remember to code outside the code generated automatically by GeneXus to prevent it from being overwritten)
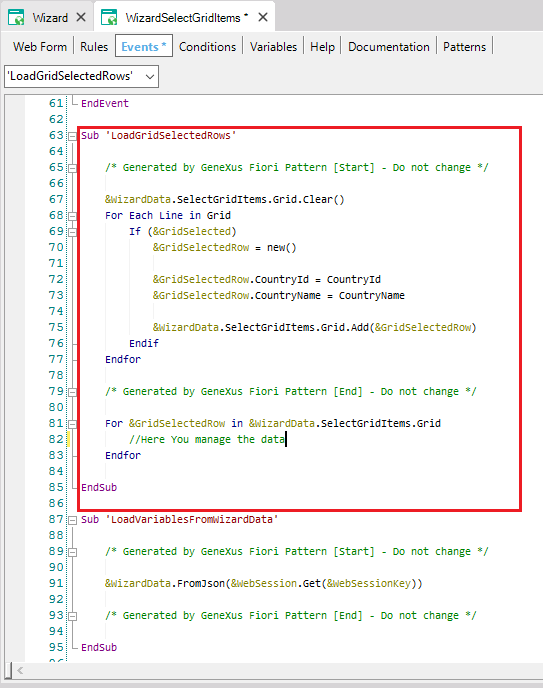
On the case of the Select Grid, items step you can manage the data from the LoadGridSelectedRows Subroutine immediately after the code generated by GeneXus
GeneXus For SAP Systems - FioriLaunchpad object
GeneXus For SAP Systems - List Report Floorplan
GeneXus For SAP Systems - KPI Worklist Floorplan
GeneXus For SAP Systems - Simple Worklist Floorplan
GeneXus For SAP Systems - Simple Worklist with global action Floorplan
GeneXus For SAP Systems - Split Screen Master List Floorplan
GeneXus For SAP Systems - Split Screen Master List with amount Floorplan