This document explains how to deploy an application, which has been previously packaged into a container image using the Application Deployment tool, to an Azure Kubernetes Service (AKS) cluster and provides a brief overview about it.
Requirements to follow this tutorial: Azure CLI.
First, the Docker image will have to be pushed to an Azure Container Registry (ACR). Create an Azure resource and an Azure Container Registry (1) either at the Azure portal, or using Azure CLI.
To use the ACR instance, you must first log in using the following command:
$ az acr login --name <acrName>
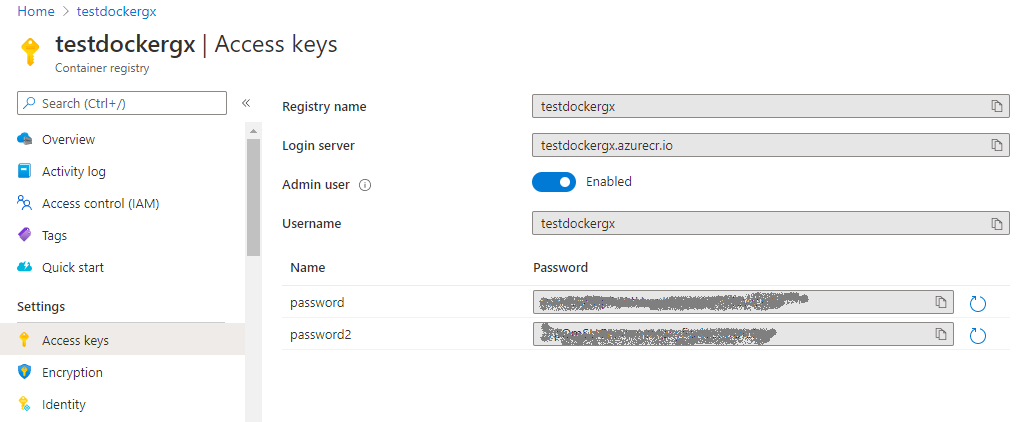
You'll be asked to enter the credentials, which you can get at the Access Keys panel of the ACR instance in the Azure portal:
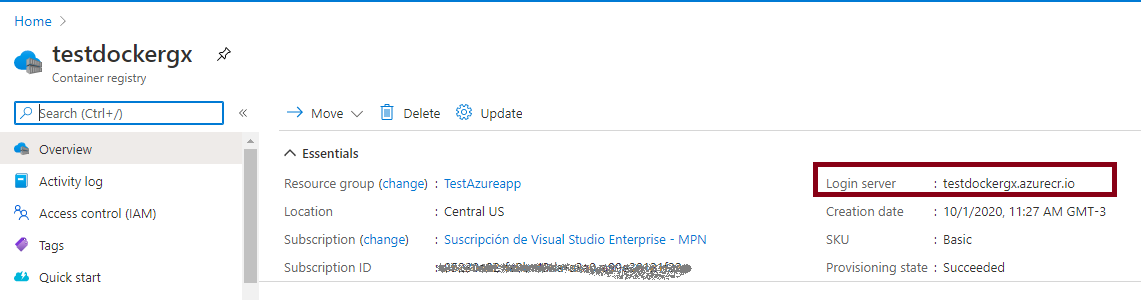
Get the login server information of your ACR, as you will have to use it to tag (2) the container image:
Now, tag your local Docker image with the ACR Login Server address of the container registry, for example:
docker tag sjuarez2020/test:1.0 testdockergx.azurecr.io/test:1.0
To confirm that the tags are applied, run "docker images" at the command line.
$ docker images
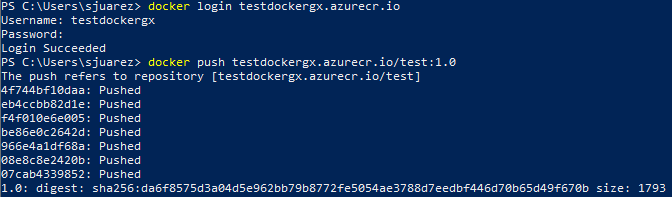
Following the example above, it would be:
$ docker push testdockergx.azurecr.io/test:1.0
It may be necessary to log in first.
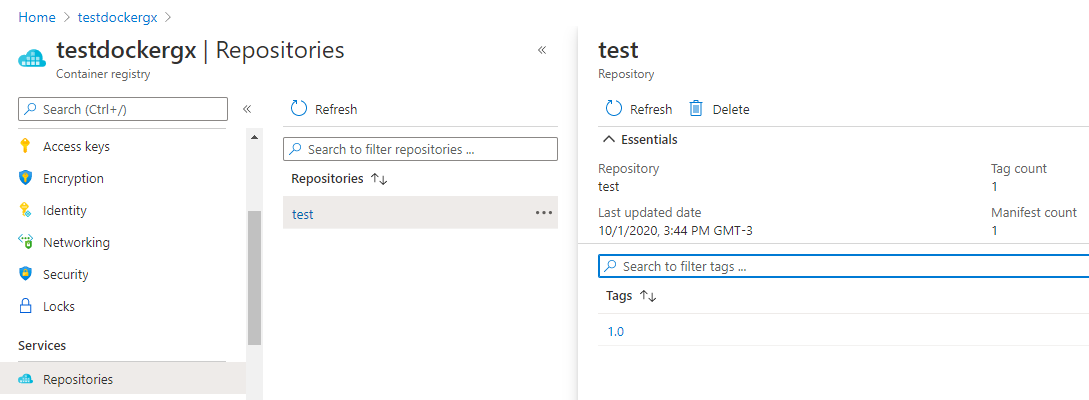
If you followed the previous steps, you have the container image already stored in a private Azure Container Registry instance.
One possibility for creating the AKS cluster is by the command line:
$ az aks create --resource-group TestAzureapp --name testaksgx --node-count 2 --node-vm-size Standard_B2s --enable-managed-identity --attach-acr testdockergx --generate-ssh-keys
To deploy the application, use the kubectl command.
First, get the AKS credentials; to do so, you need to log in:
$ az login
Then:
$ az aks get-credentials --resource-group TestAzureapp --name testaksgx
Merged "testaksgx" as current context in C:\Users\sjuarez\.kube\config
Now you can apply the desired settings to your Kubernetes cluster.
Do the following for all the metadata files you have:
$ kubectl apply -f .\K8s-DeploymentUnit1-App.yaml
service/deploymentunit1-svc created
Important: The Application Deployment tool generates Kubernetes metadata. See HowTo: Deploy an Application to a Kubernetes cluster. Note that the Exposed Service Type property, in this case, was set to Load Balancer because it is deployed as a cloud service.
Using the following command, you can find out where the app is running (external IP), so you can test it. In this example, "test1app" is the name of the namespace service.
$ kubectl get service -n test1app
NAME                  TYPE           CLUSTER-IP    EXTERNAL-IP     PORT(S)        AGE
deploymentunit1-svc   LoadBalancer   10.0.47.234   52.154.207.98   80:31568/TCP   75s
gx-redis-svc          ClusterIP      10.0.114.75   <none>          6379/TCP       52s
(1) How to create an Azure Container Registry.
(2) Docker Push command.
(3) Deploy a Kubernetes cluster in Azure.
HowTo: Deploy an Application to a Kubernetes cluster