Note: Since Neo has been deprecated by SAP, this documentation will become obsolete, see Deploy to SAP Cloud Foundry - SAP BTP instead for a more up-to-date documentation.
So far, we have been prototyping in a local web server. Suppose that we want to create a test environment in SAP Cloud Platform using the same database. How is it done?
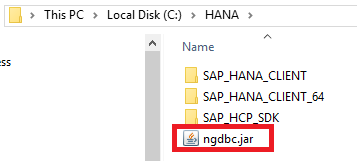
In our environment, in order to connect from the local Tomcat to the Hana database in SAP Cloud Platform we used the driver provided:
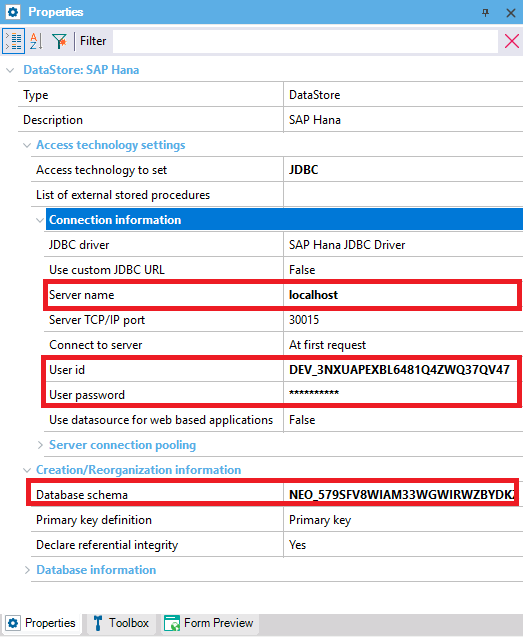
We had to open a tunnel to the database schema. From this tunnel we extracted the values of these Data Store properties:
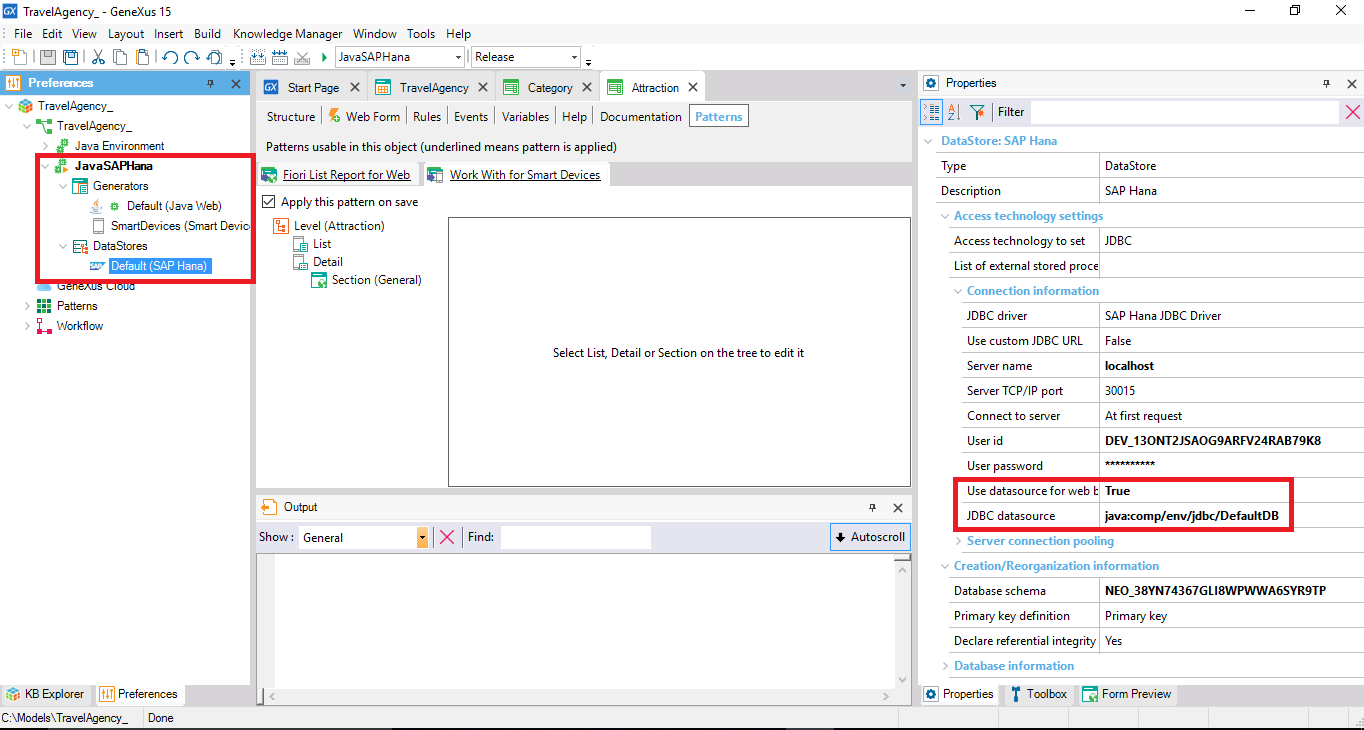
Now, we will upload the programs built by GeneXus for this application to the web server of the SAP Cloud Platform. They will access the database in that same platform; therefore, opening a tunnel will no longer be necessary. The database will be accessed through JNDI, and to this end Datasource Binding will be set between the application and the database schema used.
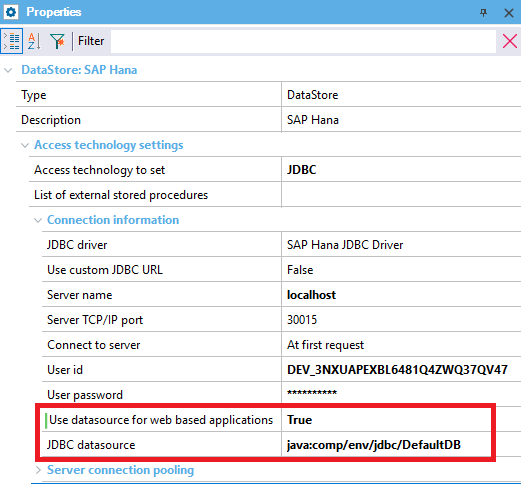
To do so, we set to the property “Use data source for web based applications” to True.
When doing so, this new property called “JDBC data source” is enabled. There we need to specify “java:comp/env/jdbc/DefaultDB”, the way in which SAP Cloud Platform finds the database schema that will be associated with the application.
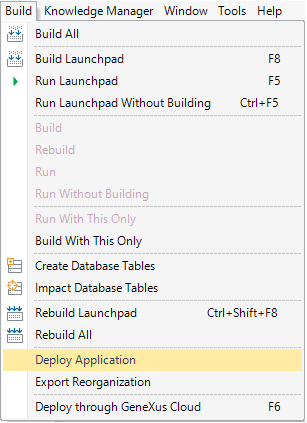
We only need to run a Build All to have the programs built taking this datasource into account.
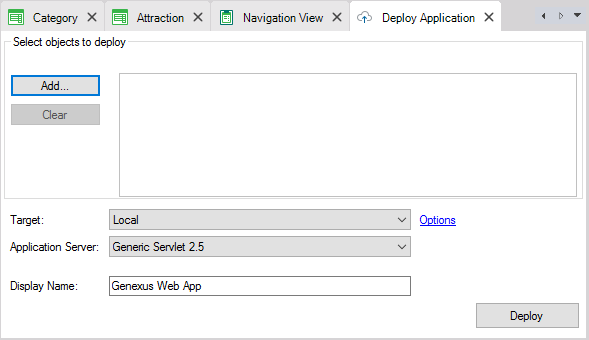
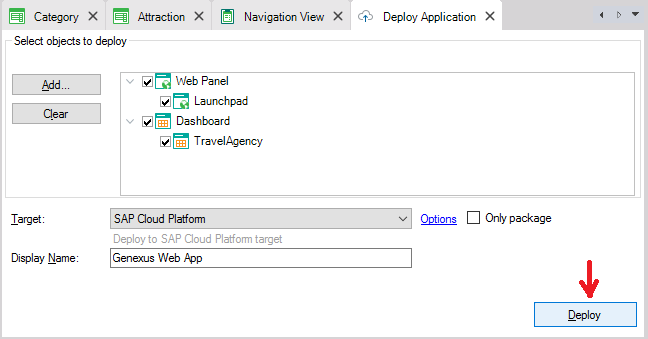
Next, we open the Build menu and select Deploy Application:
First, we select the main objects we want to deploy:
In this case, it will be the Launchpad for the web application, and the equivalent object for Smart Devices:
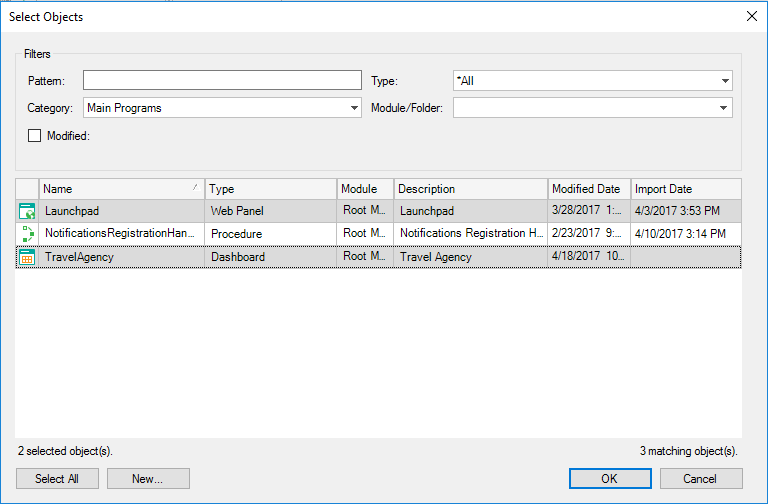
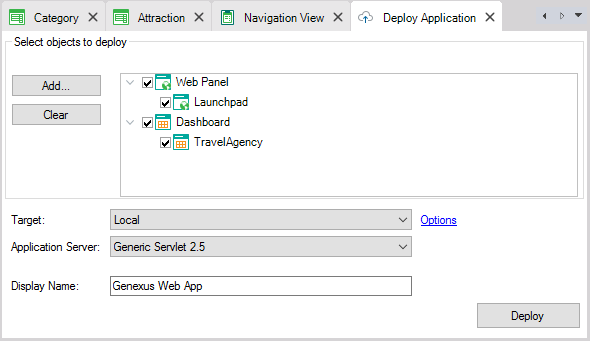
The latter is included because we also need to deploy the Rest services that the mobile application will use to retrieve and edit information from the database.
Now in Target we select SAP Cloud Platform…
We need to configure these properties:
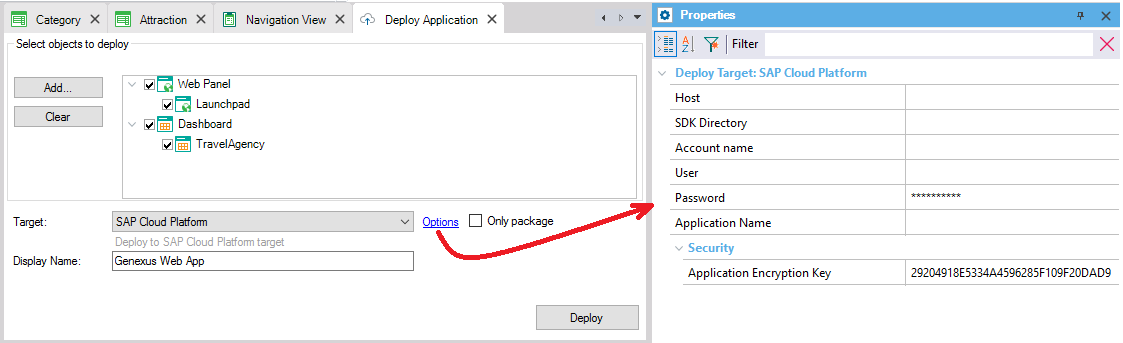
In Host we specify the server hired in SAP Cloud Platform. Because we're using a trial version, we enter hanatrial.ondemand.com.
Next, we need to specify the directory of SAP Cloud Platform SDK. In our case it is this:
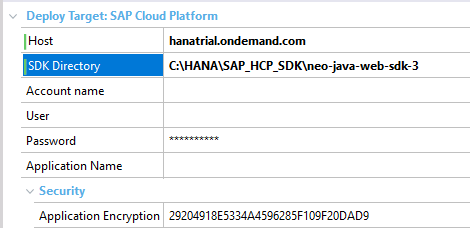
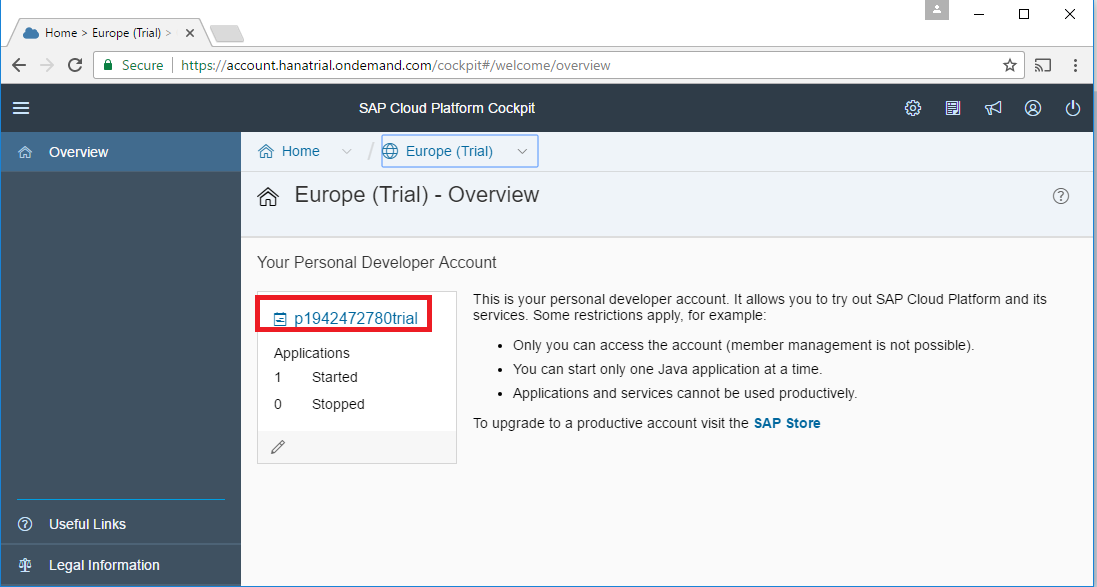
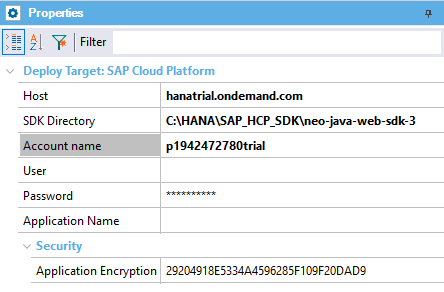
Account name is the name of our account in SAP Cloud Platform Cockpit. It is the same one we had used to open the tunnel: https://account. trial.ondemand.com/cockpit#

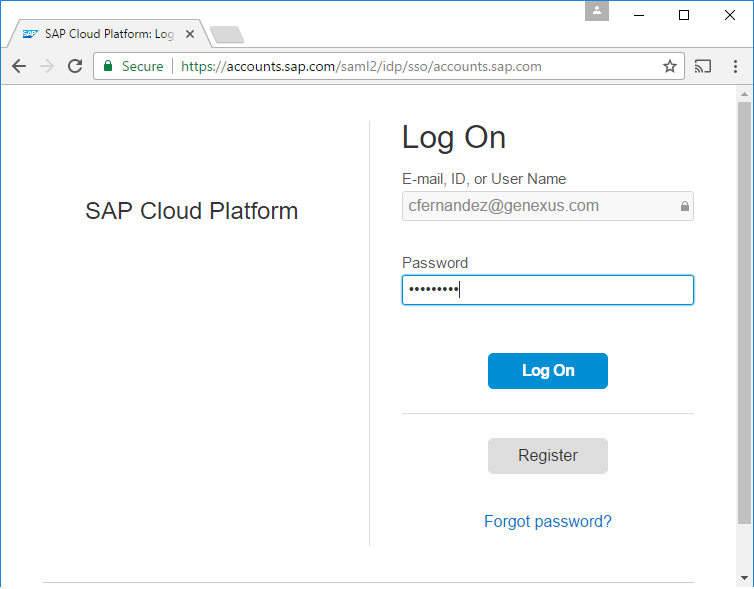
The Username and Password are the same we used to register with SAP Cloud Platform:
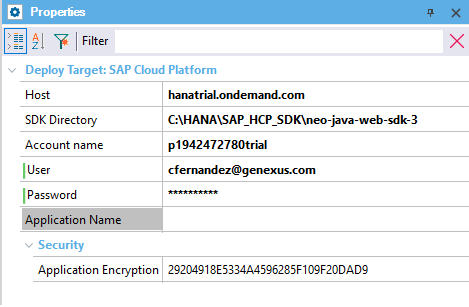
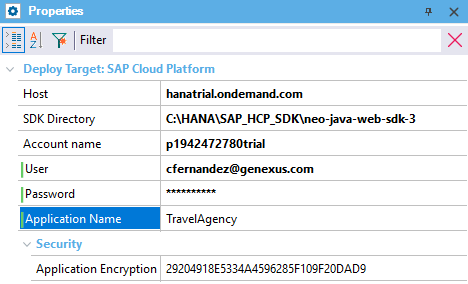
Lastly, Application Name will be the name used to deploy the app in SAP Cloud Platform. We will call it:
We click on the Deploy button to have the WAR package built, uploaded and deployed on SAP Cloud Platform.
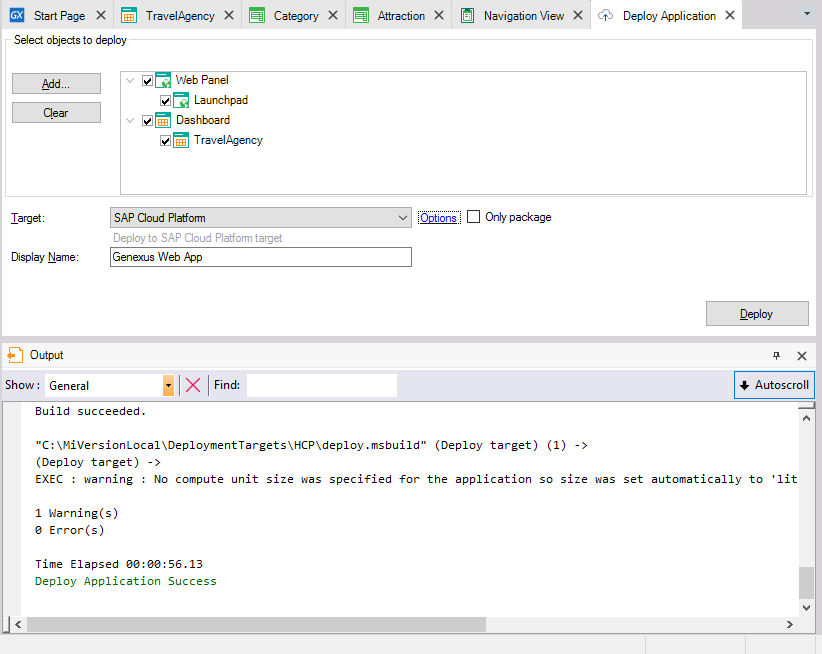
A process success message should be displayed in the output window.
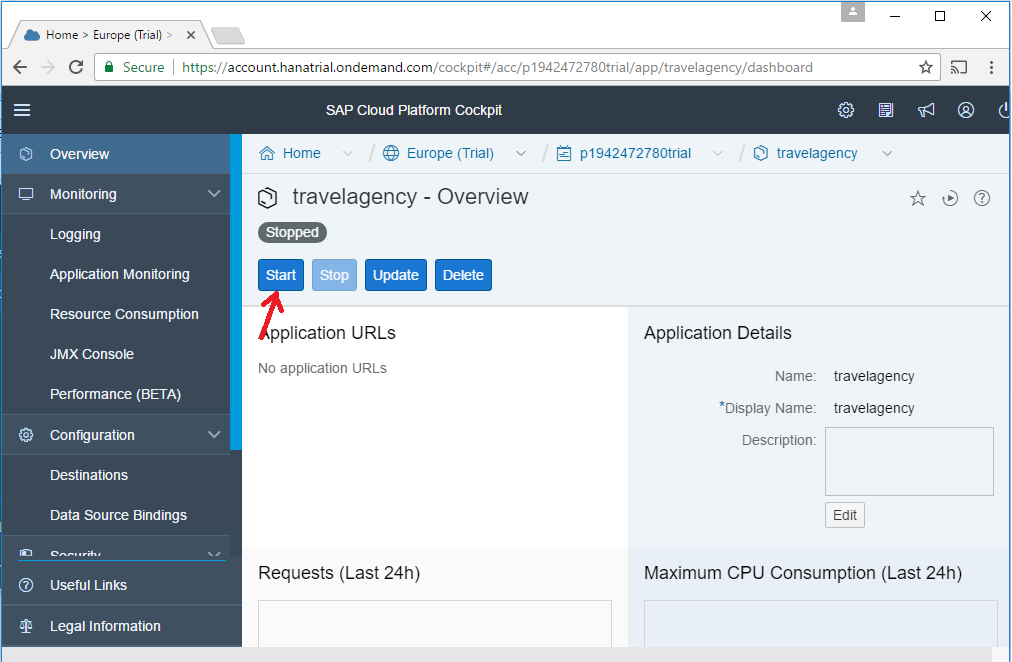
We return to our account in SAP Cloud Platform Cockpit, and among the Java Applications we find the one we've just uploaded, which is stopped:

Before starting it, we must establish a “binding” between this application and the database schema in order to join them. (Remember that a tunnel will no longer be necessary).
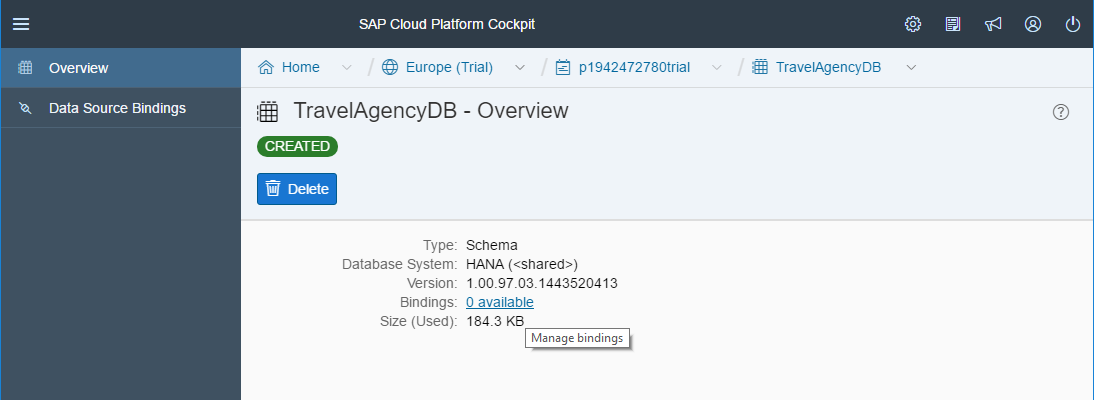
We open Databases & Schemas and select our schema. As we can see, it has 0 bindings…
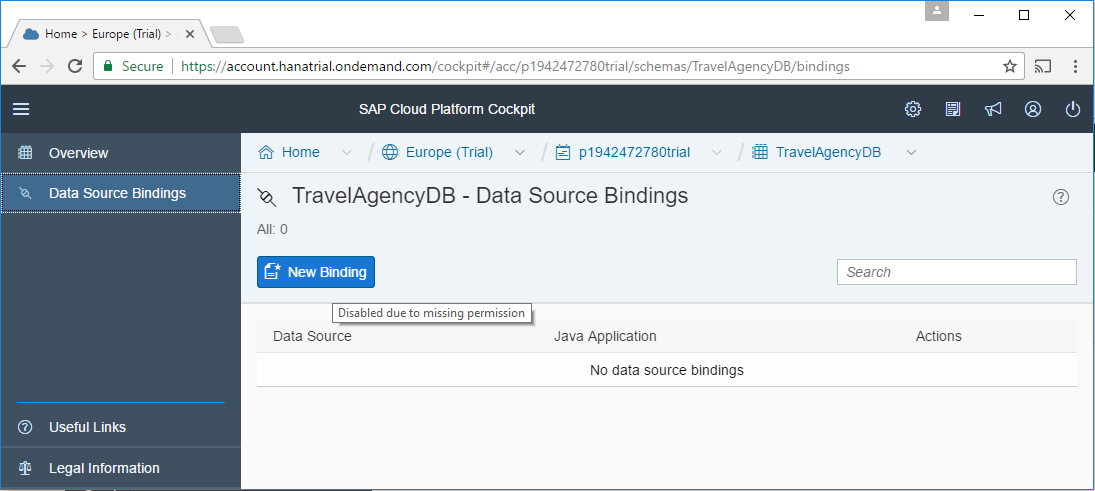
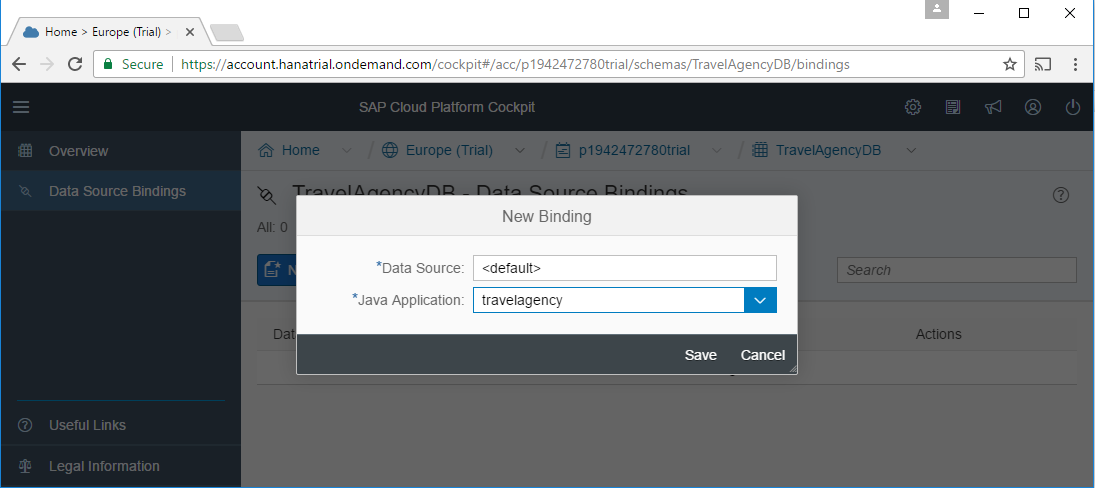
In Data Source Bindings we add one for the app we've just deployed:
We return to the Java Applications, select the application and click on Start:
When it is completed, the application base URL is displayed:
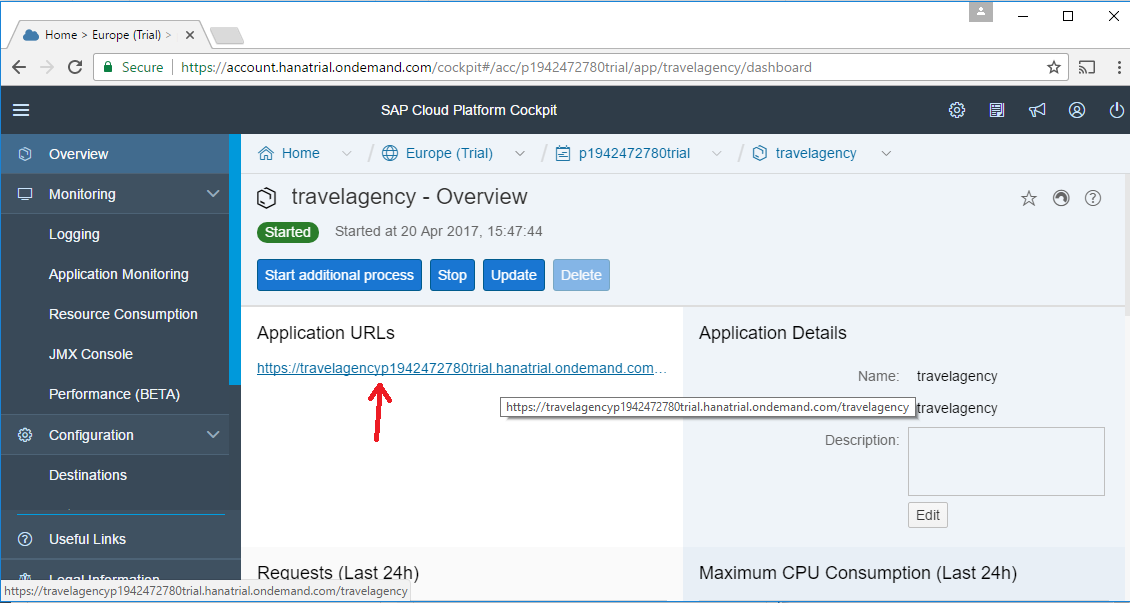
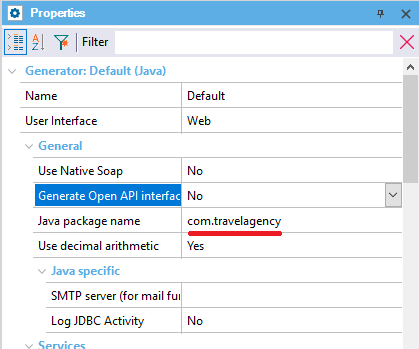
We need to add: slash bar servlet (/servlet). Slash bar… the Java package name we find among the properties of the Java generator:
Period... the name of the main object, which in this case is “launchpad”:
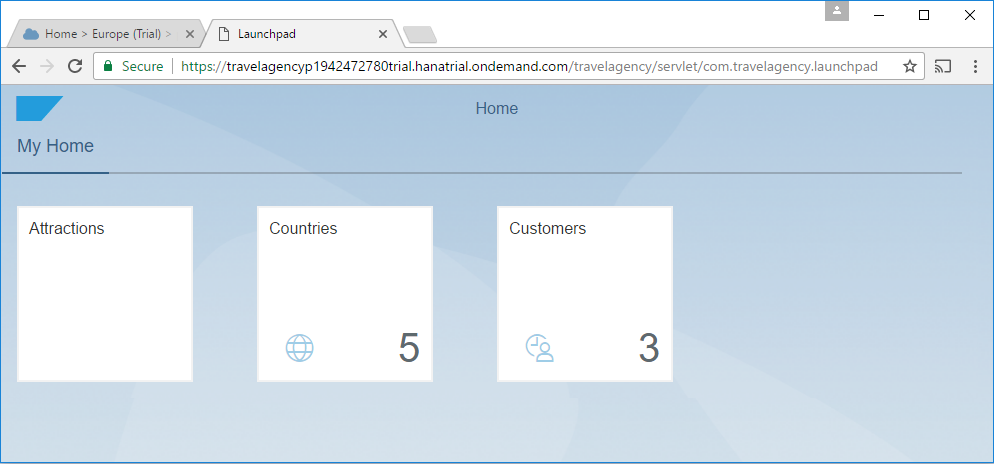
The application is now running on SAP Cloud Platform, accessing the same database that we've been working with.
What about the mobile application?
In the deployment we had included the Dashboard object. We did this only to install, in addition of the web application that will be used by the user, the Rest services that the mobile application will have to use every time it requests data from the database or makes an update.
The compilation of this dashboard is automatically obtained every time we select Run (in Android it is a file of apk extension, and in iOS it is of ipa extension). Next, it, will later have to follow the process to be uploaded to the corresponding store (it must be authorized by Google or Apple), or, if we don't want to make it publicly available, to be distributed only to the company's mobile devices, for example. To read about the various steps required for deployment and publication in the stores, view our specific course for Smart Devices.
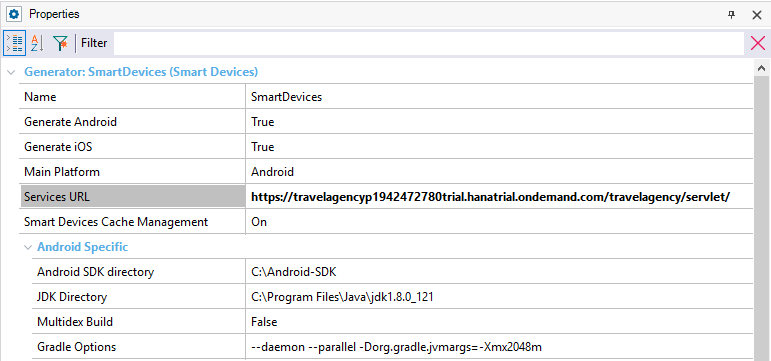
Apart from that, we still need to make the programs in that compiled file that will be installed on the devices point to the rest services in the SAP Cloud Platform server. In our prototype model, since the server was the local Tomcat, the service URL was:
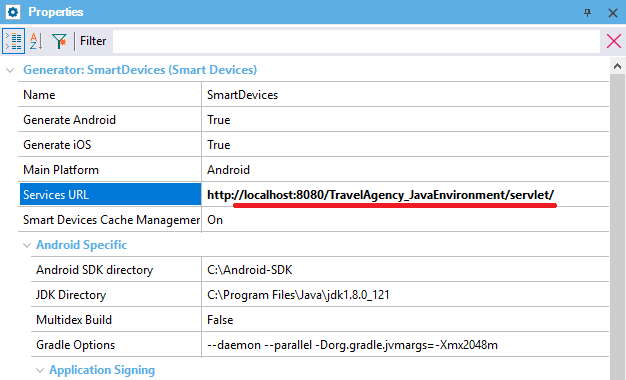
We need to change this URL to make it the web server URL in SAP Cloud Platform (we obtained it in the deployment):
https://travelagencyp1942472780trial.hanatrial.ondemand.com/travelagency/servlet/
We compile the main object again to regenerate the programs, now pointing to the Rest services in the SAP Cloud Platform server.
(By selecting Build if we only want to compile, or Run if we also want to run in the emulator or in the device connected to the computer).
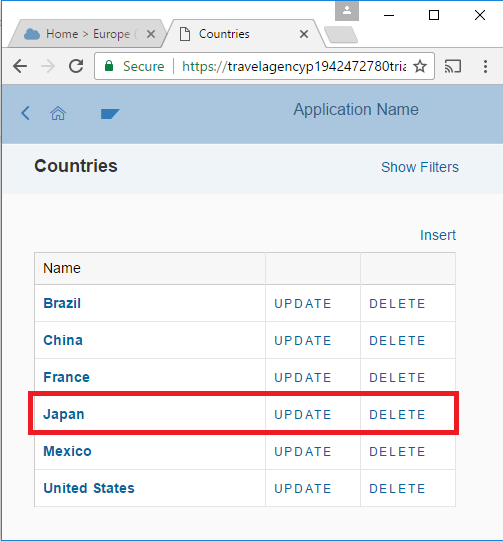
Look at the list of countries.
We insert a new country through the web application in SAP Cloud Platform: Japan:
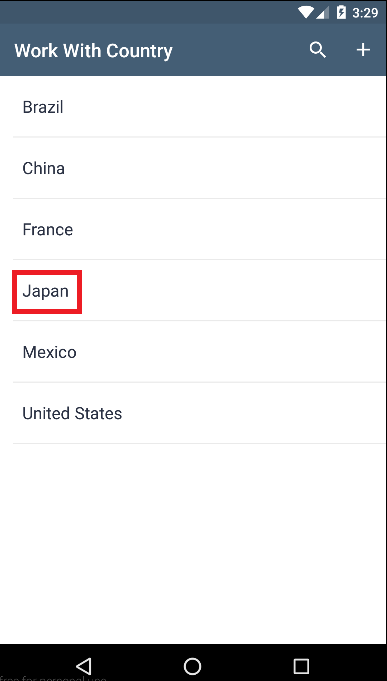
And in the mobile application we look at the list of countries:
The question is now: what happens when we want to deploy?
Obviously, the production database will not be the same as the test database. Among other things, because once the application is deployed, we will continue to work on it, both to make changes to what has been implemented and to incorporate new features. This prototyping stage must not take place in the production environment.
Therefore, instead of changing the environment we had (which we had used for prototyping), for deployment we should create a new environment, create the database schema of the production database in the SAP Cloud Platform just like we did the first time (to run in the environment created by default with the KB), and open the tunnel to specify this data... we do exactly the same as before...
Lastly, we run a Build All, which will prompt us to reorganize the database to create all the tables, which don't exist yet in this new database schema.
Once this step has been completed, you will do everything we've seen before (change the property “Use data source for web based applications”, and so on).
In sum, this is how easily we can deploy an application in SAP Cloud Platform.