This article describes how to setup Single Sign On (SSO) between a GeneXus application and an SAP Cloud Platform (SCP) Portal Fiori application using SAML 2.0.
First of all, you have to create a link between your applications. To achieve this, you have to do the following:
1. On the SCP Portal application:
Go to your app’s Fiori Launchpad Configuration Cockpit. Once there, you have to select Content Manager > Applications in the menu and create a new Application. You have to set the Application Type Property with the URL value. Then, you have to set the URL property with the link to your GeneXus application.
2. On GeneXus:
While there are many ways, the easiest solution is to create a Web Panel object and, inside its Start Event, add a link to the Fiori application.
First, you have to log in to the SCP where you have your Fiori app. Then, select “Trust” option in the menu. After that, on the “Local Service Provider” tab, select the Edit button and set the Configuration Type property with the Custom value. In consequence, three more options will appear:
- Local Provider Name
- Signing Key
- Signing Certificate
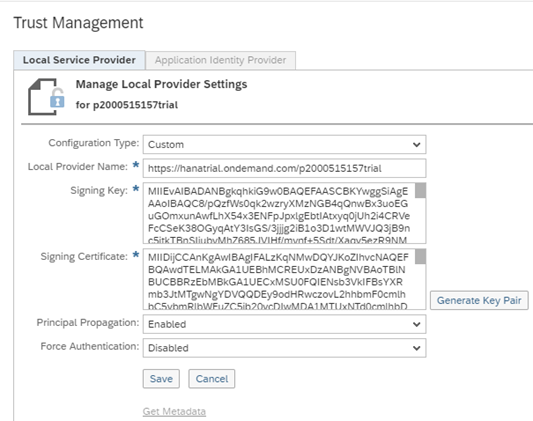
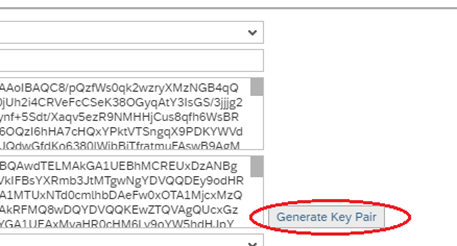
If the “Signing Key” and the “Signing Certificate” fields are blank, click on “Generate Key Pair” button.
Then, click on the Save button, and after that, click the “Get Metadata” option:
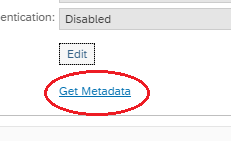
An XML file that contains the information to set up the SAML authentication will be downloaded.
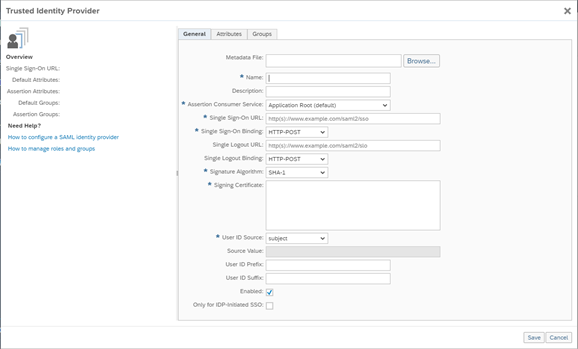
Next, go to the Identity Provider Tab and click on “Add Trusted Identity Provider”.
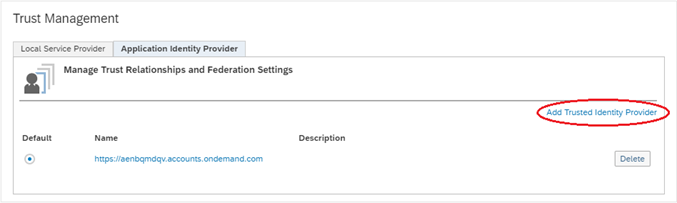
A new window will appear containing a form to include all the data about the Identity Provider.
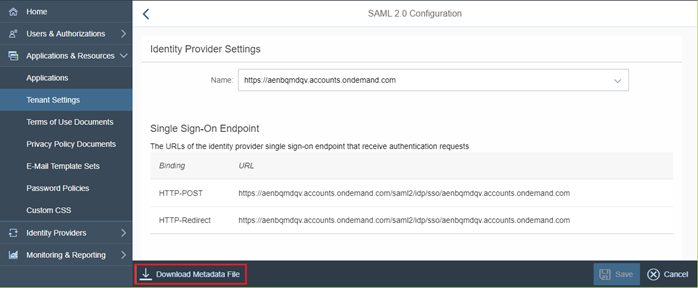
You can complete it all by yourself but if you go to your Administration Console for SAP Cloud Platform Identity Authentication and you select on the menu: Application and Resources > Tenant Settings > SAML 2.0 Configuration, there is a “Download Metadata File” button to download the metadata file needed to complete the previous form.
After setting all this, you have to create a new application on the Administration Console for SAP Cloud Platform Identity Authentication. Once there, you have to enter to the Applications section and press the button to add a new application.
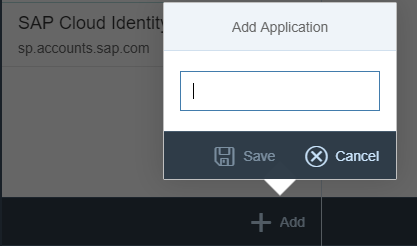
Give a name to the application (for example, Login GeneXus-SAP) and press the Save button.
The following screen will appear. Select the SAML 2.0 Configuration option.
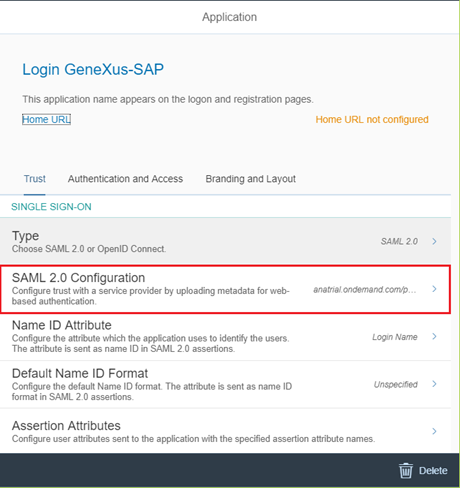
The following screen will appear.
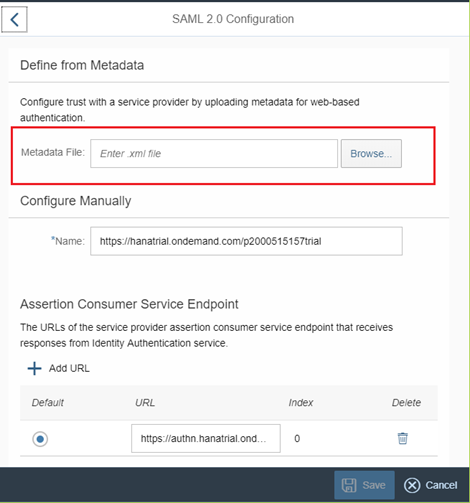
Upload the SAP Cloud Platform metadata previously downloaded.
Once uploaded the XML, the SAML configuration will be automatically completed, and the app will be ready to use.
Consideration: The GeneXus app and the Fiori app must have different SCP Identity Authentication apps.
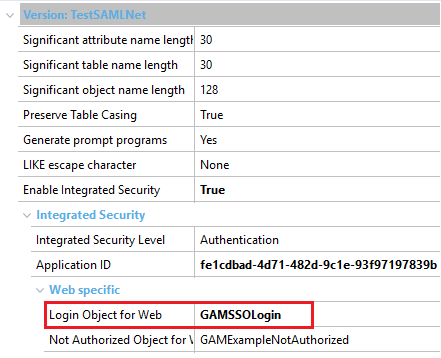
To set up the SSO on the GeneXus app, first, you have to change your Knowledge Base Login screen by setting the Login Object for Web property, available at the KB Version level, with the Web Panel GAMSSOLogin.
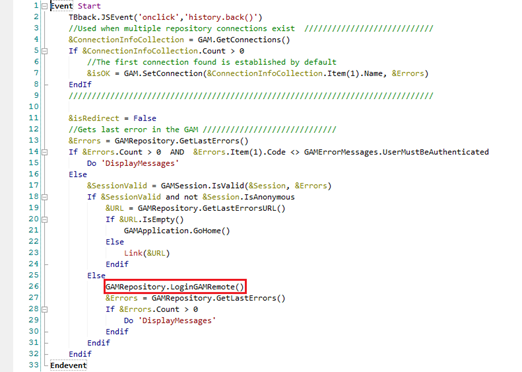
After that, you have to go to the Web Panel GAMSSOLogin and open the Events Tab. On the Start Event change this code line:
GAMRepository.LoginGAMRemote()
by the following two code lines:
&AdditionalParameter.AuthenticationTypeName =  "<YourSAMLAuthenticationTypeName>"

&LoginOK = GAMRepository.Login(&UserName, &UserPassword, &AdditionalParameter, &Errors )
This will connect to the Identity Provider to obtain a valid session for the user if it exists. On the other hand, it will show a login window for the user to enter his credentials.
You are ready to try out the Single Sign On.