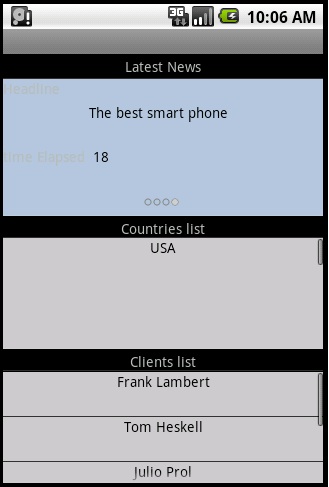
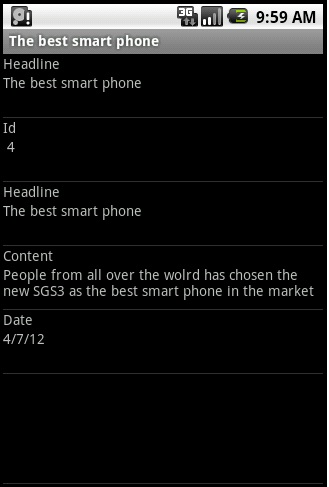
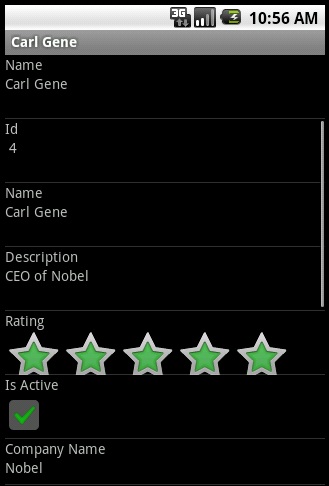
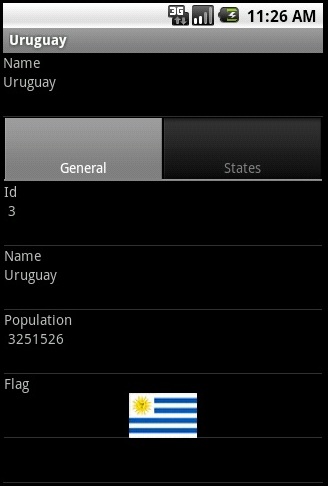
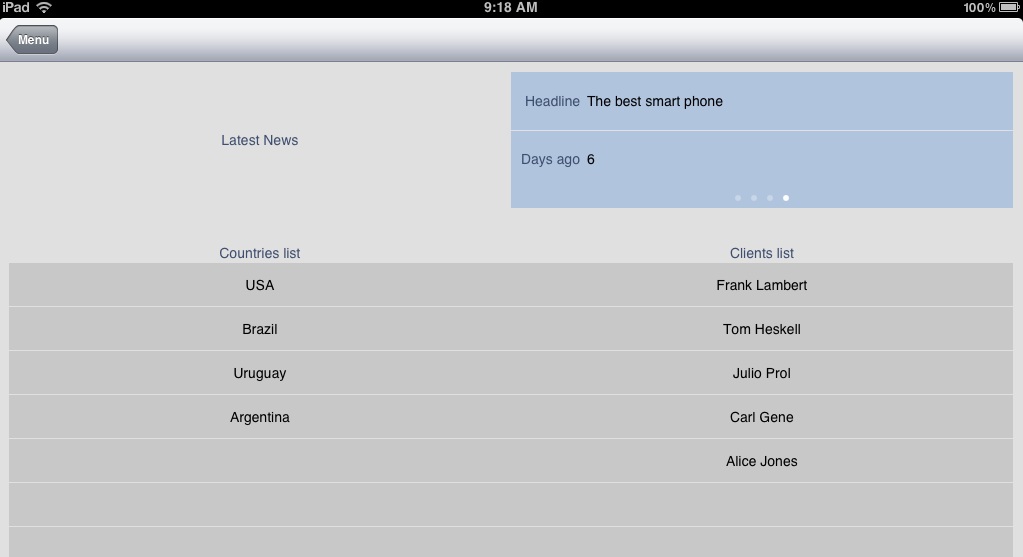
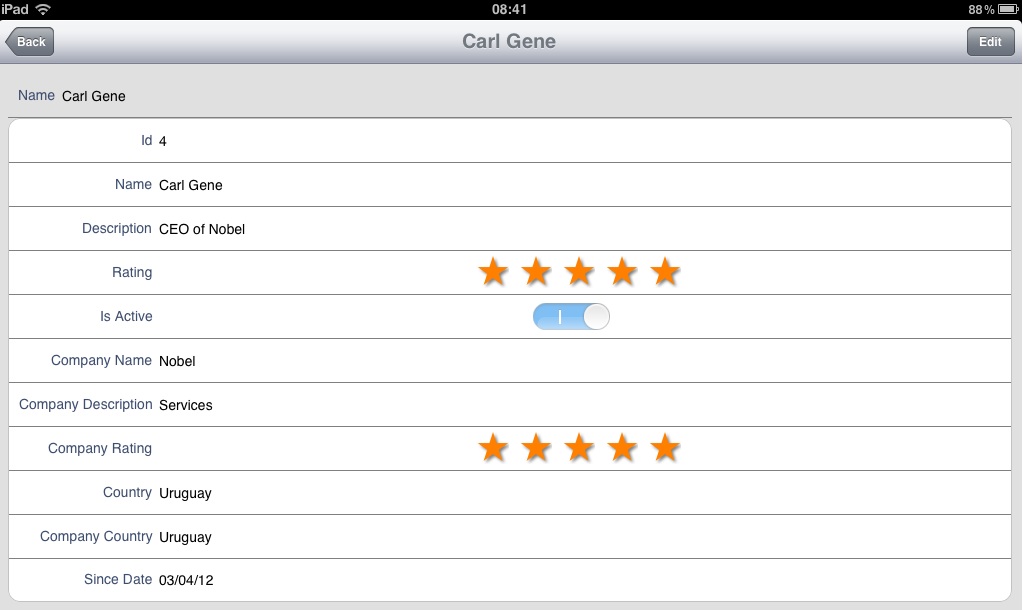
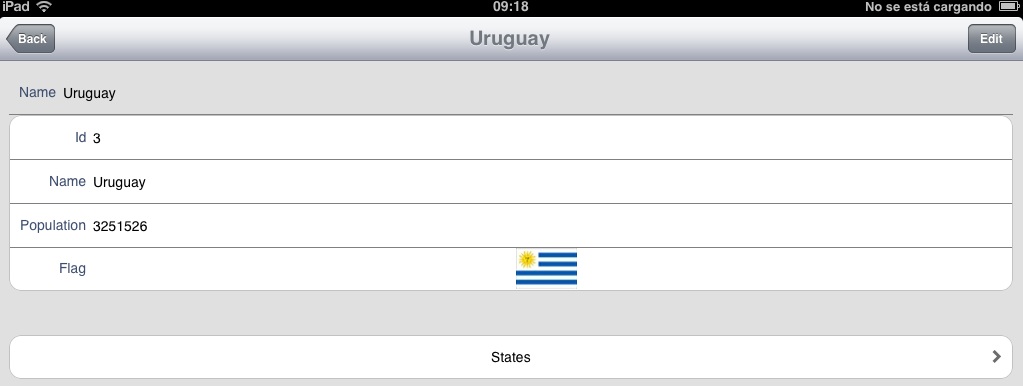
Many times information needs to be shown in the same Panel object but in different ways. To do so in the Native Mobile Generator we can use multiple grids.
This article shows an example on how to use multiple grids in the same Panel for Smart Devices.
You are going to use three different grids with different information displayed, and each with its own Default Action associated.
Start by creating the following three Transactions and apply the Work With Smart Devices pattern to all of them:


Create the two SDTs that will be used to get the data from the Transactions Country and Client.
Note: when using multiple grids, only one can have attributes, the other grids must have only SDTs and/or variables.
Define the next SDTs:


Tip: to create the SDTs just drag and drop the Client and Country Transactions in the respective SDT, and click on the "Is Collection" check box as shown in the images from above.
Now you need a way to get the data from the Transactions into the SDTs you have just created, to do so it's needed to create a Procedure and a Data Provider for each one.
Start by creating the DP for the SDTClients as follows:

Tip: As you did when we created the SDTs, when creating a data provider you can drag and drop the item directly, and some code will be automatically added. You only need to add the attributes, you want to assign, to the right side of the assignation.
Next we define the proc "GetClients" for the SDTClients with the following variables, rules and source code:
Variables:

Rules:
Parm(out:&SDTClients);
Source:
&SDTClients = ClientDP.Udp()
Now you need to define the DP for the SDTCountry as follows:

Next you define the proc "GetCountries" for the SDTCountry with the following variables, rules and source code:
Variables:

Rules:
Parm(out:&SDTCountryCol);
Source:
&SDTCountryCol = CountryDP.Udp()
After creating the Procedures and Data Providers, there is a way to get all the data needed to load the two grids with SDTs, so finally you can start creating the Panel.
Create a Panel for Smart devices called "SDPanelGridsExample" and define the next variables:

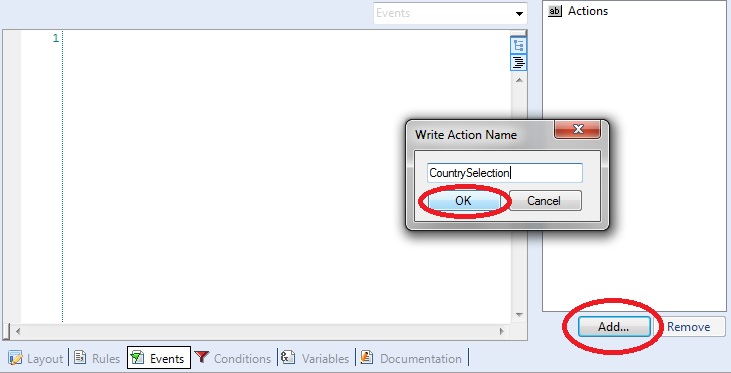
Next step is to define the events for the Panel, you need to create three actions, "CountrySelection", "ClientSelection" and "NewsSelection" (one for each grid). These actions will be called when the default action of each grid is triggered. To define these events go to the "Event" tab and press the "Add..." button, enter the name of the action and finally press "OK" (you will have to do this for all the actions).
Once all events are defined, we have to define the events code for each as follows:
Event Refresh
	Composite
		&SDTClients = GetClients.Udp()
		&SDTCountry = GetCountries.Udp()
	EndComposite
EndEvent

Event 'CountrySelection'
	Composite
		WorkWithDevicesCountry.Country.Detail(&SDTCountry.CurrentItem.CountryId)
		Refresh
	EndComposite
EndEvent

Event 'ClientSelection'
	Composite
		WorkWithDevicesClient.Client.Detail(&SDTClients.CurrentItem.ClientId)
		Refresh
	EndComposite
EndEvent

Event 'NewsSelection'
	WorkWithDevicesTRNNews.TRNNews.Detail(TRNNewsId)
EndEvent

Event Load
	&timeElapsed = &Today - TRNNewsDate + 1
	load
EndEvent
Note: the SDTs data is loaded in the refresh event for both SDTClients and SDTCountry, this is mandatory. If you don't load the SDTs in the refresh event the grids will be empty.
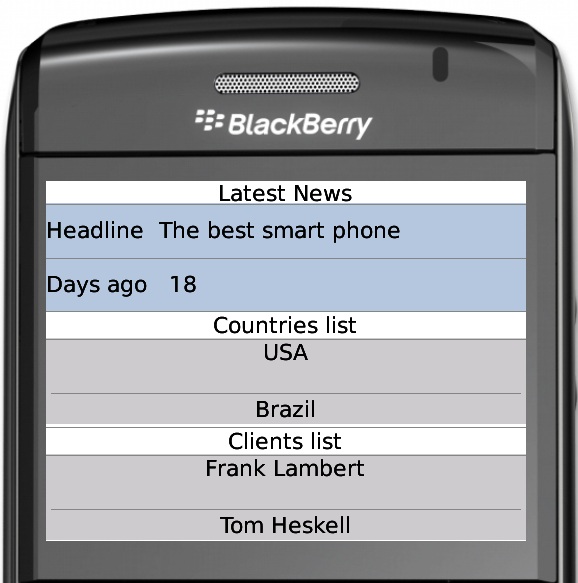
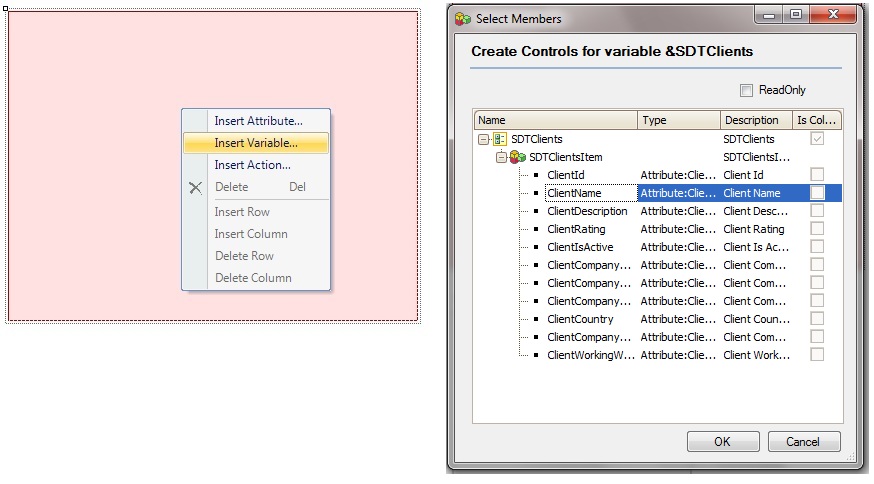
Now the layout needs to be defined. To do this; right click on the layout, select "Insert Variable", then choose one of the SDT variables you have defined (SDTClients or SDTCountry), press ok, and select the members of the SDT you want to be displayed. You need to do this for both SDT variables (in this example you chose the name of the Client and the name of the Country to be displayed on each grid). Also you have to add a Grid with the TRNNews attributes and define its class as SD Paged Grid, so drag and drop a grid from the toolbox, add the TRNNews attribute "TRNNewsHeadline" and the variable "timeElapsed" (this variable will be used to calculate the days since the creation of the news in the Load event).
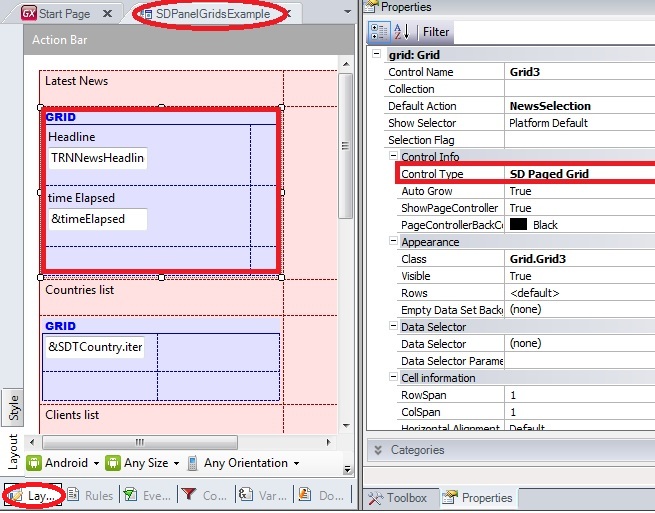
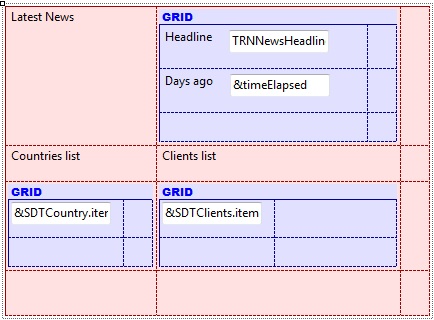
The created layout should be similar to the one displayed on the next image:
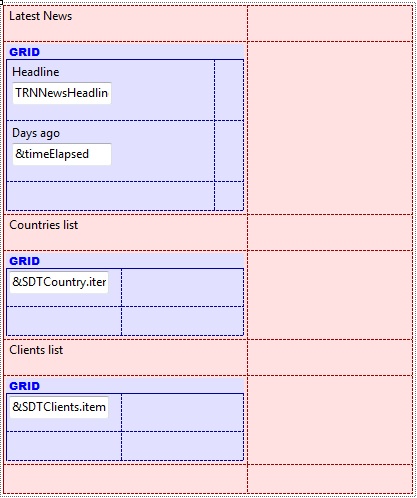
Tip: for Android and BlackBerry it would be better to define the layout as follows (just for looks, it's not mandatory)
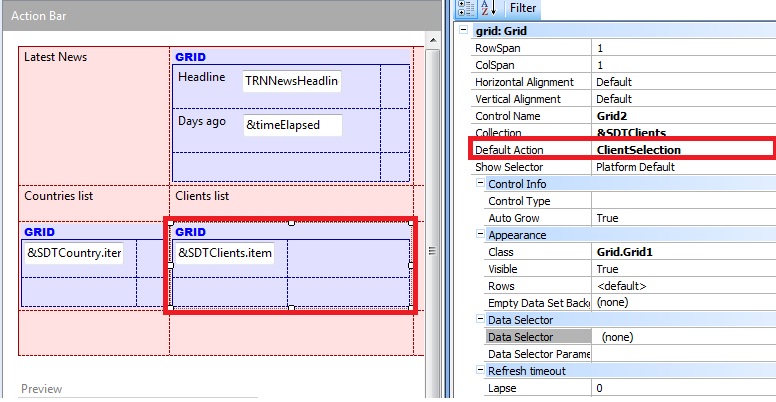
Finally it's needed to associate the default action of each grid to its respective event, to do so you need to select the grid and change the "Default Action" property to the respective one, for example for the grid containing the SDT "SDTClients":
Press F5 and test the grids (you may want to create some registers in the database before).
Note: the default action is executed when one of the rows of the grid is selected.
Final Note: The Load Event will be associated to the grid with a base table associated.
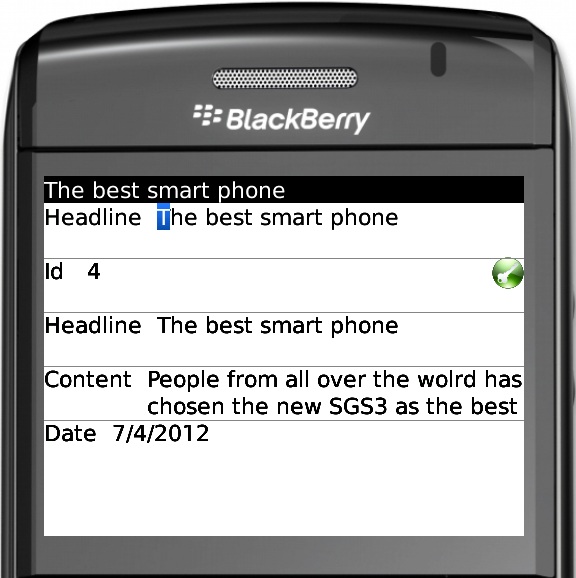
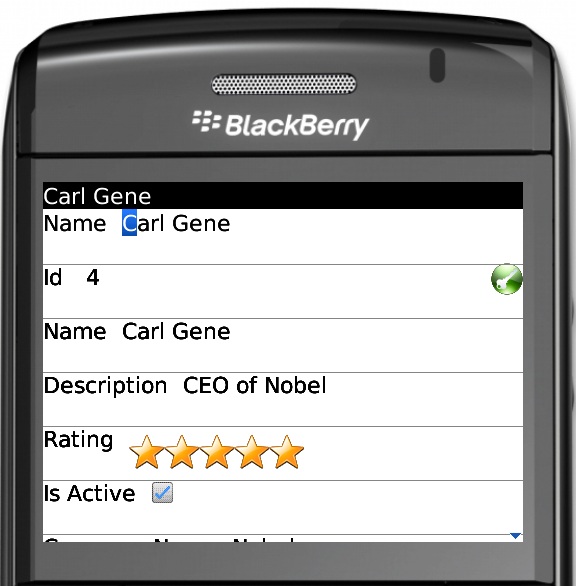
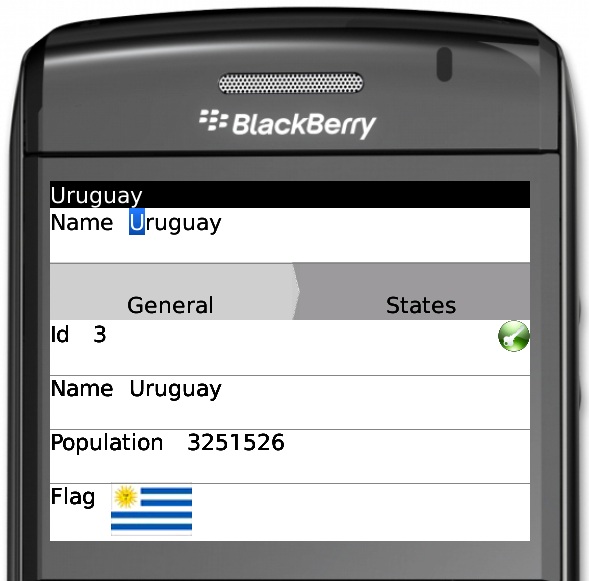
Examples:
