The GeneXus Prototyper plugin creates a fully functional application prototype, based on your Figma design by using the Design Import tool and hosting the application on GeneXus' Cloud.
Note: This plugin works from design to runtime. This means that designers do not control the objects, layouts and controls generated by GeneXus. But this plugin does not replace the developer's role through the complete workflow. It rather aids designers in reducing the adjustment phase of that cycle.
Install the plugin from this website: Figma Community | GeneXus Prototyper.
For more information on how to install a plugin in Figma, please refer to Figma Help | Use plugins in files.
Open the plugin and in the login screen click on the Get Access Key link. This action will open a GeneXus website in your browser where you can obtain your access key in three easy steps.
| Select your desired option |
➔ |
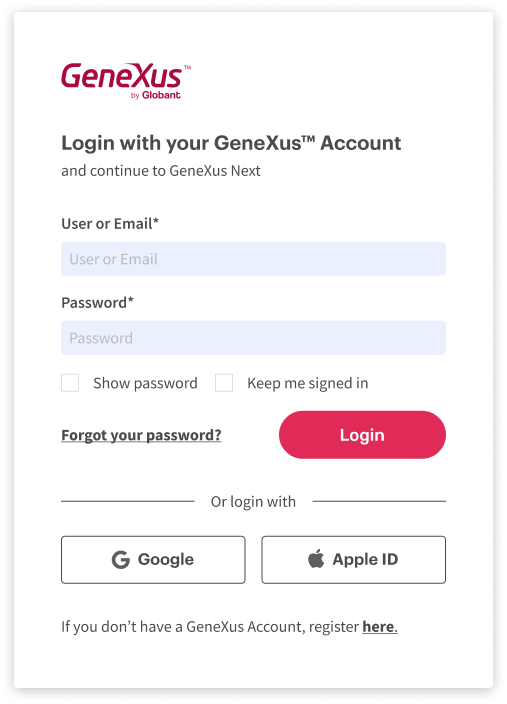
Enter your user credentials |
➔ |
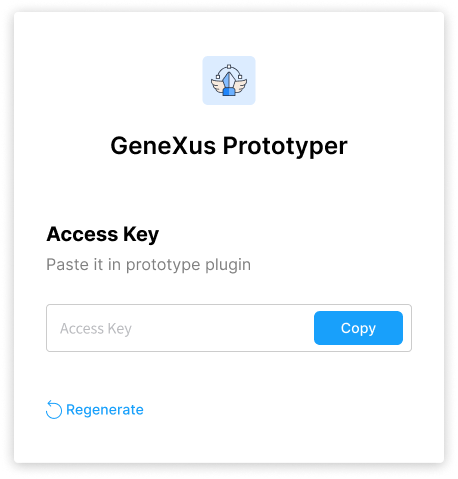
Generate and copy your access key |
 |
|
 |
|
 |
Go back to Figma and paste the access key in the "Access Key" field. Then, click the "Log In" button.
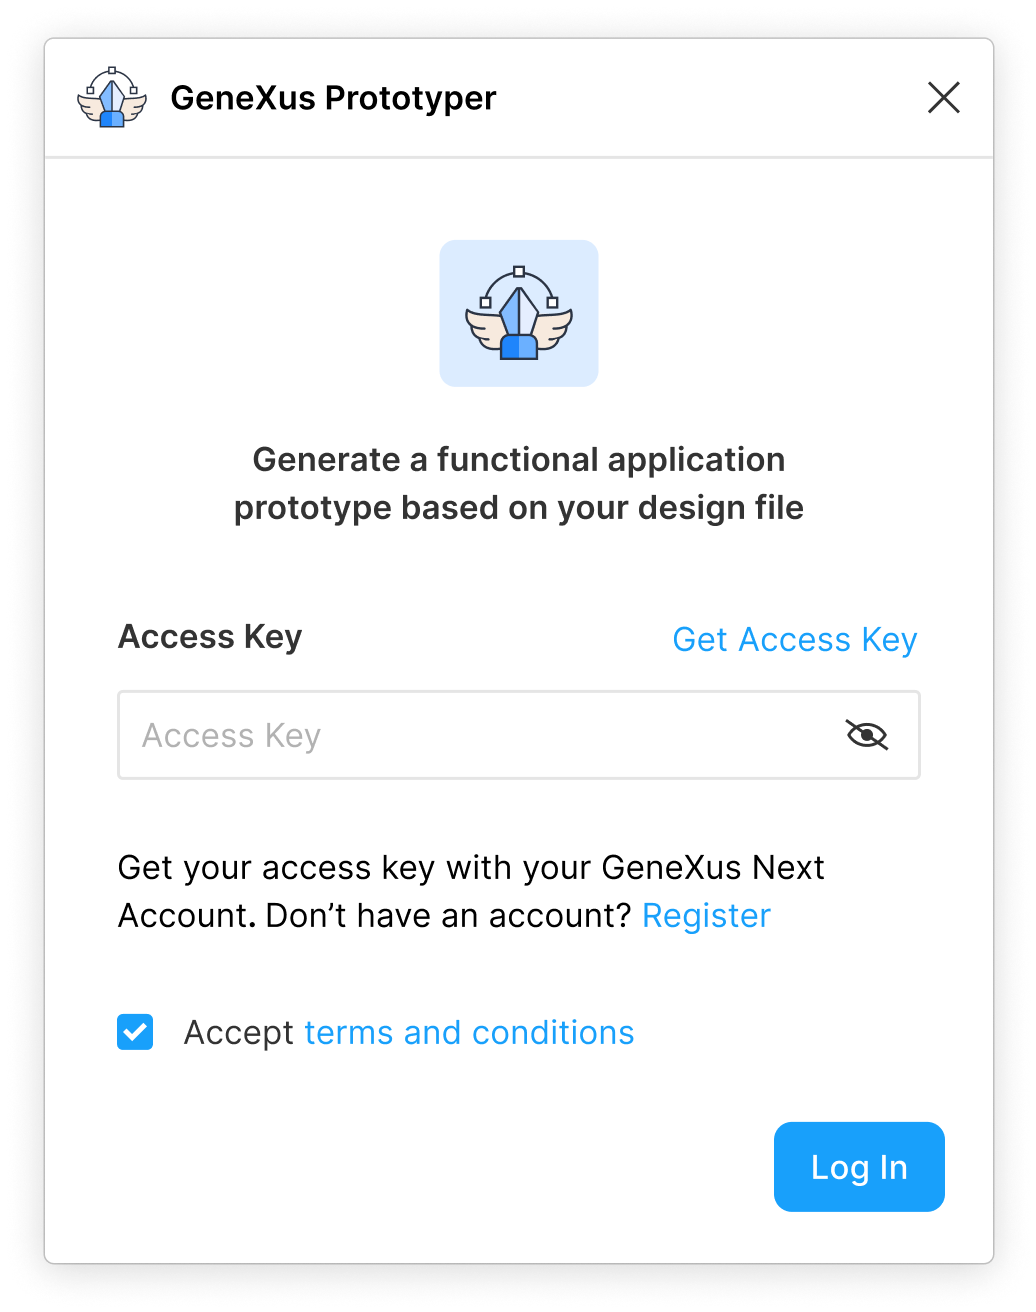 |
Options:
- Get Access Key
Input for your access key.
- Log In
Access to home screen.
|
After you successfully log in, you must set up your prototype environment.
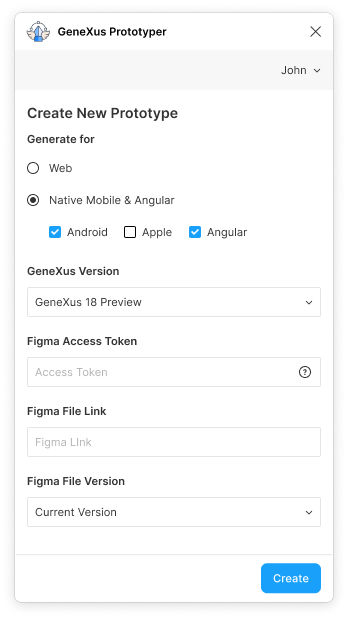 |
Options:
- Generate For
Specifies to prototype the design for either Web or Native mobile. Equivalent to the Import As Web Panel checkbox in the Design Import dialog in GeneXus. It also allows enabling/disabling Android, iOS, and Angular generators for optimizing response times.
- GeneXus Version
Specifies the GeneXus version to be used for prototyping.
- Figma Access Token
Provide your Figma access token.
For more information refer to Export From Figma: How to get a Figma token.
- Figma File Link
Provide the link to your Figma file.
If you are using a web browser, copy the link from the address bar and paste it here. Alternatively, if you are using the Figma desktop app, right-click on the file tab, choose the Copy Link option, and paste it in this field.
- Figma File Version
Allows you to choose a specific (and previously frozen) version of your Figma file in addition to the current version of the document.
Learn how to freeze a Figma version in Export From Figma: How to save a Figma version.
|
When you're done setting up your prototype, you can click on the "Create" button and the plugin will send your design to GeneXus' servers for importing, building, and deploying it.
When you start working with a prototype, you can get one of the following states.
| Processing |
|
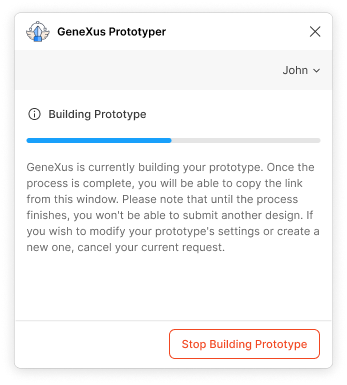 |
Indicates that the import, build and deploy process is in progress.
Options:
- Stop Building Prototype
Allows you to cancel the building process.
Note: If the plugin is open, you will receive an audible notification when the prototyping operation concludes. You can adjust or mute the notification volume in the user settings.
|
| Success (for Mobile & Angular) |
|
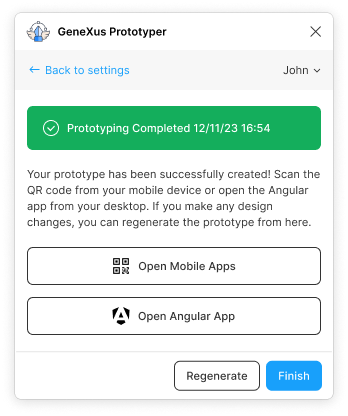 |
Indicates the entire process is completed when the Generate For option is set with Mobile & Angular.
Options:
- Open Mobile Apps / Open Android App / Open Apple App
Displays a QR code meant to be scanned with GeneXus Project Navigator.
Depending on the Generate For configuration, the button caption and available options in the displayed QR section will change if you select both Android and iOS, or just one of them.
- Open Angular App
Opens the Angular app in a new tab of your browser.
- Back to settings
Return to the settings screen where you can reconfigure your prototype to create a new one or forward to this state.
- Regenerate
Regenerates the prototype using exactly the same configuration you set.
- Finish
Closes the plugin.
|
| Success (for Web) |
|
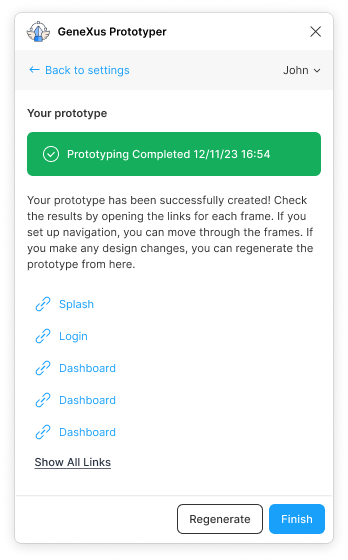 |
Indicates the entire process is completed when the Generate For option is set with Web, listing a few links for the generated Web Panels.
Options:
- Show All Links
Lists every generated Web Panel.
- Back to settings
Return to the settings screen where you can reconfigure your prototype to create a new one or forward to this state.
- Regenerate
Regenerates the prototype using exactly the same configuration you set.
- Finish
Closes the plugin.
|
| Error |
|
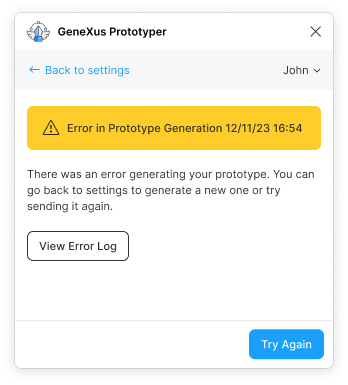 |
Indicates the process has failed.
Options:
- View Log
Displays error details that you can share with your developer or with the GeneXus support team.
- Back to settings
Return to the settings screen where you can reconfigure your prototype to create a new one or forward to this state.
- Try Again
Tries to regenerate the prototype again using exactly the same configuration you set.
|
When you click on your name in the upper bar and you can access to a set of user options.
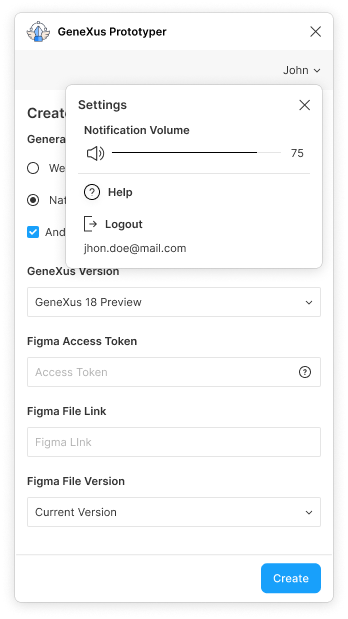 |
Options:
- Notification Volume
Allows you to adjust the notification volume for prototype creation alerts
- Help
Opens this document in your browser.
- Logout
Logs you out of the application.
|
| Q: |
|
| A: |
Server side solution is based on GeneXus .NET Generator technology and relies on GeneXus Deploy To Cloud feature for deployment. Client side solution will be based on your configuration when create a prototype, and could refer to: GeneXus Native Mobile Generator (for Android and iOS), GeneXus Angular Generator or GeneXus Web Generator. |
| |
|
| Q: |
|
| A: |
Depends on the file size (how many layers, bitmaps, and fonts are used) and how many generators are enabled when you create the prototype. Also, it depends on the availability of our servers processing every file from other users using the plugin. |
| |
|
| Q: |
|
| A: |
Just one prototype deployment per design file is allowed. If two or more users open the plugin in the same file, they will all see the same last deployment information (regardless of which user has created the prototype). Only the latest prototype deployment will be hosted (for a maximum of 3 months). When a new prototype is created, the previous prototype deployment will be permanently deleted (every link referencing the deleted prototype will become unavailable). |
| |
|
| Q: |
|
| A: |
This issue may be related to a known problem in the early versions of the plugin. Usually, this problem is solved by closing and reopening the plugin. If that's not your case, contact us at GeneXus Support providing details on how to reproduce your problem. |
| |
|
| Q: |
|
| A: |
This message may appear if our servers are undergoing maintenance. If the issue persists, we recommend logging out of the plugin and then logging back in. In most cases, this error occurs because the access key used for login has been invalidated by the server which requires re-authentication. |
| |
|
| Q: |
|
| A: |
There could be multiple reasons. Please inspect the provided log carefully to identify the issue (errors will be highlighted in red). Often, these errors can be resolved by redesigning the problematic panels. In that case, we recommend using a divide-and-conquer strategy removing elements until you find and address the issue. Less commonly, the errors may result from generating the model or deploying the application in our cloud; if you believe this to be the case, contact us at GeneXus Support for assistance. |
| |
|
| Q: |
|
| A: |
Only the top 10 most recent versions are displayed. The plugin searches through the latest 50 versions, including both manually saved and auto-saved versions, to determine which ones to display. Additionally, for Starter plan members, only versions from the past 30 days are considered. For more information, please refer to Figma Help | View a file's version. |
 How AI is Revolutionizing the Development and Design Cycle in GeneXus
Export from Figma
Layers conventions
Design best practices
GeneXus Prototyper Website