This article introduces the steps to use the Chatbot Generator with Dialogflow.
After the setup in Google Clouds, you need to create an Agent in Dialogflow, where GeneXus will create your chatbot for this provider (create and update the intents, entities, and the dialog itself).
Below is a summary of the steps that should be followed:
Go to this link. Select the list of projects, and create a New Project.
Then, you'll have something similar to the following:
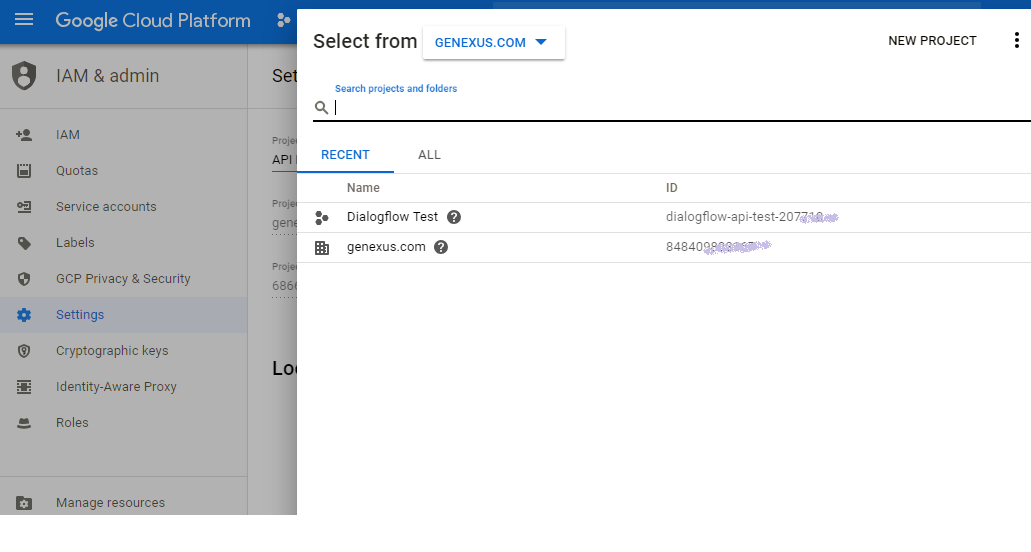
In the project's Dashboard, go to APIs & Services -> Library
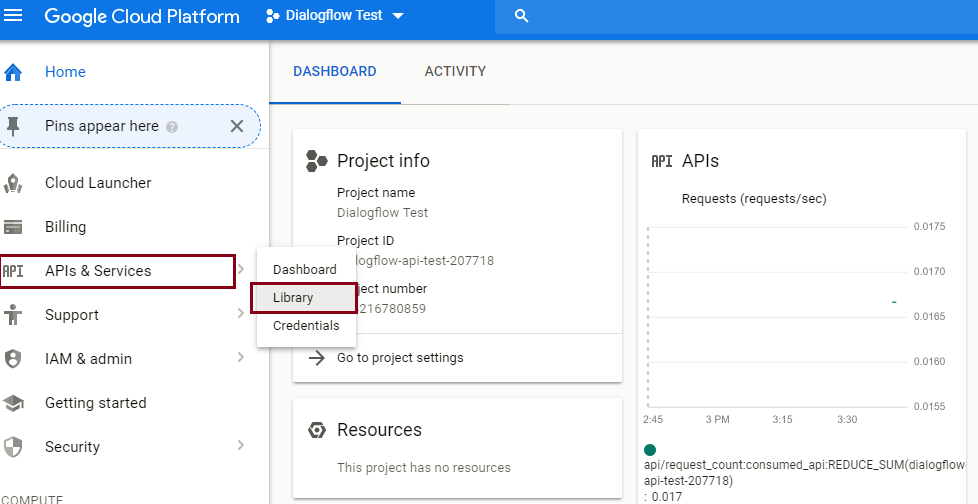
In the search bar, look for Dialogflow. Select it and click the Enable button.
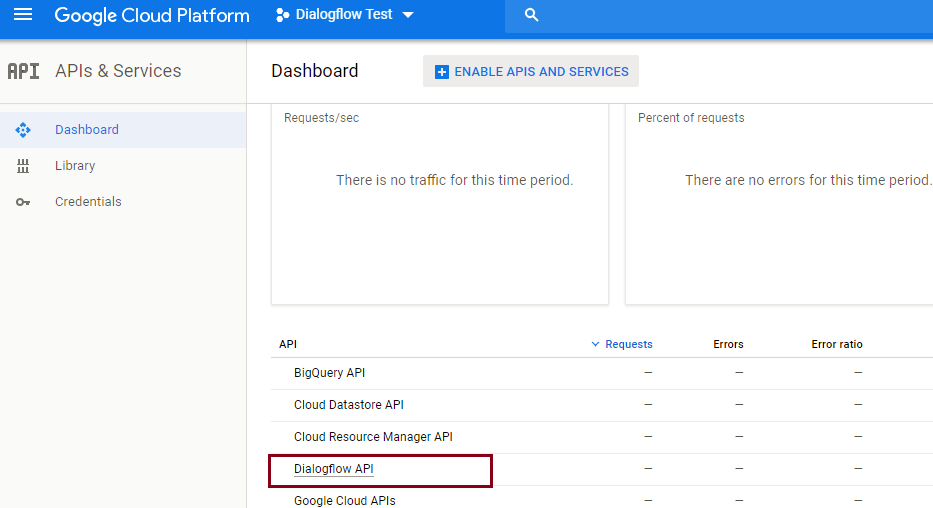
The following images show step by step how to create a Service Account to work with the Dialogflow APIs:
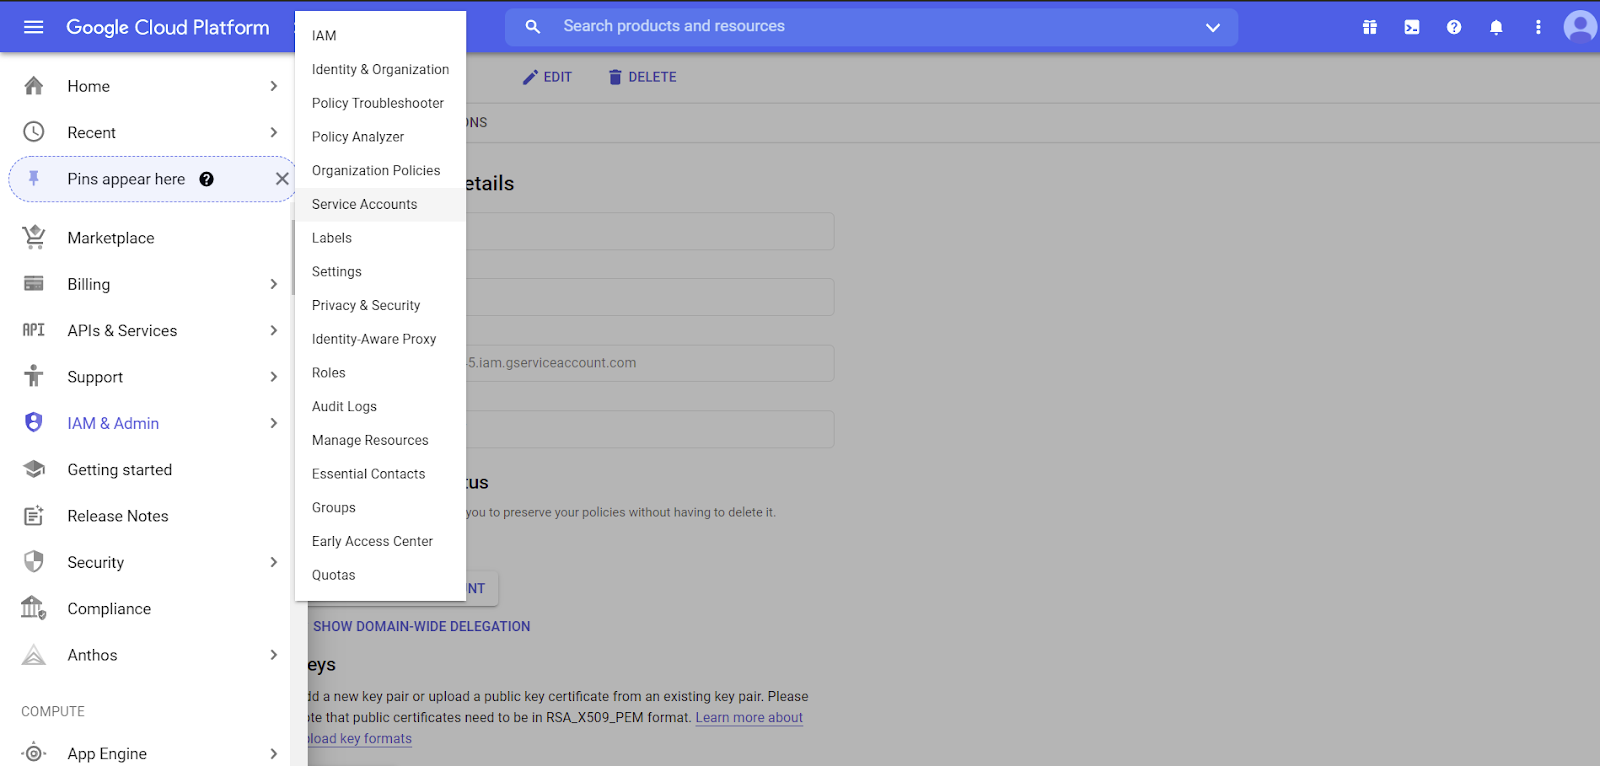
Next, click on the option to create a service account:
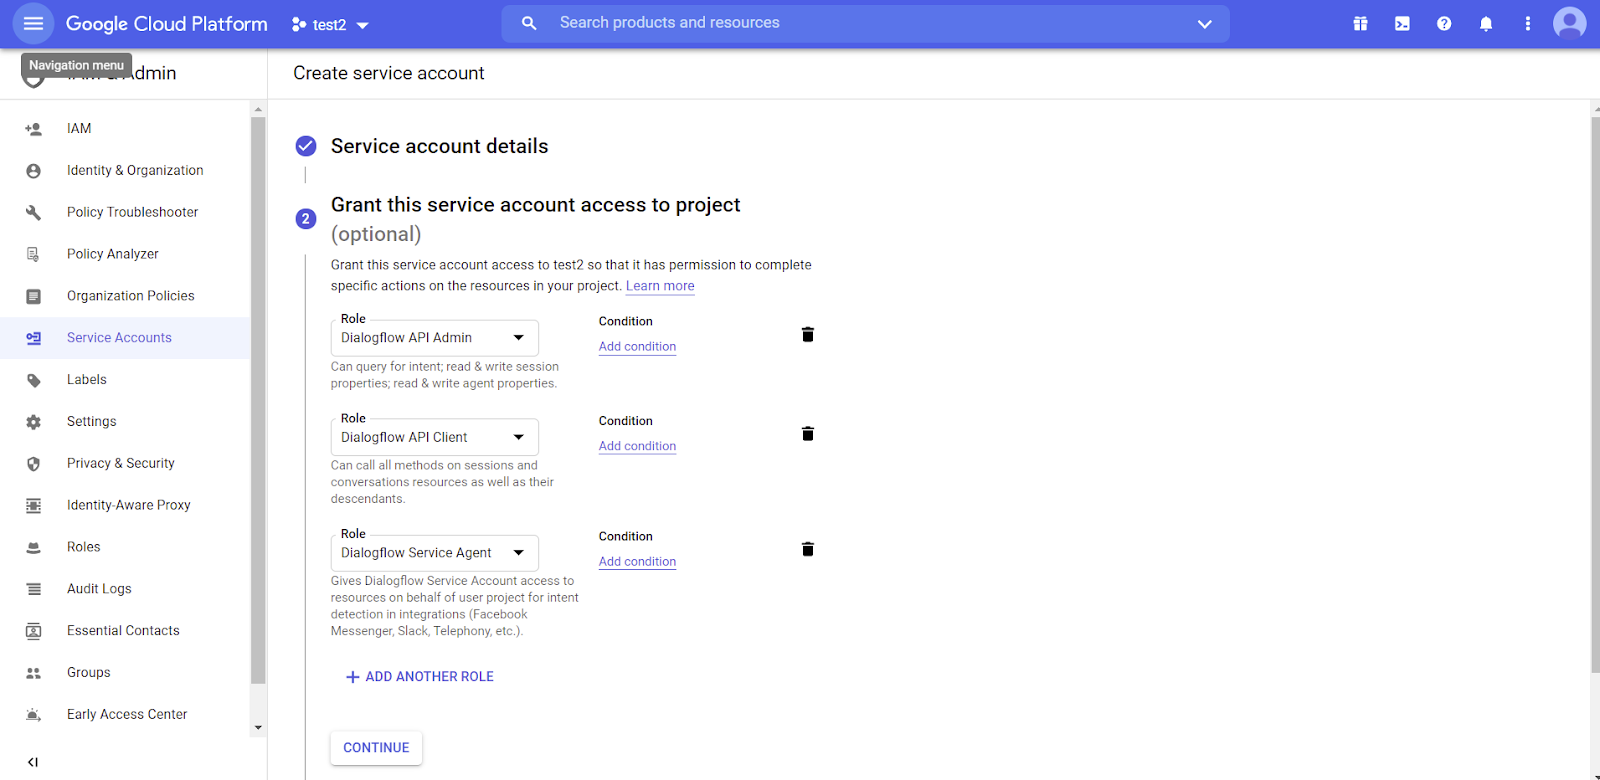
Find the new account in the list of service accounts and click on edit (in the Actions menu). In the edit screen, create a new key:
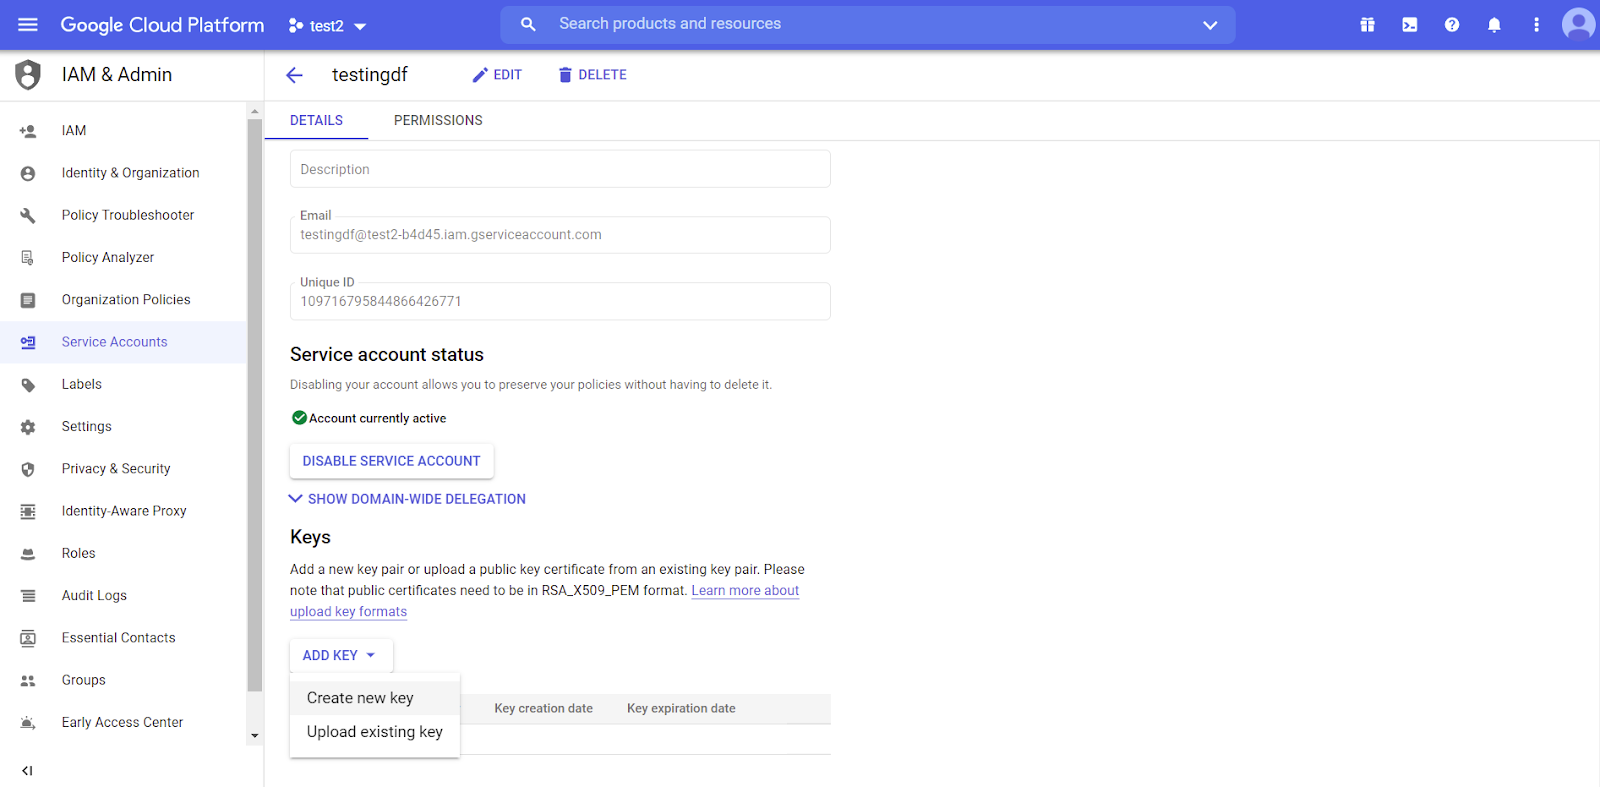
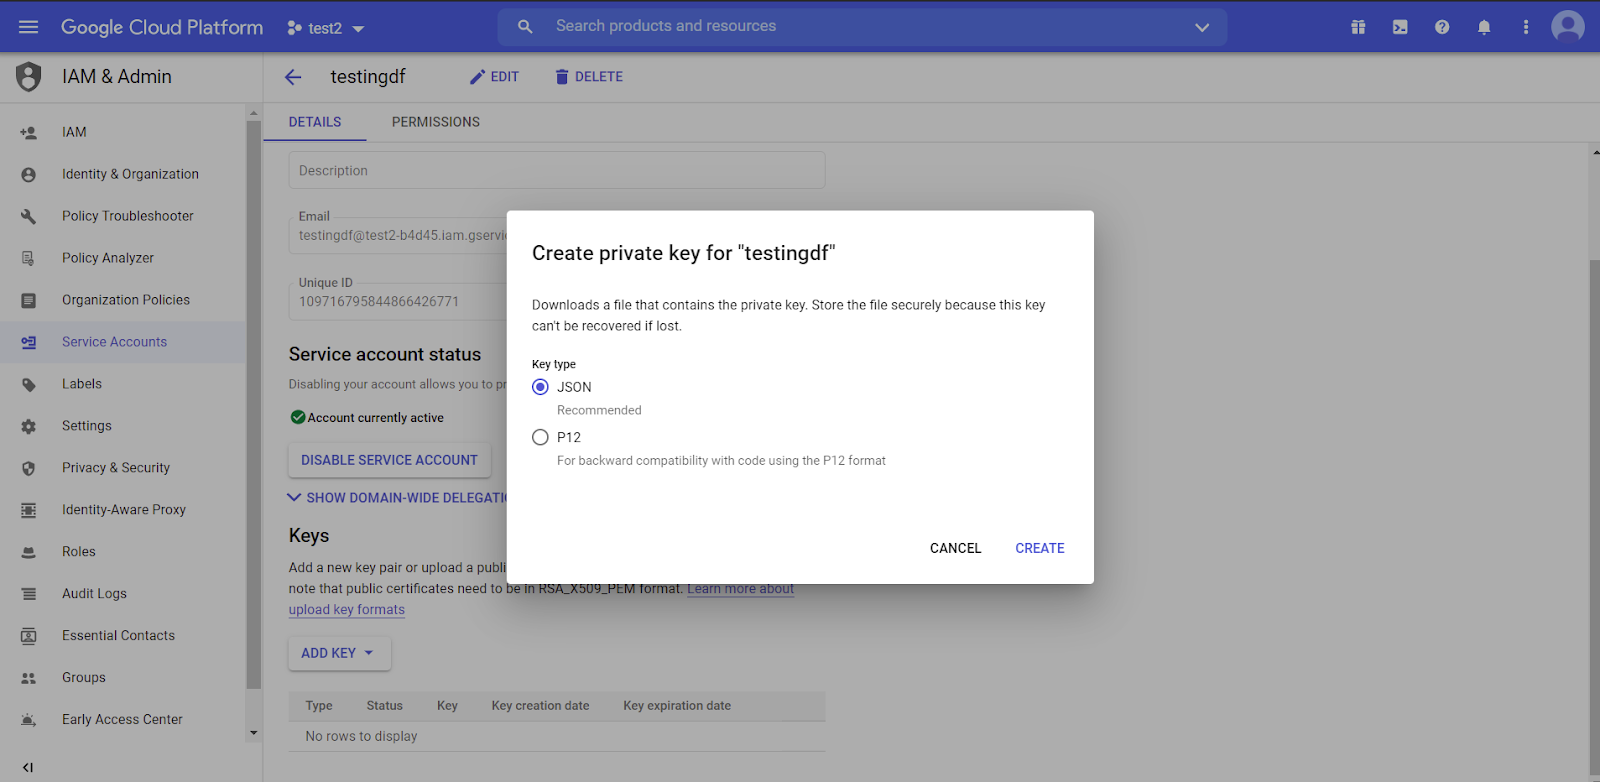
Select the JSON type:
The generated JSON is downloaded as shown below:
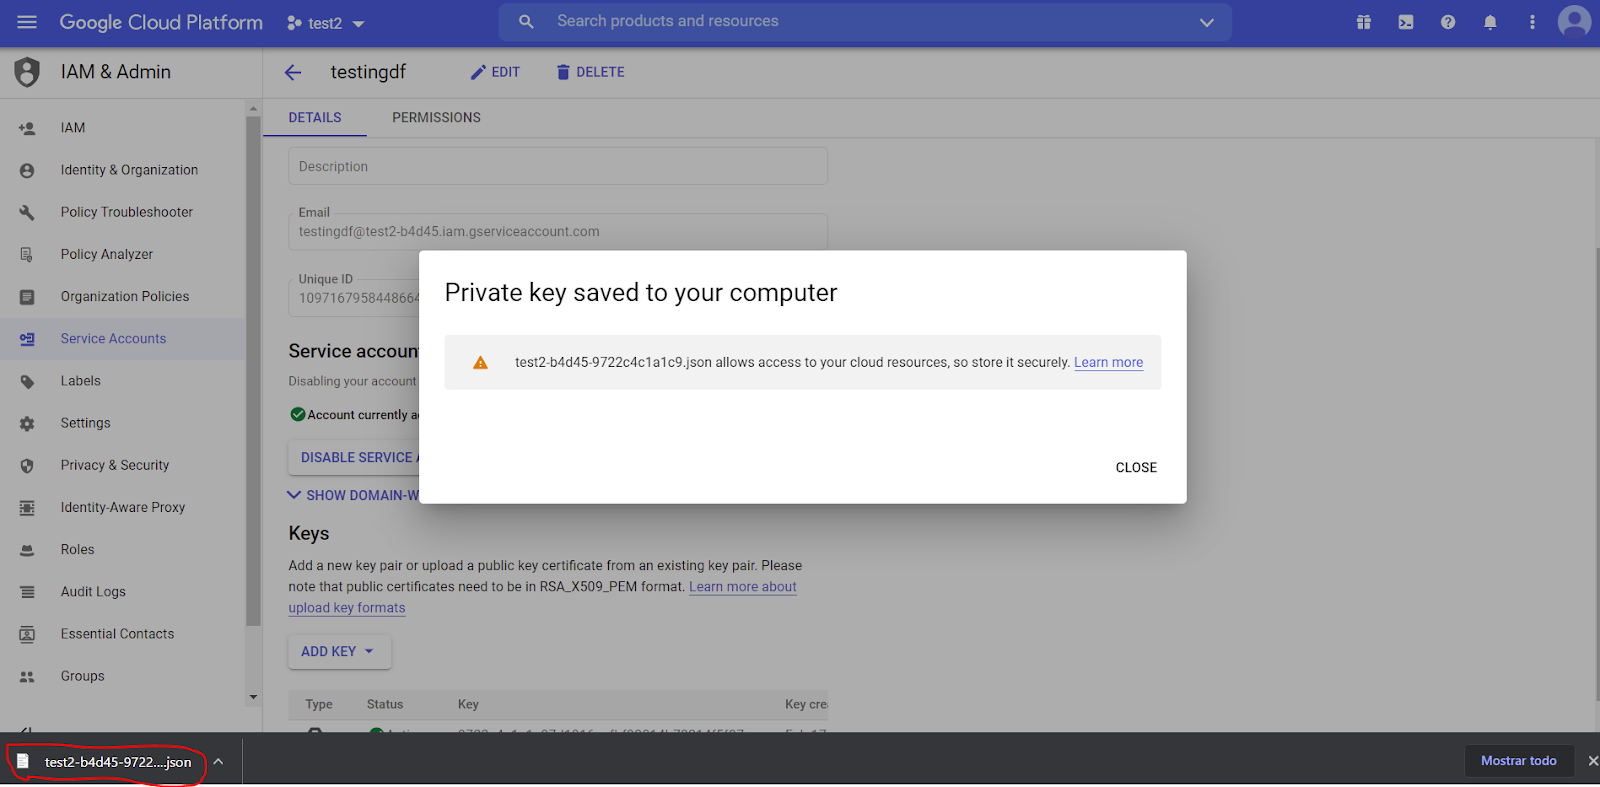
The content of this JSON must be entered in the Google Cloud JSON Credentials property.
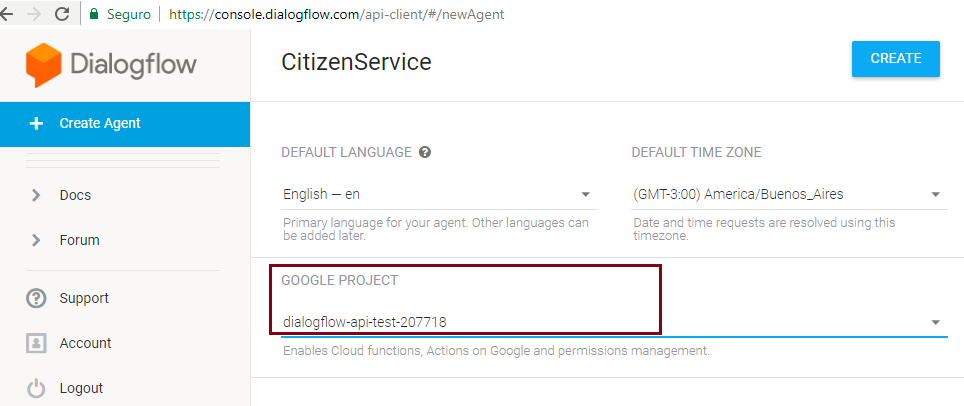
Go to the Dialogflow website to create a new Agent. Make sure you select the right Project (defined in the previous step) before pressing the create Agent button. Note that you can create only one Agent per project.
Edit the Conversational Flows object and configure the NLP Provider property, Google Cloud Project property and Google Cloud JSON Credentials property.
To continue, save or execute "Generate Chatbot." At this moment, GeneXus will try to synchronize your instance with the agent created in Dialogflow.
It will no longer be necessary to authenticate to use Dialogflow because a service account is now used.
Since GeneXus 17 upgrade 3, it is necessary to use the Service Account authentication mechanism because the previous mechanism is no longer supported.