Here is a step-by-step guide to use Data Analyst Assistant 2.0, upload a document, and start chatting with the assistant from the playground.
First, enter the Globant Enterprise AI Backoffice. On the left side of the screen, you can find the backoffice menu. In this menu, click on Assistants. Then click on the CREATE DATA ANALYST ASSISTANT.
Next, in the Project Dynamic Combo Box, select the project you want to work with (in this case, the Default one is used).

Upload a dataset file by clicking on the +Add files... button.

Note: Use lowercase letters and underscores in your filenames (e.g., this_notation.csv instead of ThisNotation.csv).
Metadata is descriptive information about the data contained in a dataset. It is used to provide context and better understand the available data.
Metadata usually includes details such as the name of the dataset, a description of its contents, and the structure of its columns (including data types and possible values).
This metadata is used to define how the dataset should be processed and to clarify the dataset to be analyzed.
A basic metadata structure is generated based on the datasets uploaded. It’s important to note that this is a placeholder that you must complete with appropriate descriptions and additional considerations (if required). This is necessary for the assistant to know how to interpret the dataset while answering questions.
To complete the Metadata (JSON) correctly, you must define a JSON with the following structure:
{
    "da_version": "2.0",
    "dataset_name": {
        "dataframe name": "dataset_name",
        "description": "contains data regarding different types of revenues, their types, dates, and associated details.",
        "column explanations": {
            "colum1": "description column 1. dtype: dtype1",
            "colum2": "description column 2. dtype: dtype2",
                       ...
            "columN": "description column N. dtype: dtypeN"
        },
        "considerations": {
            "coder": [
                "Describe you consideration here",
                ......
                "Example of consideration: use column1 to determine the type"
            ],
            "interpreter": [
                "Example 1",
                "Example N"
            ]
            "dispatcher": [
                "Describe your dispatcher considerations here.",
                "......",
                "Example of dispatcher consideration: Use the glossary to correctly interpret user-provided terms."
            ],
            "thinker": [
                 "Describe your thinker considerations here.",
                 "......",
                 "Example of thinker consideration: Round monetary values to two decimal places for readability."
           ]
        }
    }
}
Where:
- "dataframe name" must contain the name of the dataset and correspond to the name of one of the .csv files to be uploaded.
- "description" must provide a description of the dataset, including the data types of its columns and possible values.
- "column explanations" must include a description of each dataset column, specifying its purpose and the type of data it contains.
- "colum1", ..., "columN": Exact names of the columns of the .csv files to be loaded.
These names must follow specific rules:
- The number of columns in the .csv files must match the number of columns provided in the metadata.
- In addition, it is important to avoid duplication of column names.
- Column names must:
- Start with a letter.
- Use only lowercase letters.
- Avoid blanks.
- Use underscores (_) as the only separator between words (e.g., example_name).
- Exclude accents and special characters.
- There cannot be a column named "id" within the dataset, as it is already defined by default in the database.
- dtype: must be one of the following types:
- string
- float
- integer
- datetime: must be one of the following formats:
- '%Y-%m-%d'
- '%d-%m-%Y'
- '%Y/%m/%d'
- '%d/%m/%Y'
- '%m/%d/%Y'
- '%Y/%d/%m'
- date
- bool
- biginteger
- "considerations" must detail specific considerations for the dispatcher and the thinker. These sections are optional.
- "coder": It generates the necessary code to process the data. In addition, it uses the Metadata information to guide the process of extracting relevant information from the data.
The coder may include considerations that address consistency in data formats, accuracy and completeness of records, validation of data with external sources, and assessment of the importance of each piece of data during analysis.
- "interpreter": Its function is to produce the final answer with the information obtained from the data processing performed by the coder. It analyzes the processing results to better understand the data and provide relevant answers.
It may include considerations indicating the understanding of technical terms and abbreviations used in the data, as well as specifying that responses should be returned in the language preferred by the end user or according to the context of use.
- "dispatcher": Provides guidance for the Dispatcher on how to interpret the data. This replaces the older "coder" and "interpreter" considerations. For example, you might include considerations that address data consistency, accuracy, completeness, validation against external sources, and the importance of each data point during analysis. This helps the Dispatcher understand the nuances of the data and formulate the correct SQL query.
- "thinker": Provides guidance for the Thinker on how to process the data and formulate the final answer. This also replaces the older "coder" and "interpreter" considerations. For example, you might include considerations that clarify technical terms and abbreviations, or specify that responses should be returned in a specific language. This helps the Thinker generate the appropriate Pandas code and present the results in a user-friendly way.
Glossary is a JSON that contains a list of terms used in the end user's company or domain, together with their respective definitions. These terms and definitions are relevant for the LLM to understand the questions and provide more accurate answers.
For example, you can include abbreviations that are often used in the company and their meanings for better understanding in a format such as the following:
{
    "glossary": {
        "term1": "Definition of term 1",
        "term2": "Definition of term 2",
        "term3": "Definition of term 3",
        "abbr1": "Abbreviation 1 - Meaning of abbreviation 1",
        "abbr2": "Abbreviation 2 - Meaning of abbreviation 2",
        "abbr3": "Abbreviation 3 - Meaning of abbreviation 3"
    }
}
Then click on SAVE to create the assistant.
After you click on the SAVE button, a window will appear to enter a Name, Description, and Icon:
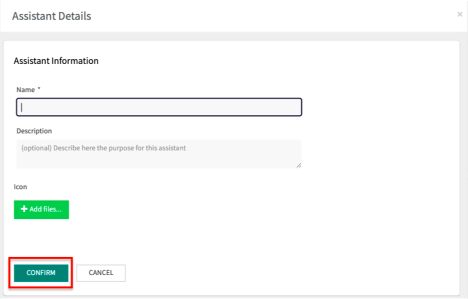
Next, click on the CONFIRM button.
After creating the Data Analyst Assistant, you return to the Assistants page where you can see the current assistant creation status.
This status is related to the process of loading the datasets with the Metadata and Glossary information.
The possible statuses are FAILED, COMPLETED, PROCESSING (with a progress percentage).
In this case, it is being processed with a progress of 11.1%.

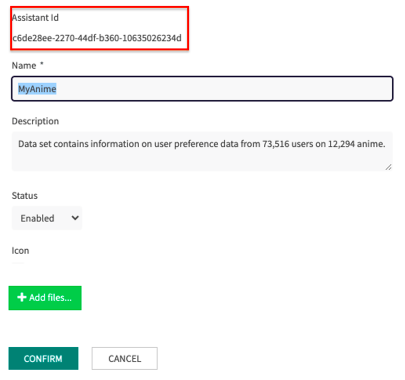
Once the upload status is complete, you can click on UPDATE, and view the version identifier with which it was saved. In addition, you can change the name and description, configure it as enabled or disabled, or add an icon if you wish.
To edit the Data Analyst Assistants, go to the Assistants home page and click on CONFIG.

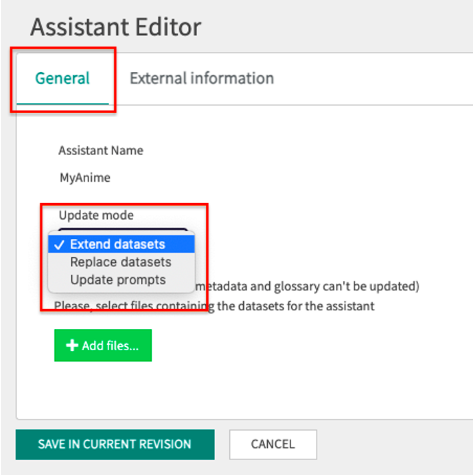
A window similar to the one below will open, where you will have the option to make one of the following three edits in the General section:
- Extend datasets
- Replace datasets
- Update prompts
- Clean cache
- Clean data
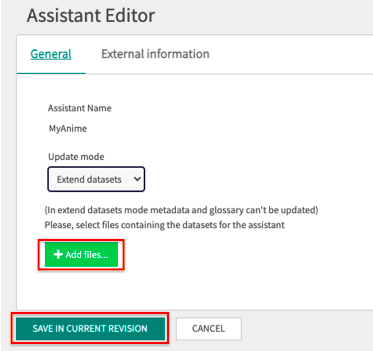
This option allows you to add records to existing datasets in any Data Analyst Assistant.
Simply click on + Add files... and then click on the SAVE IN CURRENT REVIEW button.
This expands the information available without affecting the original structure of the dataset.
When using this function, the files selected for integration must meet the same conditions required when initially defining the assistant, such as having the same number of columns and file names.
It addition, the files used for the extension must not contain the same rows that are already loaded in the assistant, as this could generate duplicate keys and cause problems in the execution of the queries.
Note that in Extend datasets mode it is not possible to make changes to the metadata or the glossary. This function focuses exclusively on extending existing datasets without altering other aspects of the assistant.
Selecting the Replace datasets option will display a window like the one below:
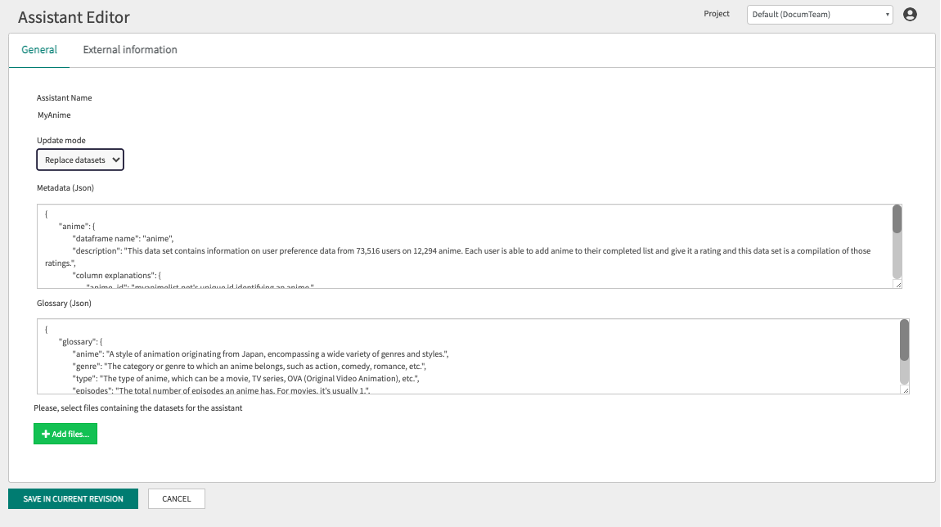
This option allows you to completely replace the data in an existing dataset, as well as modify the associated metadata and glossary.
This is useful when you need to completely update the information or make significant changes to the structure and description of the dataset.
Selecting this option overwrites all previous data with the new data provided and updates the metadata and glossary as necessary.
Note that it is mandatory to select one or more dataset files to be loaded. In addition, already loaded dataset information will be deleted in order to process and save the new one.
When you select Update prompts, you will see a window similar to the one below, where you will find a list of the default prompts.
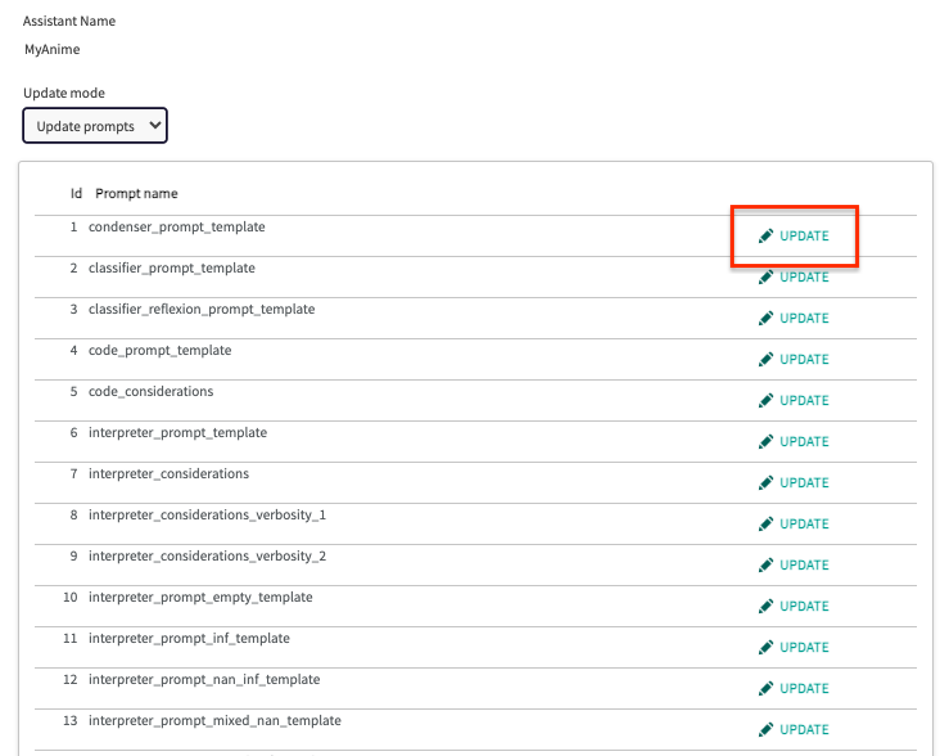
This function allows you to consult each of the notices individually by clicking on UPDATE.
This action requires that you have the Administrator, ProjectRole, or OrganizationRole role.
Note: You cannot directly edit prompts. Instead, configure all customizable aspects of the assistant using the metadata and glossary.
When you click on UPDATE, the current contents of the prompt will be displayed.
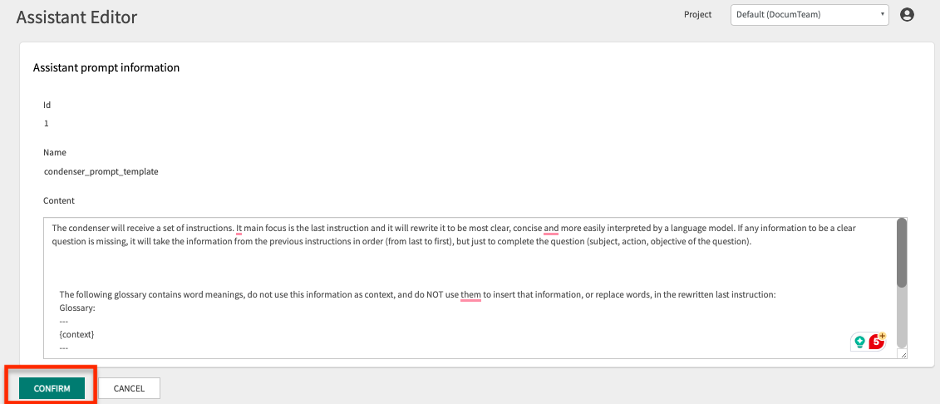
By clicking on the CONFIRM button, you will be returned to the prompts list. By clicking on the CANCEL button, you will also return to the prompts list without making any changes.
Finally, you can test your Data Analyst Assistant by clicking on Playground on the left side menu of the Backoffice window:

It is also possible to use the Chat API.