This document is intended to guide you in the process of publishing (for the first time or update) your Apple applications on the Apple Store.
During the publication process, you will need to interact both with Apple Developer and iTunes Connect sites and also with the XCode project (generated by GeneXus) in the Mac.
It's highly important to test the application before uploading it to the store. The validation process of Apple takes a while, if you need a second emergency update, consider that the end-users do not have the application fixed instantaneously.
Tip: Development Team ID property is required for uploading the application to the App Store. You may set it during the test process.
You will need (not counting optional).
Screenshots
- Format: JPEG, JPG, TIF, TIFF or PNG.
- Resolutions (at least one for iPhone and one for iPad):
+ iPhone: 960x640, 960x600, 640x960 or 640x920 pixels.
+ iPad : 1024x768, 1024x748, 768x1024, 768x1004, 2048x1536, 2048x1496, 1536x2048 or 1536x2008 pixels.
- Considerations: At least 72 DPI and in the RBG color space.
Application Icon
- Format: JPEG, JPG, TIF, TIFF or PNG.
- Resolutions: 512 x 512 or 1024 x 1024 pixels.
- Considerations: at least 72 DPI, in the RGB color space, and it cannot be scaled up.
For detailed information, refer to App Store icon, app preview, and screenshots overview
This step is required once per each user account on the Mac computer used for publishing, not for every application you want to publish.
Download the Distribution certificate from Certificates, Identifiers & Profiles (Apple Developer site) by going to Provisioning Profiles > Distribution.
Once downloaded, double-click on the .cer file in order to add the certificate to the Mac Keychain -this must be done with the user configured in the Apple Generator, for the certificate to be added to the login of that user.
Note: To access the Apple Provisioning Portal menu, you must be logged in (to do that, go to Apple Dev Center > Login).
Go to Apple Developer site > Identifiers > App IDs and create an App ID for your application (New App ID button, the "+" symbol on the right-upper corner).
Provide the following information:
- Description
e.g.: 'Sales'.
- Bundle Seed ID (or App ID Prefix)
Select your Team ID.
- Bundle Identifier (or App ID Suffix)
e.g.: com.genexus.Sales
- (Optional) Select your App Services
e.g. Push Notifications if the app uses it.
Click on the Continue button.
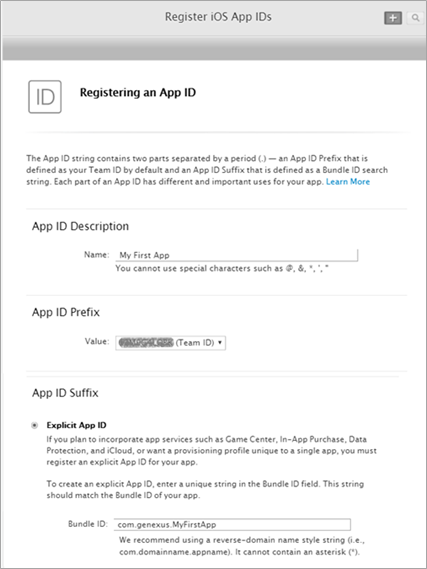
In the next screen, check if the information is correct and click on the Register button, and then Done.
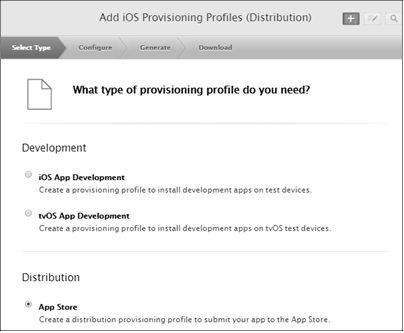
Go to Provisioning Profiles > Distribution > New Profile (the "+" symbol on the right-upper corner). You'll need to complete a four-step wizard with the following information.
- Type of distribution profile
In the Distribution section, select the 'App Store', and click on Continue.
- App ID
Select the App ID created in step 4, and click on Continue.

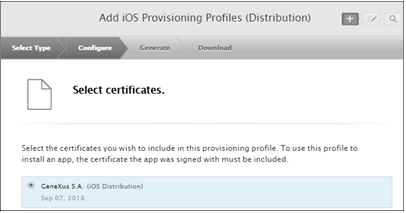
- Signing certificate
Select your Apple Distribution certificate, and click on Continue.
- Profile name
It can be any. It also offers a summarized of the previous steps. Finally, click on Continue.
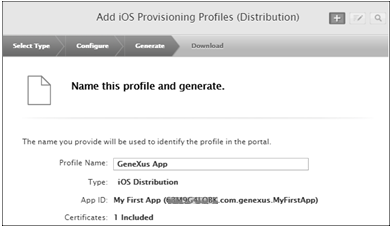
In this step, you can download the provisioning file by clicking on the Download button, and skip step 6.
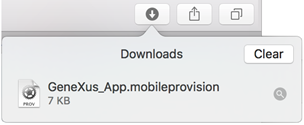
Go to Provisioning Profiles > Distribution.
Select the Profile Name created in 5 and click on the Download button, and then double-click the .mobileprovision file.
Open the application knowledge base with GeneXus, and configure the following properties:
- Native Mobile generator properties > Apple Specific
(It is located in the "Preferences" tab, inside the Environment, under the "Front End" node, in the "Apple Specific" group of properties).
- Main object properties > Apple
Build the main object. To do it, open the generated project in your Mac, located by default in Documents/Projects/<gx_main_object_name>/<gx_main_object_name> (double-click on the .xcodeproj file, or .xcworkspace, if exists).
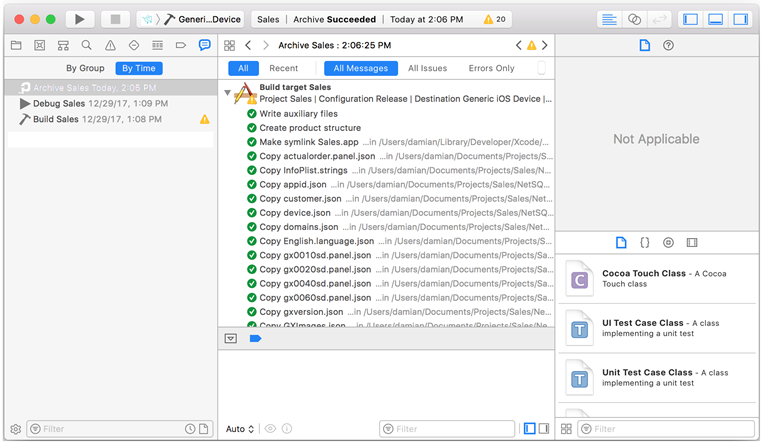
- Go to Product > Archive.
Build target must be set to Generic iOS Device in order to option Archive be enabled.
A build will be performed to generate the archive file. After that, a message Build Succeeded should be displayed, and the created archive should be shown in the Organizer.

- Go to View > Navigators > Show Report Navigators
Check that no signing and validation warnings appear at the end of the log.
Verify that the application was signed using the Distribution certificate.
Note: If you get a warning because the UserControls folder doesn´t exist in the same location as the XCode project, create it and go to Product and Archive again.
At this point, you are ready to upload the application to the App Store. Go to the iTunes Connect site, log in using your Developer account, and go to Manage Your Applications.
- If you are creating a new application
Click on Add button ("+" symbol on the left-upper corner) and then New App option. This action will access a wizard to create a new application.
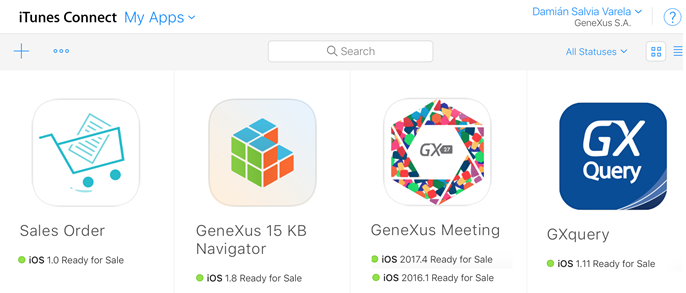
- If you are updating an existing application
Click on your application icon. The detail information will be displayed. Click Add Version or Platform button, and select iOS.
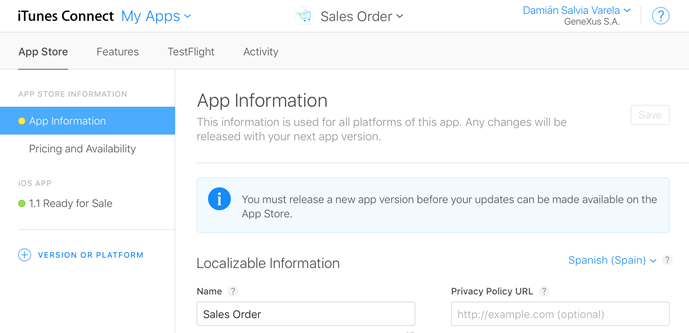
The information needed is:
- Version number
Must be the same as the main object property iOS Version Name (see step 7 above).
- What's New in this Version
Details on what had changed in the new version.
Go back to the Xcode project on your Mac.
- Select Organizer on the Xcode project (go to Window > Organizer).
- Select the archive file generated in step 7
- Click the Validate button. It takes several minutes and no feedback is given in the meantime (it may appear that the application is not responding)
- Log in with your Developer account.
- Select the application version created in previous steps
In the Application's combo-box select the version. The Identity combo-box should display a Distribution profile.
- Click the Next button.
A success message must be displayed. Otherwise, an error list shows up.
To successfully perform the validation process, the application state must be 'Prepare for submission' in iTunes Connect site.
- Click the Submit button in Organizer.
Be sure the validation was successful. Select your application and upload the binaries.
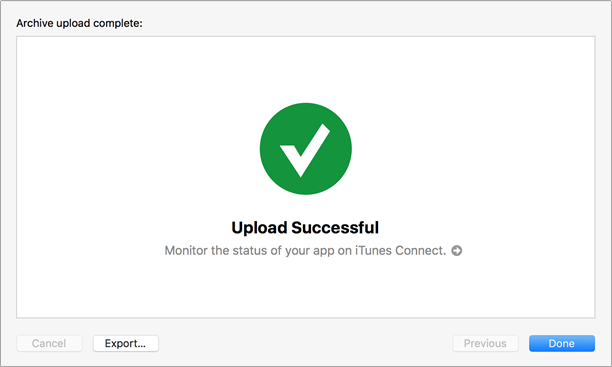
At this time, your new or updated application was submitted to the Apple Store for approval (in 'Waiting for Review' state).

There is little you can do but wait for news from Apple.
Good luck!
About Your First App Store Submission
 Prototyping features and Deployment of applications for Smart Devices