Before installing a GeneXus Server instance, please read the GeneXus Server Installation Manual.
This document tries to show and explain each step involved in the installation wizard for a GeneXus Server instance.
1) The first phase of the process is running the setup with administrator permission ('Run as administrator'). Then, the following dialog will be displayed:
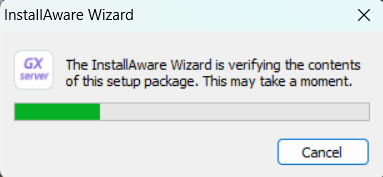
After the content verification is complete, the setup itself will be shown:
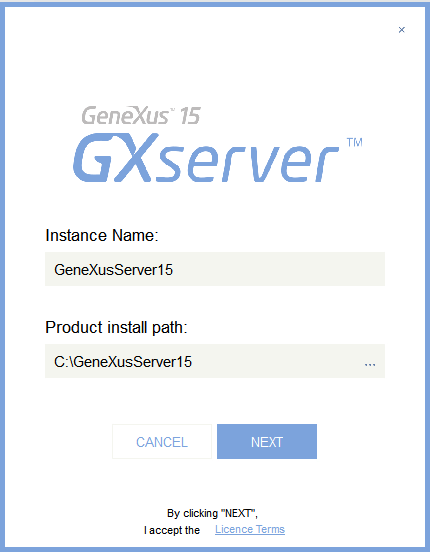
Where:
- The Instance Name field indicates the name of the GeneXus Server instance to be created.
- The Product install path field indicates the path where the GeneXus Server instance folder will be created.
Note: By selecting the NEXT option, License Terms are accepted.
2) After accepting the Licence Terms, the SQL Server Connection Settings must be configured. The following menu allows selecting a SQL Server instance installed and determining the Authentication type:
- Windows Authentication: this option will use the Windows user running the setup to configure the connection with SQL; the user must have at least Database creator rights on the SQL instance.
- SQL Authentication: this option will use a user from the SQL instance to configure the connection; the user must have at least Database creator rights on the SQL instance, and the corresponding fields must be filled with the proper user credentials.
For further information, please refer to Choose an Authentication Mode
Note: GeneXus Server allows using a SQL Server remote instance to select a remote instance using the ComboBox. However, for performance reasons, using a local instance is recommended.
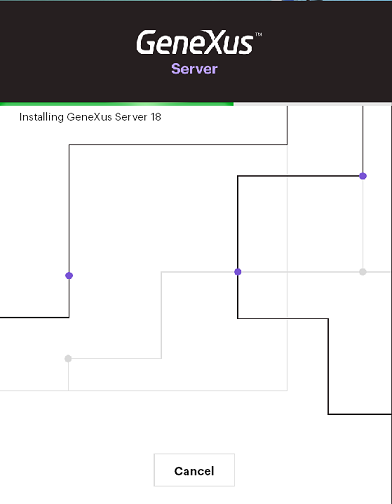
3) After setting the corresponding SQL parameters, the installation process will start:
4) GeneXus Server installation is complete!
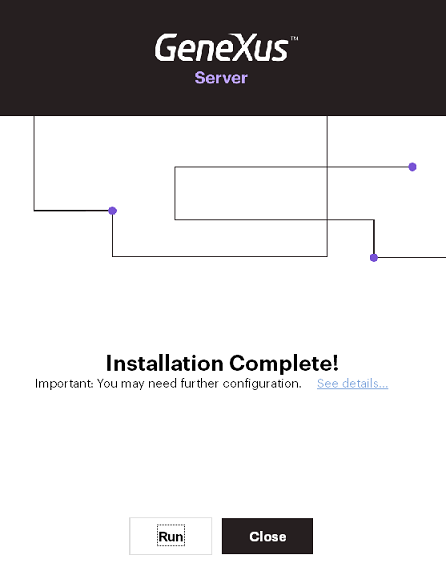
By selecting the RUN option, the GeneXus Server Console will be open:
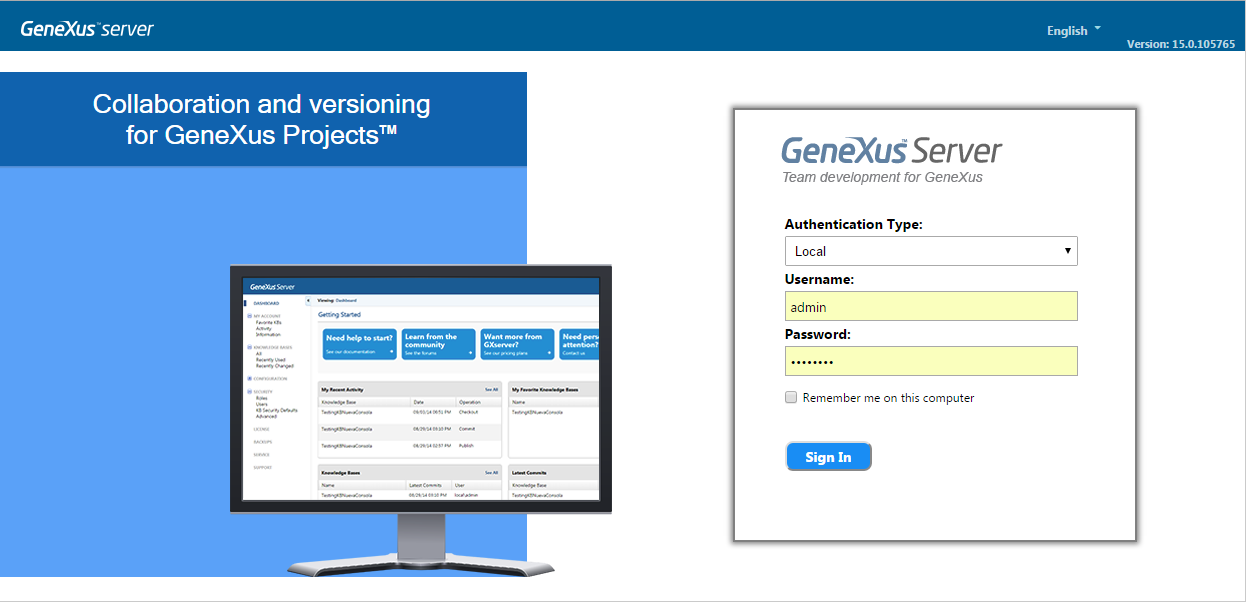
Refer to GeneXus Server Login to access GeneXus Server's Console.