Before installing a GeneXus Server instance, please read the GeneXus Server Installation Manual.
This document explains each step involved in the installation wizard for a GeneXus Server instance.
1) The first phase of the process is running the GeneXus Server Setup with administrator permission ('Run as administrator') and selecting the 'New' option.
Then, the following dialog will be displayed:
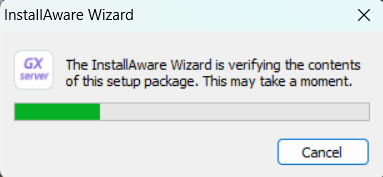
After the content verification is complete, the following window is shown:
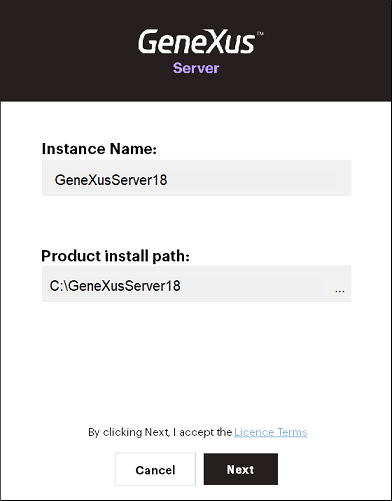
Where:
- The Instance Name field indicates the name of the GeneXus Server instance to be created.
- The Product install path field indicates the path where the GeneXus Server instance folder will be created.
Note: By selecting the NEXT option, License Terms are accepted.
2) After accepting the License Terms, the SQL Server Connection Settings must be configured. The following menu allows selecting a SQL Server instance installed and determining the Authentication type:
- Windows Authentication: this option will use the Windows user running the setup to configure the connection with SQL. The user must have at least Database creator rights on the SQL instance.
- SQL Authentication: this option will use a user from the SQL instance to configure the connection. The user must have at least Database creator rights on the SQL instance, and the corresponding fields must be filled with the proper user credentials.
For further information, please refer to Choose an Authentication Mode
Notes:
- GeneXus Server allows the use of an SQL Server remote instance to select a remote instance using the ComboBox. However, for performance reasons, using a local instance is recommended.
-
In this step two databases are created:
- One to store the information of the Knowledge Bases created in GeneXus Server and the activity carried out in those KBs. This database is known as the Storage database and, by default, it is created with the name "GeneXusServer+versionNumber".
- Another related to security to store all the information related to the users, roles, etc. that are created to work with GeneXus Server. It is known as the GeneXus Server Security database and, by default, it is created with the name GeneXusServer+versionNumber_security).
Until the Evo3 version, a window was shown displaying the default names of these databases and you could change them.
Since the 15 version, to simplify the setup, the name of the databases is no longer editable.
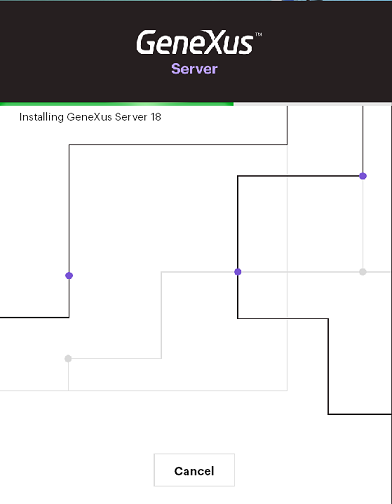
3) After setting the corresponding SQL parameters, the installation process will start:
4) GeneXus Server installation is complete!
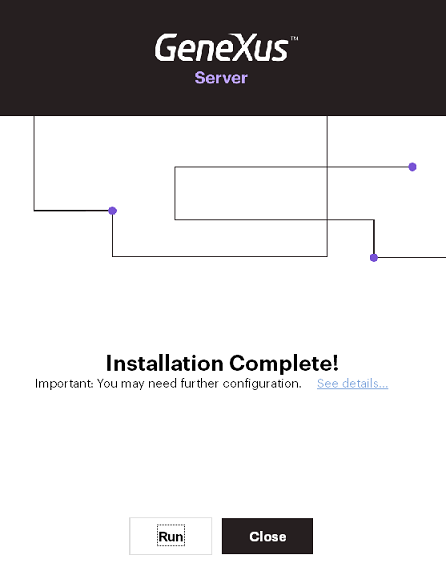
By selecting the RUN option, the GeneXus Server Console will be open:
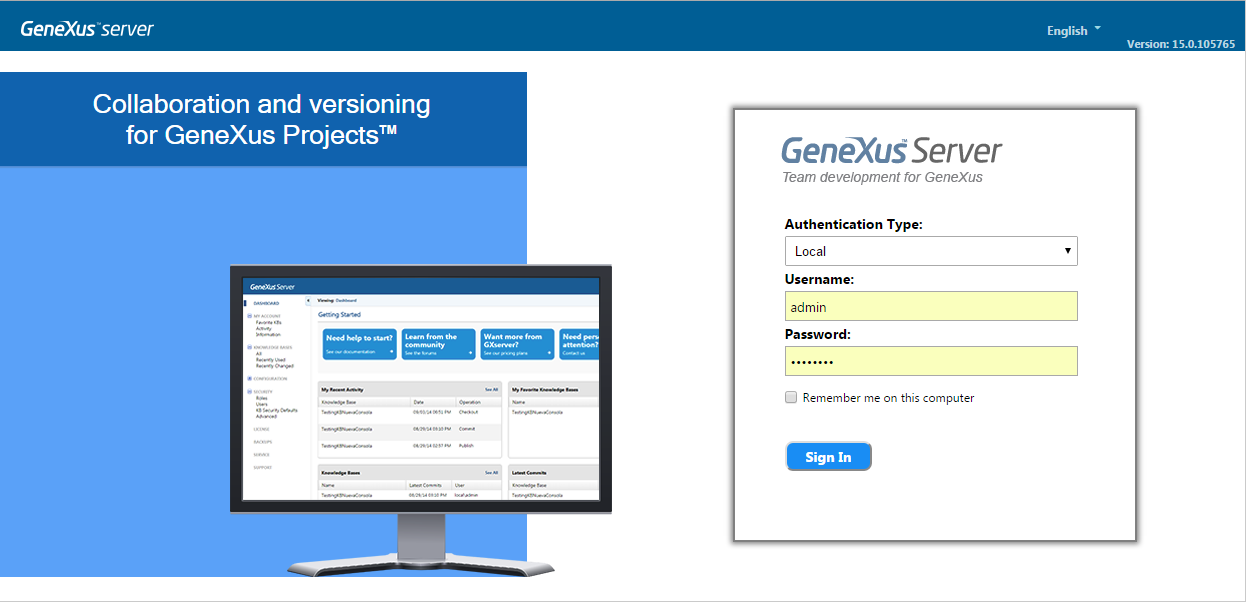
Refer to GeneXus Server Login to access GeneXus Server's Console.
Note: Remember that the password for the admin user is admin123 (when using Local authentication type).
- When GeneXus Server is configured to use a remote Microsoft SQL Server instance, the Microsoft SQL Server Command Line Utilities must be installed on the physical server. Otherwise, the following error will be displayed:
GeneXus Server: BCP utility not found. Please install 'Microsoft SQL Server Command Line Utilities.'
See SAC 28443 for further information.
- Internal server error 500 occurs when GeneXus Server returns an exception. To obtain further information on the error, enable the "Detailed Errors" in the IIS Management Console where the GeneXus Server is installed (and follow the steps described in "500 - Internal server error." at GeneXus Server Common Issues).
Note: GeneXus Server installation requires adding an SSL Certificate for GeneXus Server in IIS. Please see: HowTo: Set up an SSL Certificate in IIS for GeneXus Server for further information.