There are many ways to create a metadata in GXquery. It can be generated by using the “Save locally” option in the dialog window labeled “Create metadata”, as explained in Creating a GXquery metadata in GeneXus as well as from an Export made in another GXquery installation, or even in the same GXquery in order to duplicate the metadata.
Note: This task can only be performed by the administrator user.
Below is a description of the typical cycle of creating a metadata from GXquery.
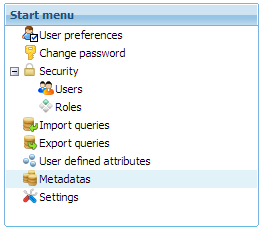
Click on the Metadatas option in the Start menu.

An image similar to the one below will be displayed:

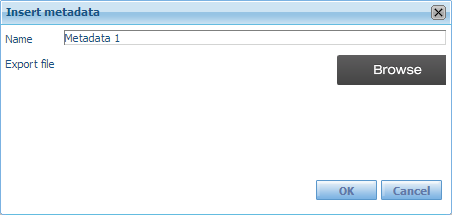
1. Click on the Insert button and the following dialog window will be displayed:

2. Click on the Browse button and locate the file generated in GeneXus with .export extension.
3. Click on OK to begin the insertion process. A notice will be displayed to inform you when the process is completed.
The insertion shows a message on the left side of the lower bar that varies depending on the process being run. While the import is taking place, the window will display the name of the metadata and its status will read "Loading". When it's completed, its status will be Started and the metadata will be ready to be used.
In import processes (of metadata and queries) a log is provided for the user to obtain more information if an error occurs.
The loading of metadata generates a file called ImportMetadata.log and the import of queries generates a file called ImportQueries.log.
If the process fails for any reason, a dialog box is displayed to show this downloadable log. If the process ends OK the log is not displayed, but it can also be downloaded from "Work with metadatas" below "More actions".
Similarly, there is a log for export processes, which can be accessed in the same way as import processes.
The Metadata concept
HowTo: Create GXquery metadata in GeneXus