This document shows, step by step, how to create a quick query with GXquery 4.0. Queries are made on the Travel Agency Knowledge Base.
Before starting verify GeneXus X Evolution 2 Hardware and Software Requirements and GXquery 4.0 Requirements.
Creating the work environment for TravelAgency
Specify and generate all the objects in the KB and enter data.
The group of Query Elements used to make the queries is located inside what is known as metadata. Therefore, we will need this metadata to do the exercise: Creating a GXquery metadata in GeneXus.
Open the GXquery 4.0 session and you will see an image similar to the one below.
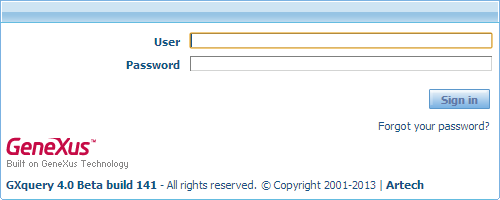
If you are a registered user you can load your credentials. Otherwise, use the following default credentials:
User: administrator
Password: administrator123
Select the TravelAgency metadata from the Metadata combo box and press the Change button.

This will make all the information contained in the metadata available to be used in this exercise.
Press the New pivot table icon, and in the Name cell write MyFirstQuery. Repeat this in the Description cell and press OK.
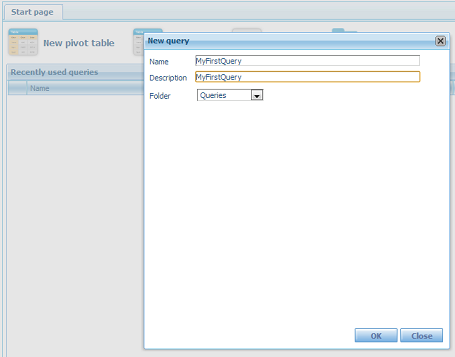
You will now see an image similar to the one below.
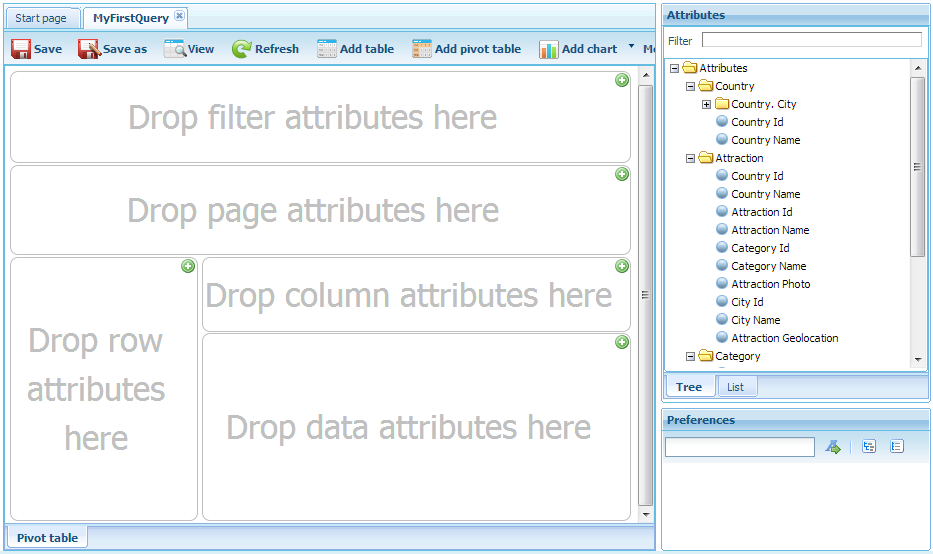
The subdivisions on the left represent the various areas of a Pivot table (for further information on this go to Anatomy of a Pivot table). In these we will release the attributes we select in the window on the right, which represent the values we expect to have for cross referencing.
The graph we will do should show the number of attractions (Attraction Transaction) located in each city of each country (Country Transaction).
Drag and drop the Country Name, City Name and Attraction Name attributes into the area or rows, that is, the one labeled as “Drop row attributes here”.
Then drag and drop the Attraction Name attribute again, but this time in the data area, that is, the one labeled “Drop data attributes here”.
Press the View icon and you will see the Pivot table in a way similar as in the following image.
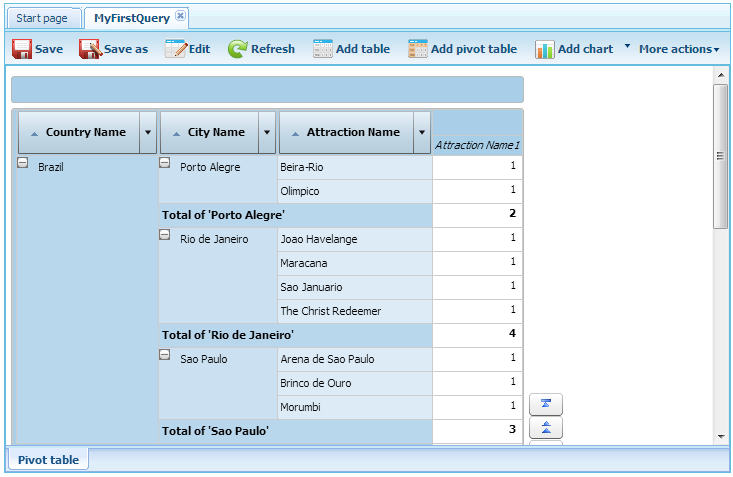
Note that the column located to the far right indicates the number of attractions, and for each city, the total of attractions.
The name of this column is Attraction Name 1 because there is already a row with that name and we cannot have two elements with the same name. To change the name to as follows:
1. Press the Edit icon to edit the graph again.
2. With the mouse, select the Attraction Name 1 attribute in the data area. Note the window Properties: Query element.
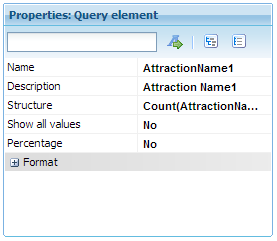
3. Change the text of the Description cell and replace it with the text “Quantity”, then press View again and note the change in the column’s name.
Now you can dispose of all the remaining documents of GXquery 4.0!