Dear Community member, welcome to the GXquery 4.0 Lab. By doing these five exercises you will get a broad overview of the GXquery capabilities in just 30 minutes.
There are two options to do the Lab. Doing it on a Sandbox Instance or doing it using your on premise instance. The first one just requires a Browser. The second, needs preparation: some GeneXus' skills to prepare the Metadata and a local instance of GXquery.
1. Using the Sandbox.
2. In your own PC (for this option, take into account the following instructions):
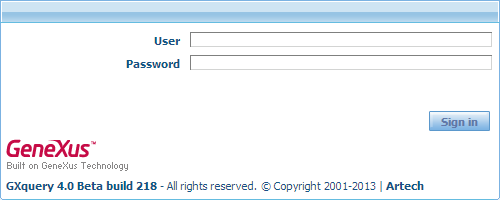
The first GXquery screen is for identification, and you must enter the user name and password (of the user defined as the site's web administrator) to access the application. Then, press the Sign in button.
Credentials following option 1:
User: administrator
Password: administrator123
Credentials following option 2:
User: demo
Password: demo123
Like any other designer, GXquery contains regions (or components) that are constantly being accessed by users while creating their queries.
The following image highlights the components that will be used later in the exercises.
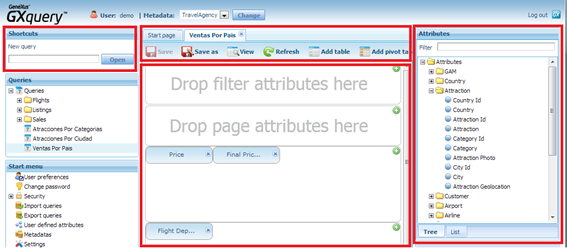
The first one on the left is the Shortcuts component. The second one is the tool component. The third one, on the right, it the attribute zone, which is the source of information for building queries. Lastly, in the center, we can see the query design component.
Now, enjoy the exercises.
Exercise 1
Exercise 2
Exercise 3
Exercise 4
Exercise 5