Deprecated: Since
GeneXus 16 upgrade 4. Replaced by an API to integrate with your Digital signature module.
Note: What has been deprecated is not the complete functionality, but the module that signs locally (an Applet) due to today's browser restrictions. More information at
SAC 45270 and
SAC 45590.
This document explains how to sign a document digitally and provides a brief overview about it.
Digitally sign documents allows verifying that a document has not been altered and that it was signed using a reliable certificate.
To use this feature, you need PKI (Public Key Infrastructure) knowledge.
The following algorithms are used to obtain a digital signature:
- SHA-1 for document dispersion
- RSA for dispersion encryption
Previous settings are required before being able to use this feature in a GXflow application. These settings depend on each platform, as explained below:
- The application must run on .NET Framework 2.0.
- Client PC browsers must use Java 1.4.2 or higher plug-in to execute .NET applets.
- Certificates from reliable certifying authorities, either intermediate or advanced, must be installed in the corresponding certificate repositories of the Windows Server where the application is located. Additionally, to have certificate revocation control, you need to install the corresponding revocation lists (CRLs).
- Client PC browsers must use Java 1.4.2 or higher plug-in to execute Java applets.
- To use RSA keys of more than 2048 bits, you must install Java Unrestricted Policy Files. These files are specific for each version of the virtual machine and can be obtained from Sun's site.
- Certificates from reliable certifying authorities, either intermediate or advanced, as well as revocation lists must reside in the disc, in a directory accessible by the application. A directory must exist for this purpose with the following subdirectories:
- inter_ca_certs: certificates from intermediate reliable certifying authorities
- root_ca_certs: certificates form advanced reliable certifying authorities
- crls: revocation lists (CRLs).
Certificates and revocation lists stored in these directories must be in DER format.
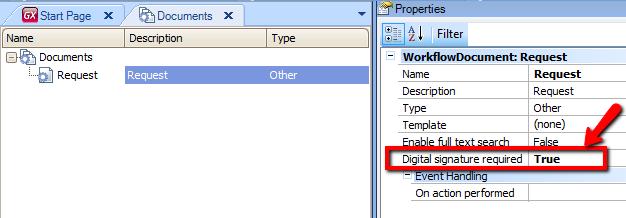
When creating or modifying a document in Preferences > Workflow > Documents option, you can select whether or not a document requires a digital signature. To do so, set the property Digital Signature Required to True.
In GXflow client Server preferences, enable the document's digital signature feature through the Settings > Advanced > Document management > Enable Digital Signature preference.
In Java, you also have to setup the Certificates Directory Preference in Settings > Advanced > Document Management > Certificates Directory and specify the certificate directories mentioned above.
When a user checks in a document that requires a digital signature, the document upload form will include a Java Applet for this purpose.
This applet is digitally signed by Artech and the browser will ask for user permission to activate it the first time it is used in the client.
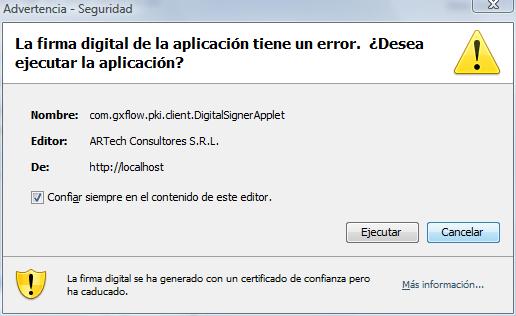
Once this applet is activated, a Sign button will be added to the upload form.
To sign a document, follow these steps:
1. Select the document to be uploaded and click the Sign button.
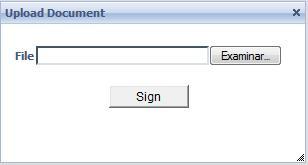
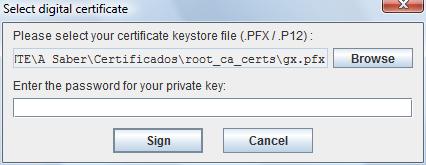
2. Choose the certificate containing the private key to sign the document in the dialog box that is displayed. Specifically, the dialog asks for the disc path to this certificate, which must be in PKCS#12 format (.pfx files), and the password to extract the private key of this file.
3. Click Sign. If the information is correct, the document will be signed and the button to upload the document to the server will be enabled.
In the server, the digital signature will be verified to confirm that the document has not been altered during transmission. In addition, the certificate used to sign the document will be verified to confirm that it hasn't expired. Its reliability is also checked to confirm that it was issued by a reliable certifying entity. If this verification is successful, the document will be accepted by the GXflow document repository.
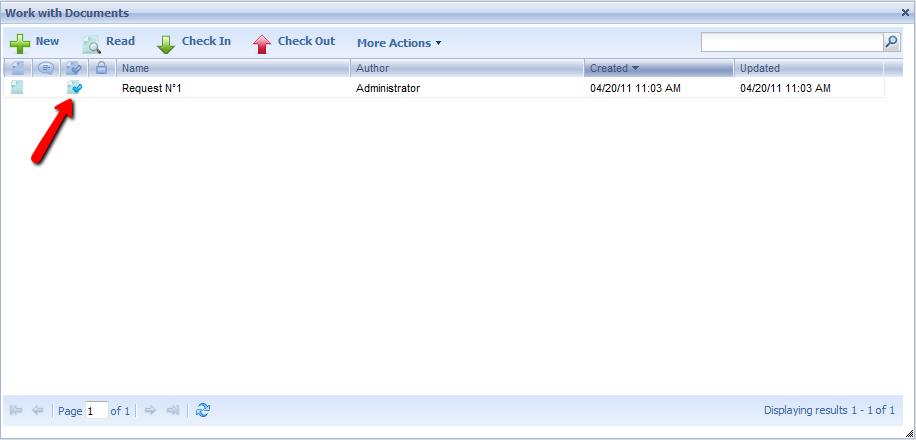
In all GXflow client applications that display documents (My Documents, Work With Documents, etc.), a column for signed documents is included in the document grid.
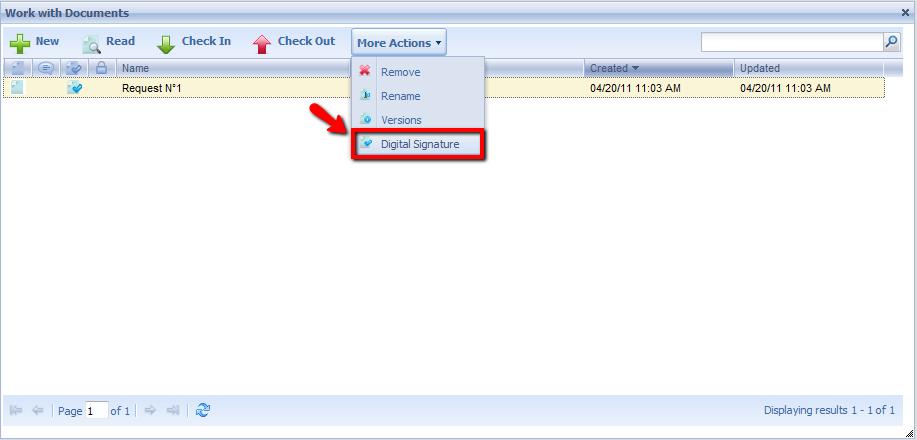
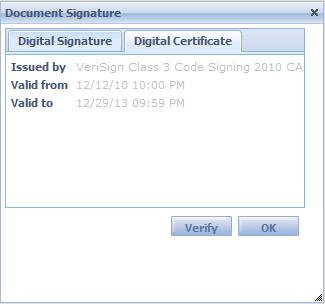
Then click Digital Signature (see More Actions button) to see the details of the signature and the certificate used to sign the document.
Certificates used to sign documents are kept in the server, associated to the user. These certificates are shown in the users' ABM, in each user's data.
Note that certificates do not contain private keys; they only contain personal information of the certificate's owner and public key.
By default, when a user signs a document, the used certificate is automatically added after verifying that it is reliable, and it doesn't belong to the user certificates group yet.
To manually manage user certificates, you need to set the Settings > Advanced > Document management > Automatic User Certificate Insertion server preference to No.
Thus, only an administrator user will be able to add or remove certificates from application users (through the users ABM dialog of the management console). Users will not be able to sign documents using a certificate that is not associated to their user accounts, regardless of whether or not they are valid and reliable certificates.