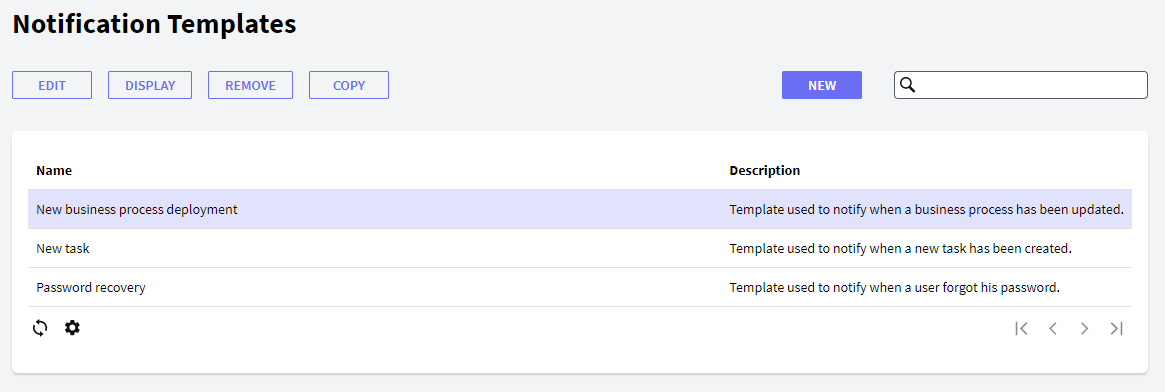
The Notification Templates application allows setting up the different work templates used in the system. The following figure shows the application interface:

The following sections describe the different components making up the Notification Templates application.
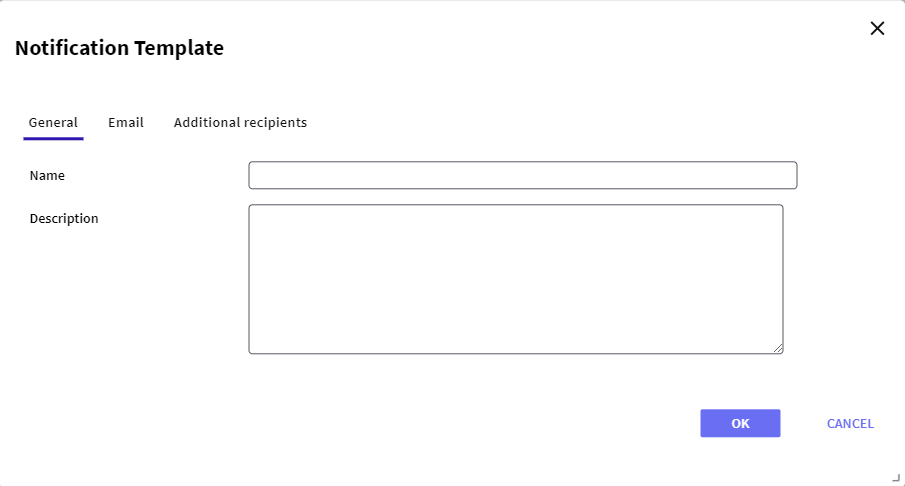
New: The definition of the new template is performed by this button. By clicking on this button, the following dialog is displayed:

In this dialog, you need to specify an exclusive name for the new template and optionally a description for it.

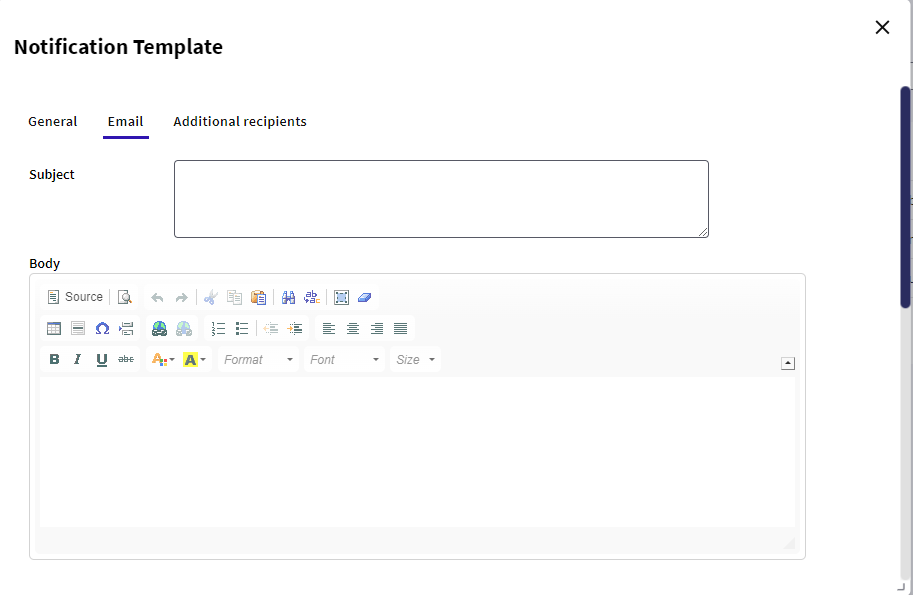
Besides, in the Email tab, customize the notification: To, subject, and body using process variables.
Once this template data have been entered, press the OK button.
Edit: By selecting a notification template from the grid and pressing this button, you will access a dialog for modifying the selected template. This dialog is the same as shown when creating a new notification template and allows modifying all the data of the selected template.
Remove: To delete a Notification template, first select it from the notification template grid and then press this button. You will access a dialog that will allow you to confirm the deletion.
Click on the OK button to confirm the template deletion.
Display: To view the information of a notification, first select it and then press the "Display" button.
Copy: To create a copy of a Notification template, first select it from the notification template grid and then press this button.
This grid has the following options:
 It allows selecting the columns that should be visible.
 It allows refreshing the grid.
It is possible to sort some columns by clicking on their title.
This grid has the following columns:
- Id: Notification template Id.
- Name: Notification template name.
- Description: Notification description.